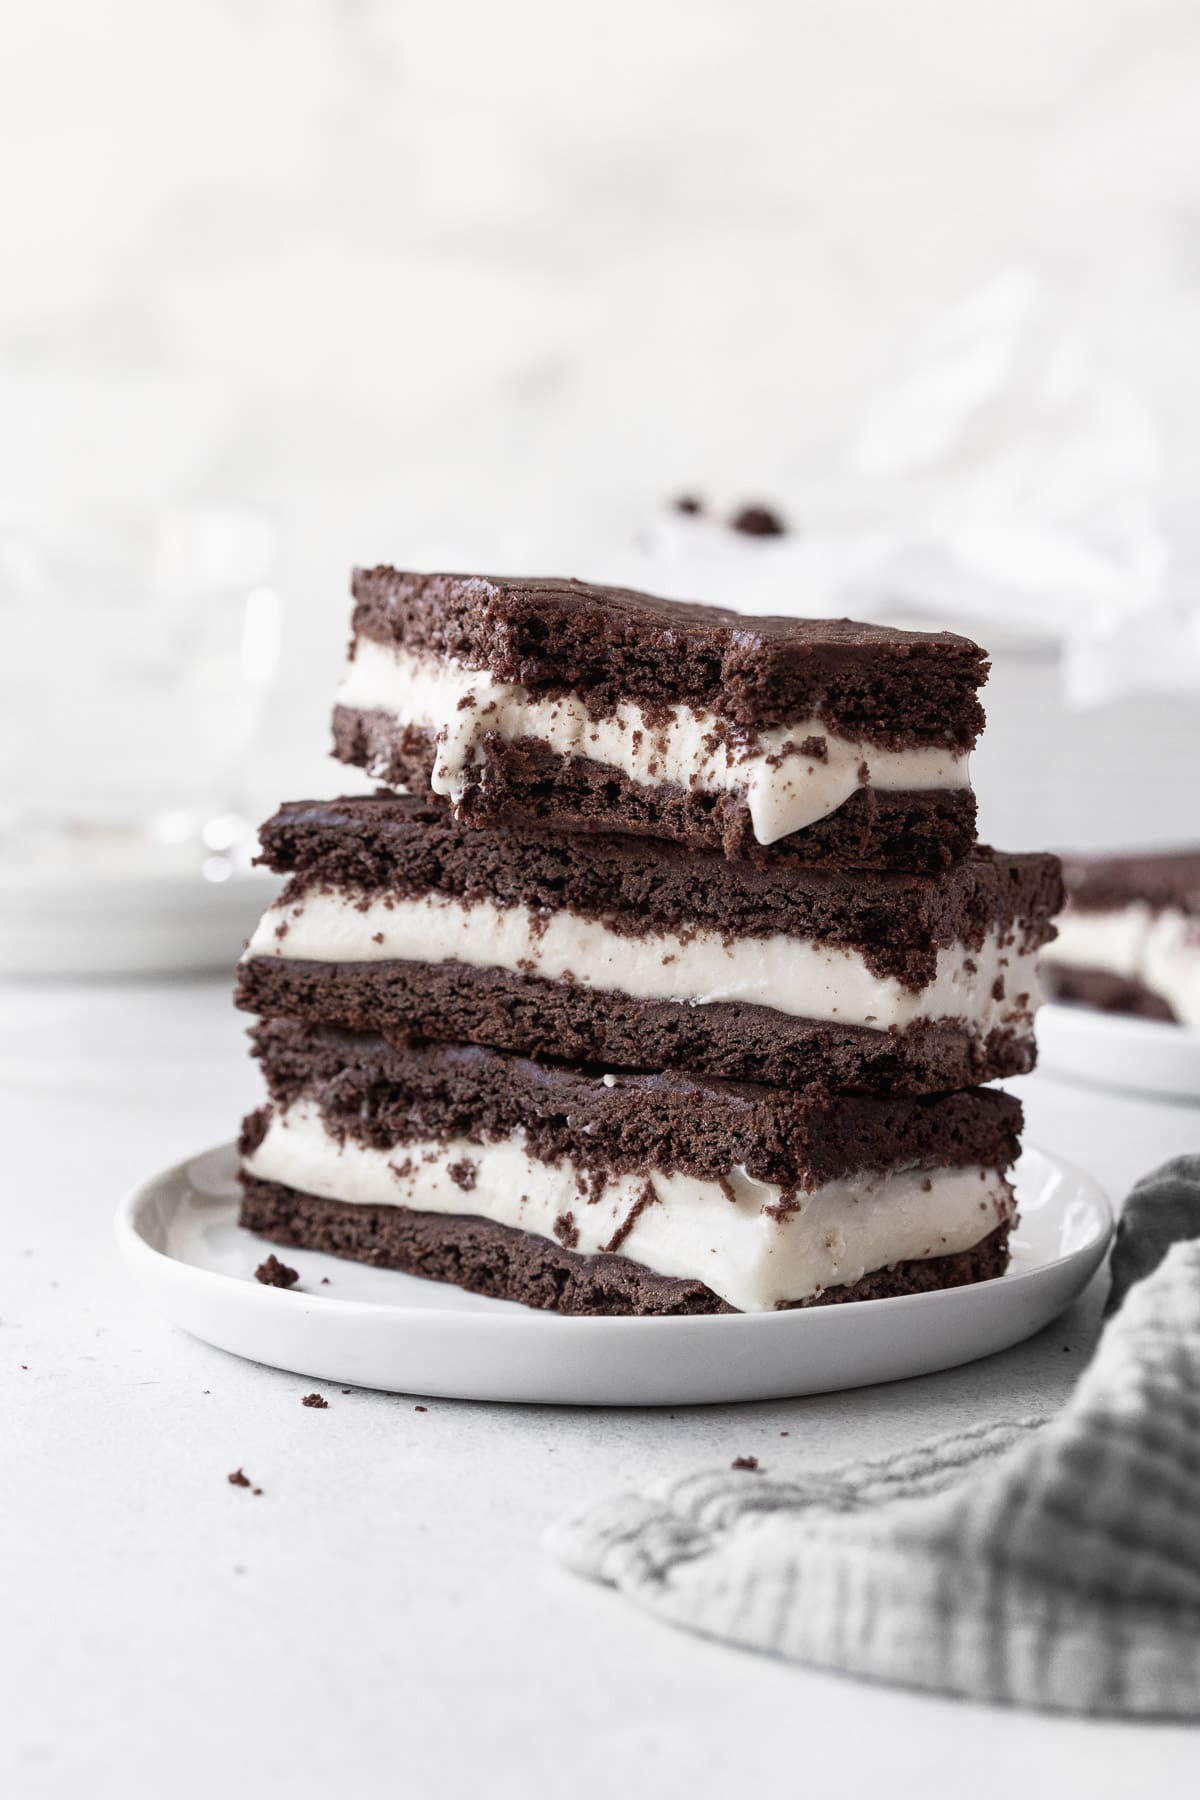
Gluten-Free Ice Cream Sandwiches: everything you know and love about ice cream sandwiches but without gluten! You'll love these cookie sandwiches because they are a delicious and allergy-friendly way to enjoy a classic summer treat! Naturally dairy-free and vegan!
This post is sponsored by Nature's Charm. All text and opinions are my own.
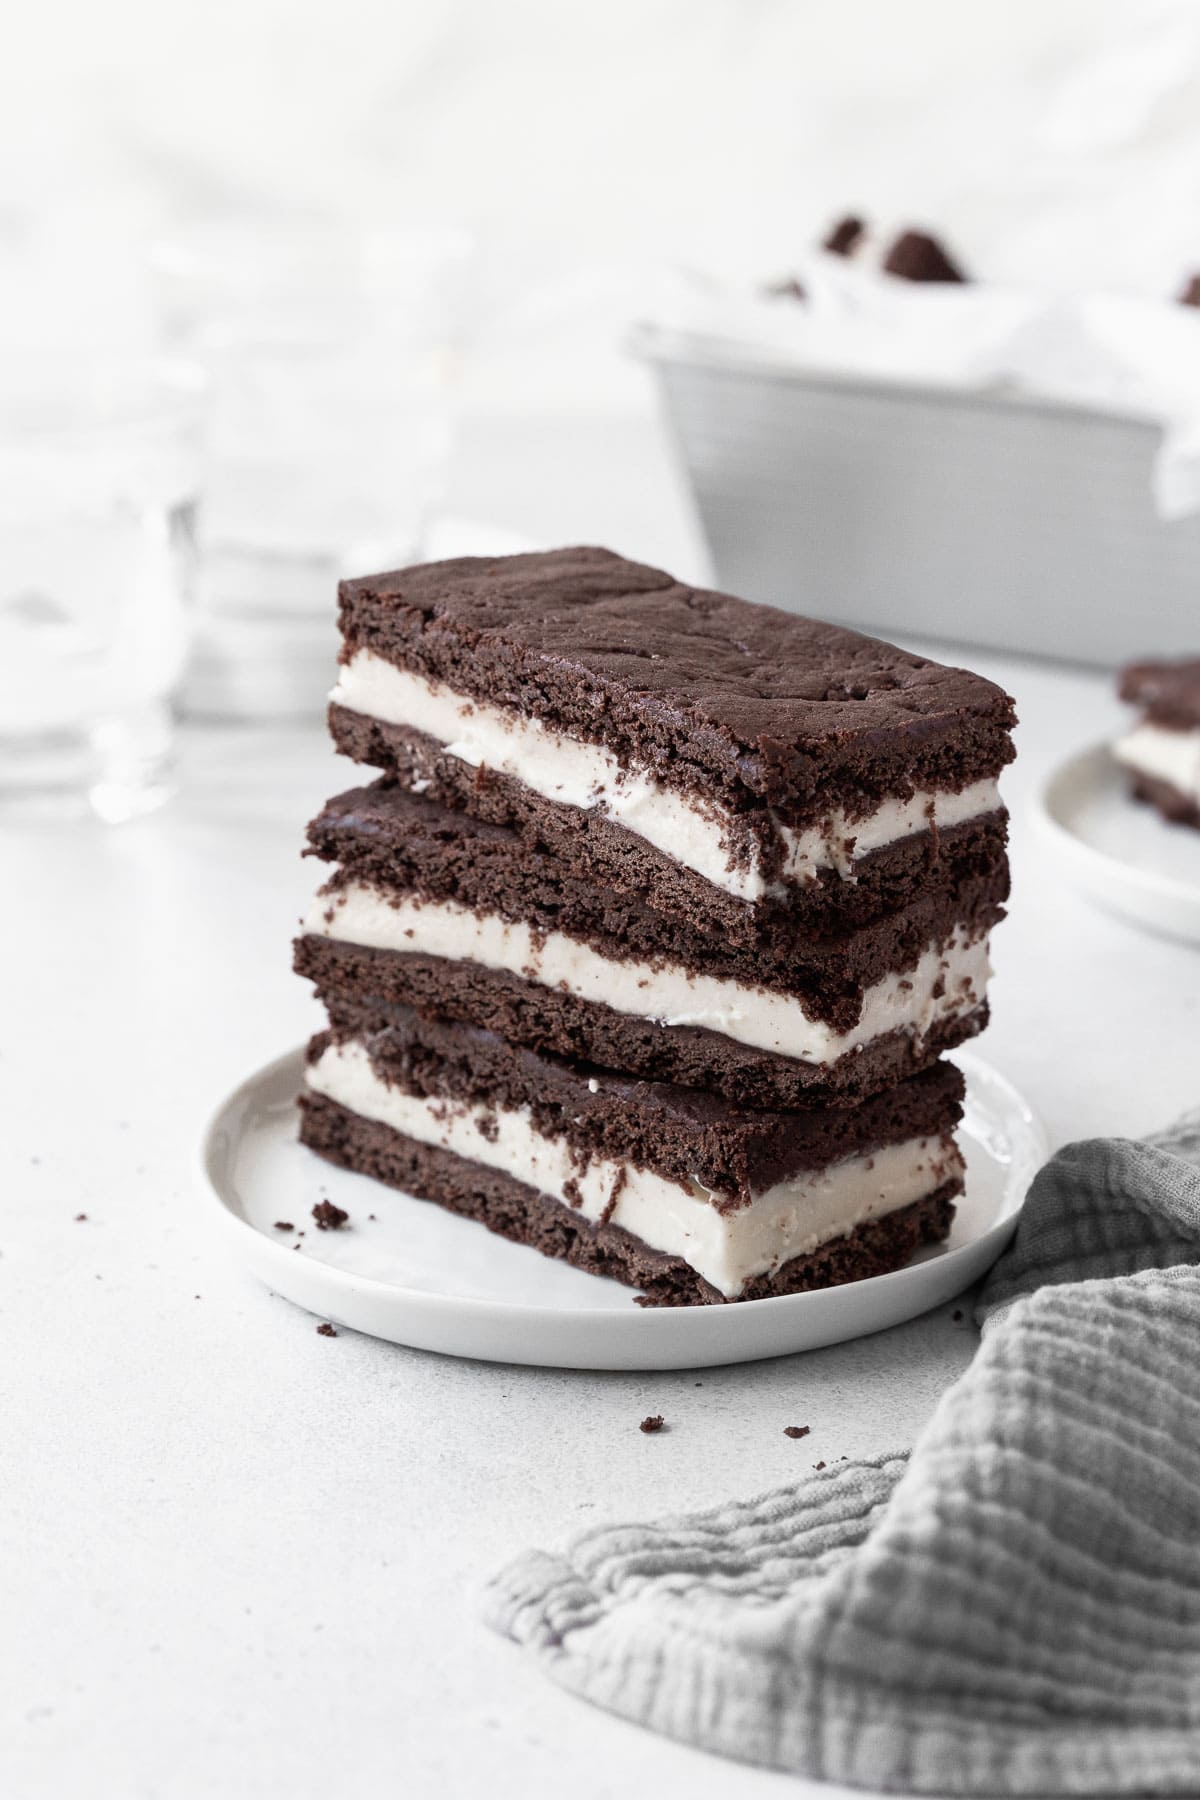
Table of contents
- Why You'll Love Gluten-Free Ice Cream Sandwiches
- Is All Ice Cream Gluten-Free?
- Ingredients
- Substitutions
- How to Make Gluten-Free Ice Cream Sandwiches
- Recipe Success Tips
- Can You Make Gluten-Free Ice Cream Sandwiches with Store Bought Ice Cream?
- Recipe Variations
- Storage Directions
- Tools Needed to Make This Recipe
- More Ice Cream and Sandwich Dessert Recipes
Why You'll Love Gluten-Free Ice Cream Sandwiches
- Allergy-Safe. With no dairy, gluten, nut products, or corn, this homemade ice cream sandwich recipe is a great option for our friends with common food allergies.
- A Classic Summer Treat. Re-live or create summer memories with a cool treat that is perfect served at a picnic, poolside, or simply just because!
- Family-Friendly. Kids will never guess this recipe is gluten-free and grown-ups will love that they can enjoy a favorite treat without worry.
- Versatile. Enjoy a classic ice cream sandwich or experiment with different flavor combinations (see my list below for ideas) to satisfy any flavor craving!
Is All Ice Cream Gluten-Free?
Though the essential ice cream ingredients are milk, cream, sugar, eggs, and vanilla, not all premade or store-bought ice creams are gluten-free, thanks to commonly added thickeners, sweeteners, color additives, and flavors.
To ensure that you are consuming gluten-free ice cream, check the ingredient label for wheat-derived ingredients or make your own homemade gluten-free ice cream (like the recipe I have listed here)!

Ingredients
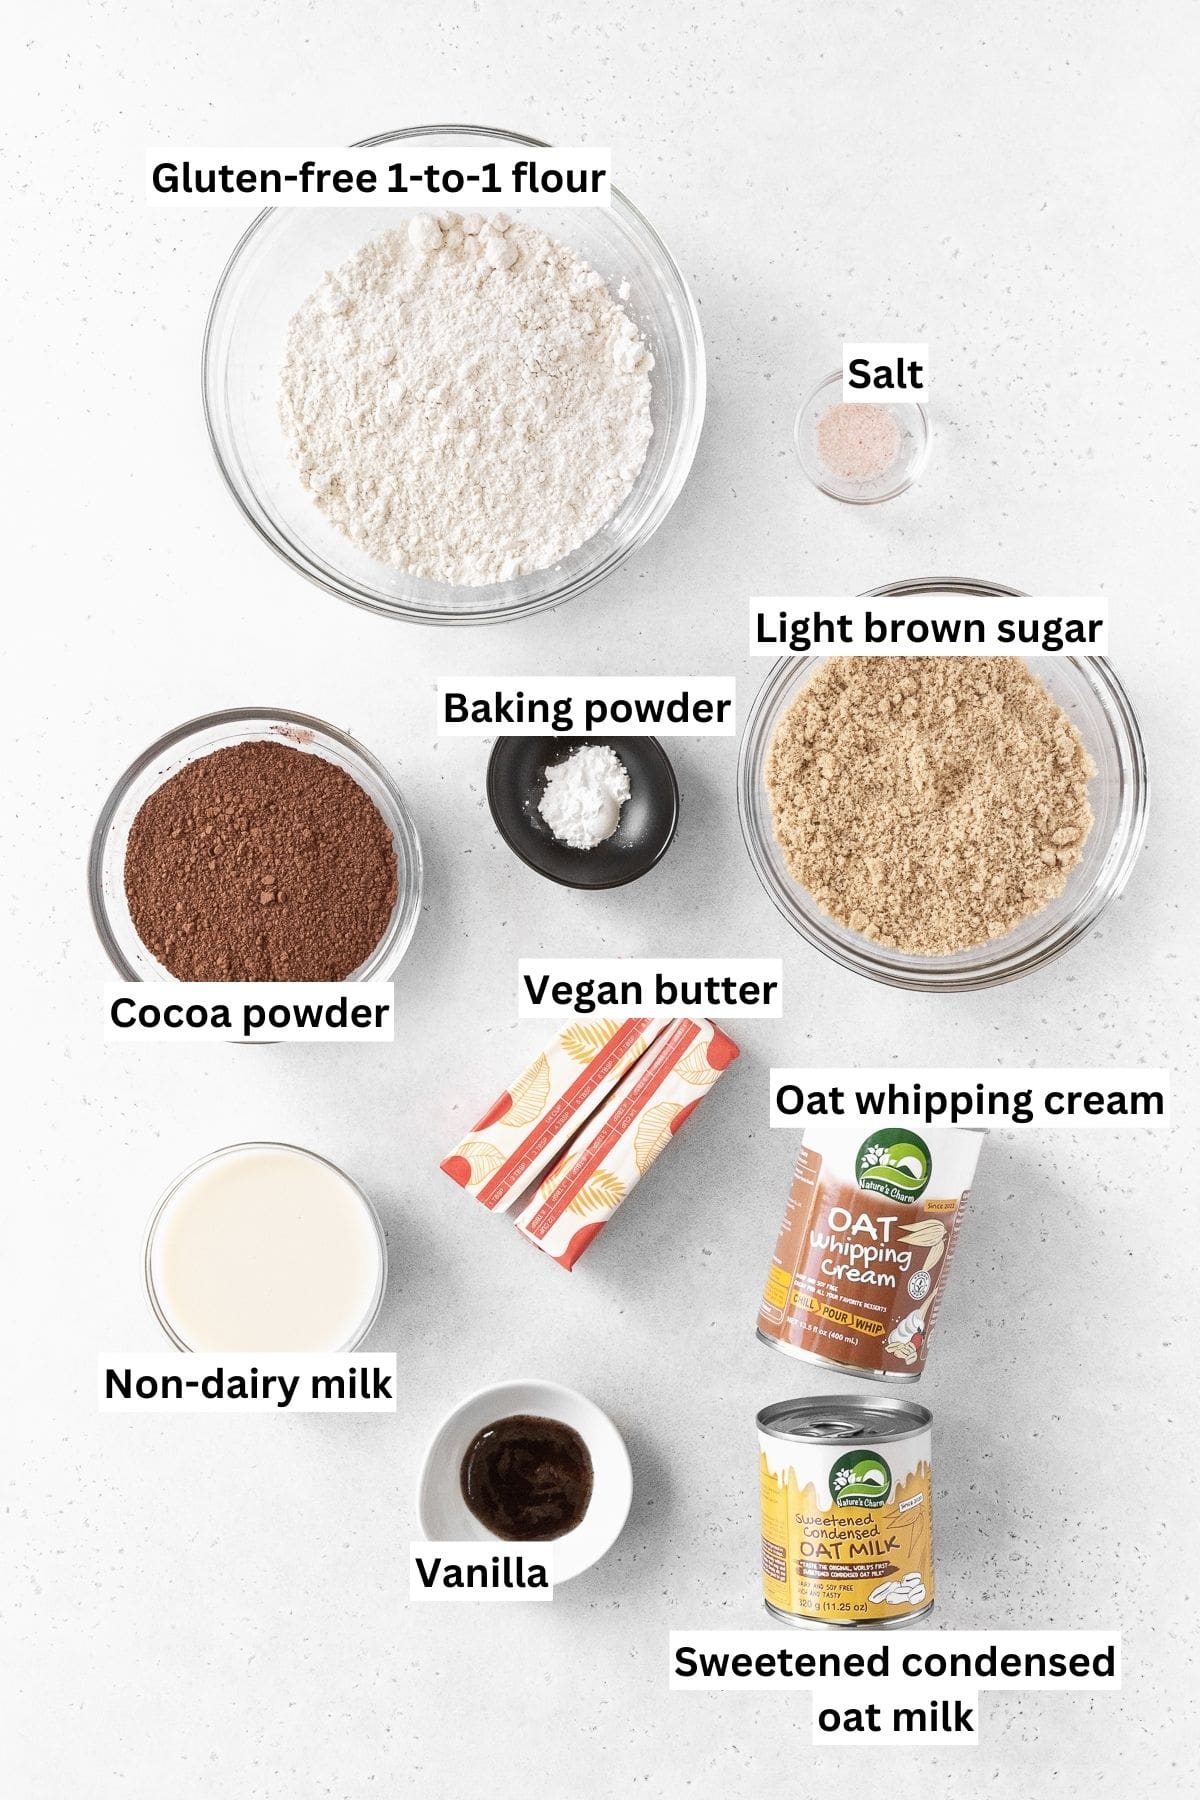
To make this vegan ice cream sandwich recipe, just grab the following ingredients:
- 1-to-1 Gluten-Free Flour - My favorite brands are Bob's Red Mill and King Arthur's Measure for Measure Flour.
- Cocoa Powder - Dutch process cocoa powder is best for this recipe. You can find this cocoa powder at most major grocery store chains and online at Amazon.
- Vegan Butter - Softened to room temperature so the butter can cream with the sugar.
- Light Brown Sugar - Adds a depth of flavor and moisture to the chocolate cookie base.
- Dairy-Free Milk - Almond, Coconut, Oat, or any other plant-based milk will do the trick.
- Vanilla Extract - For the best flavor, use pure vanilla extract.
- Sweetened Condensed Oat Milk - Provides a sweet base for the dairy-free ice cream recipe. I prefer and recommend Nature's Charm Brand.
- Oat Milk Whipping Cream - Contributes creaminess and just the right amount of airiness to the ice cream. Nature's Charm is my preferred brand of oat milk whipping cream, too.
Substitutions
- Flour - Though this recipe will not be gluten-free if making this substitution, you can also make the chocolate wafer cookies with all-purpose flour.
- Cocoa Powder - Add an extra chocolaty kick to the dairy-free ice cream sandwiches by using dark chocolate cocoa powder.
- Condensed Milk - If you can't find or use sweetened condensed oat milk, sweetened condensed coconut milk can work in its place while still keeping the ice cream sandwiches dairy-free and vegan!
- Whipping Cream - Similarly, coconut whipping cream can work in place of oat whipping cream.
How to Make Gluten-Free Ice Cream Sandwiches
How to Make the Gluten-Free Sandwich Cookies
Though it takes a few steps to make these homemade ice cream sandwiches, the techniques are simple and the results are worth it!
Step 1: In a large bowl, whisk together the gluten-free flour, cocoa powder, salt, and baking powder. Set aside.
Step 2: Beat the vegan butter and brown sugar together until light and fluffy. Add the vanilla and beat again.
Step 3: Slowly add the milk while continuing to beat the creamed sugar.
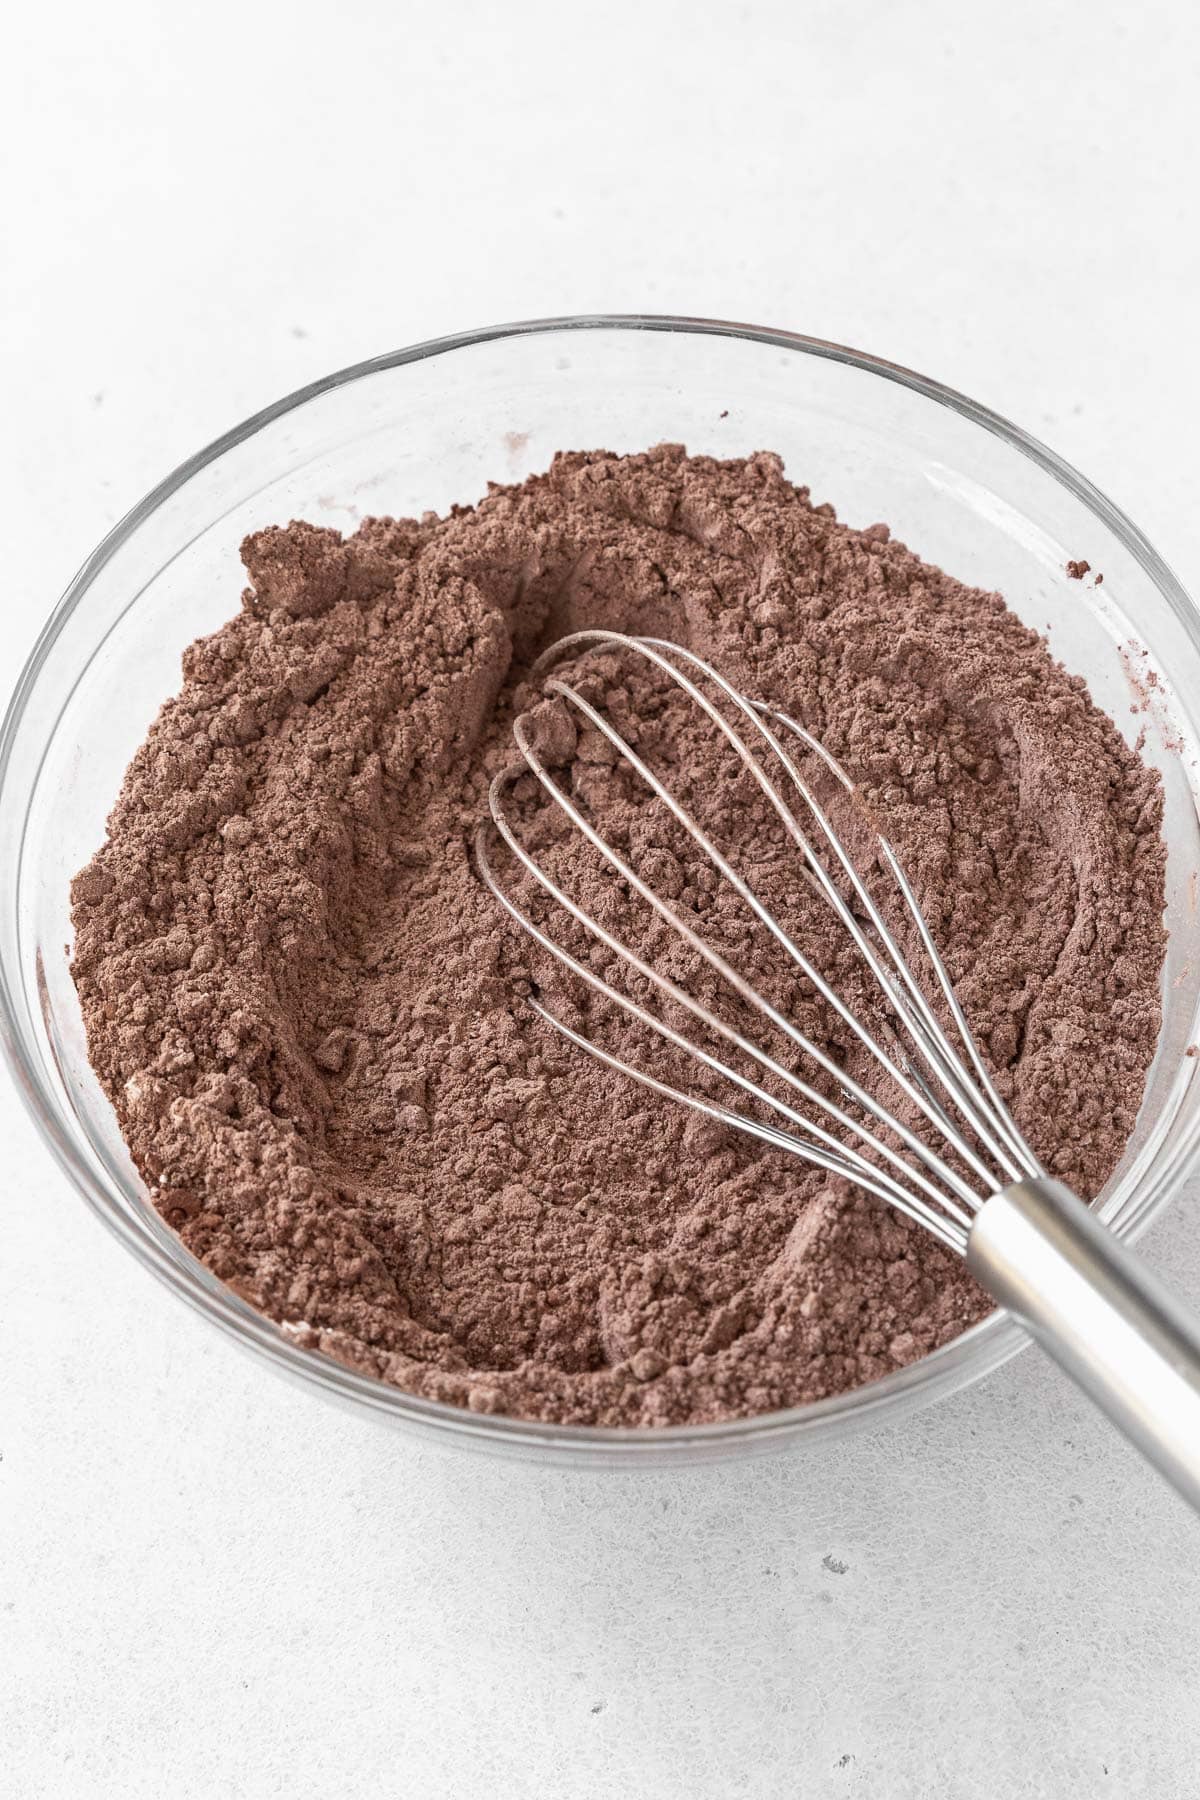

Step 4: Add half of the dry ingredients and beat again. Scrape down the sides of the bowl with a spatula and beat in the other half of the dry ingredients.
Step 5: Cover the bowl and let it rest for 30 minutes.

Step 6: Preheat the oven to 350°F (175°C). Grease and line a half-sheet baking pan (13 x 18-inch) with parchment paper.
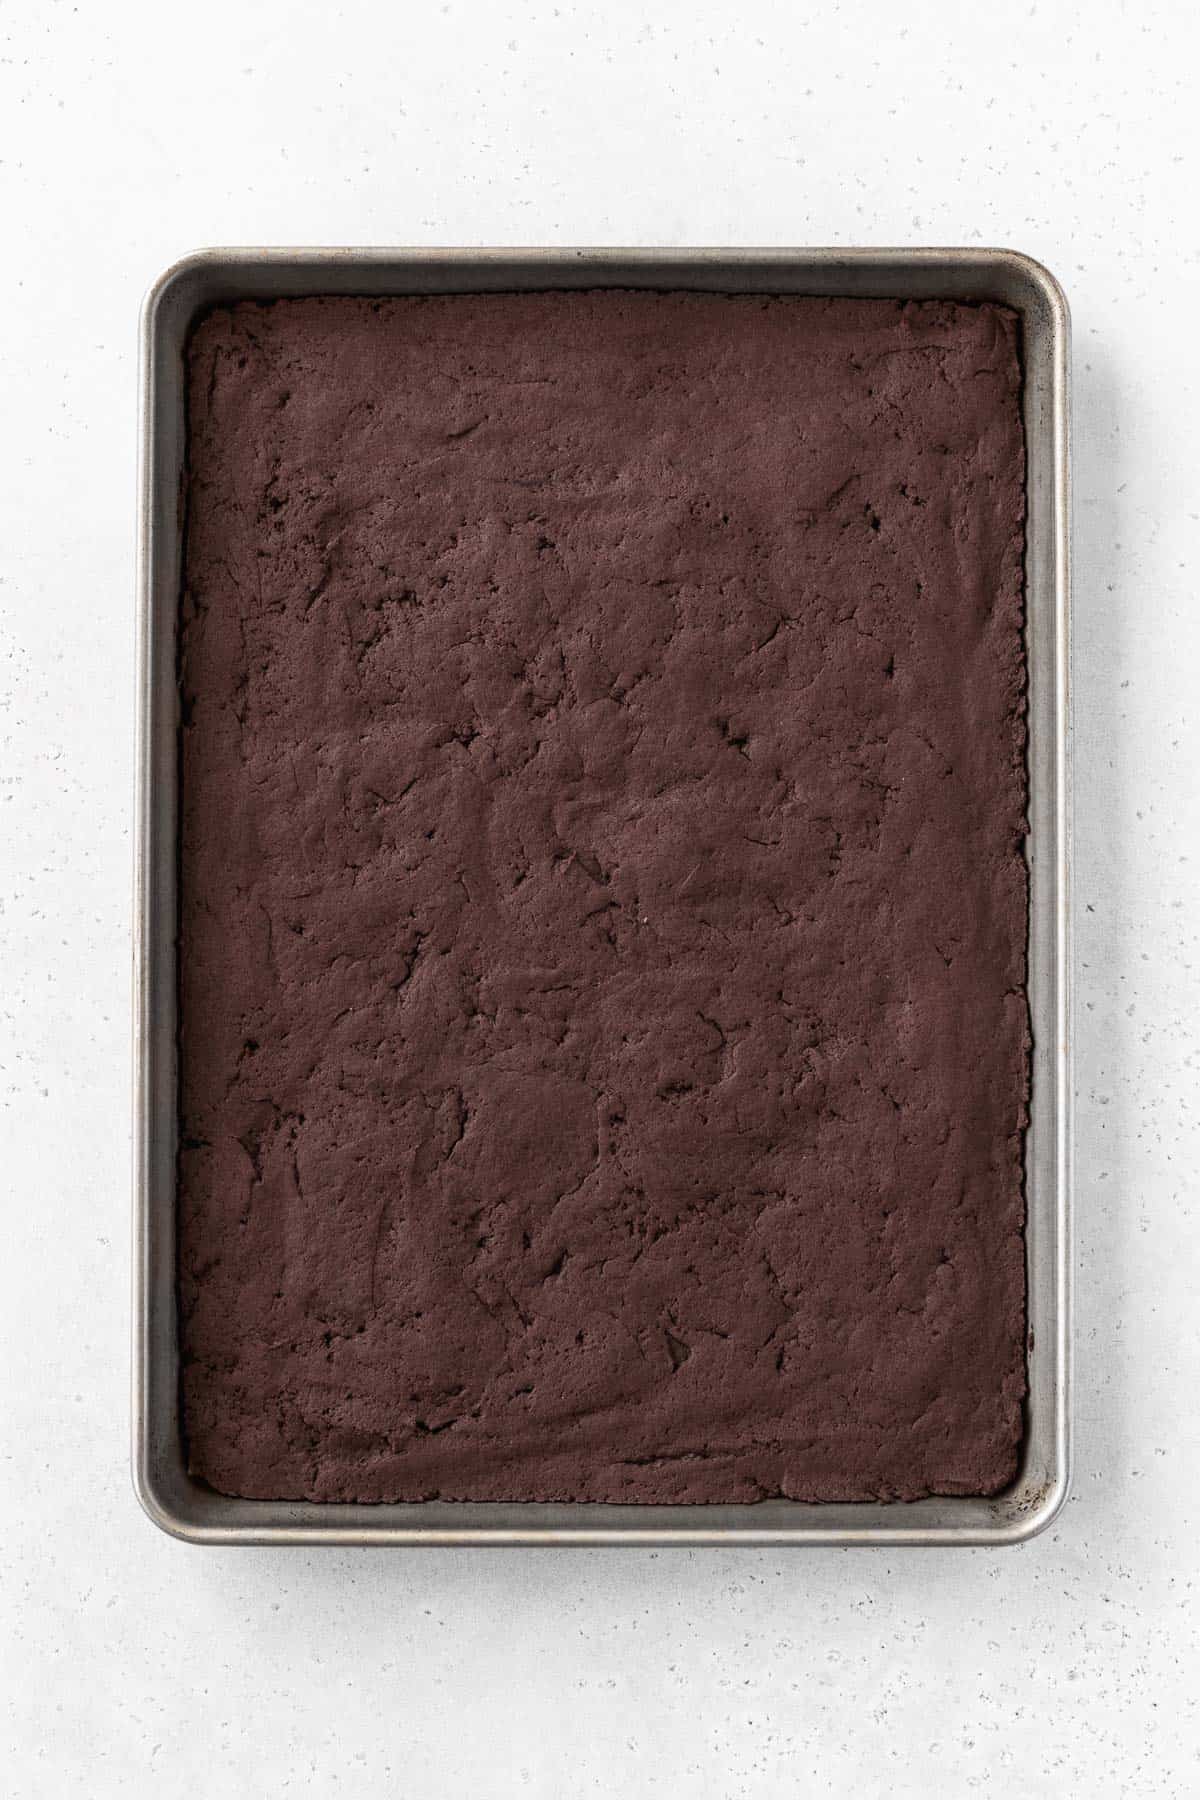
Step 7: Spread the cookie base mixture evenly over the parchment paper using an offset spatula and bake for 10-12 minutes. Cool it in the freezer while preparing the ice cream.

How to Make the Gluten-Free & Dairy-Free Ice Cream
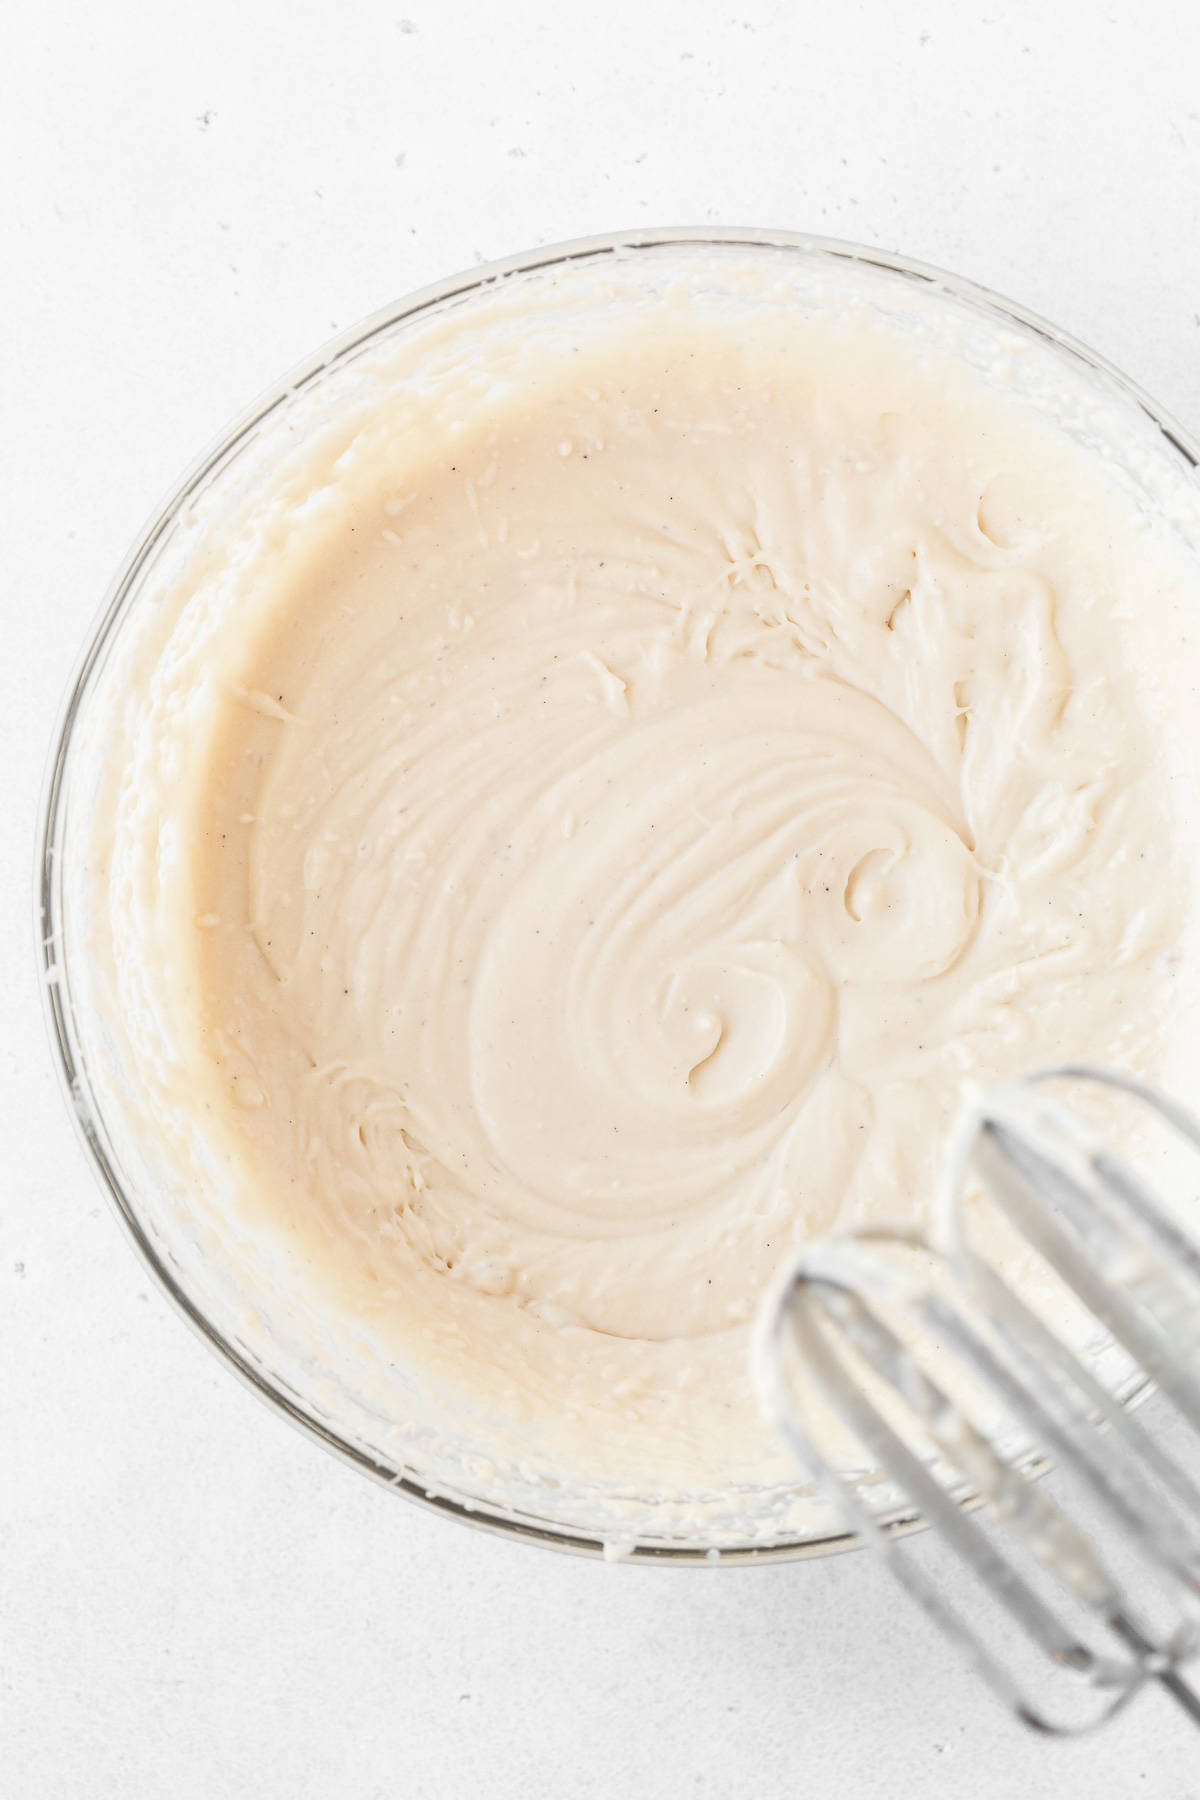
Step 1: In a large bowl, beat the chilled oat whipping cream for 5 minutes. Add the sweetened condensed oat milk, vanilla, and beat until smooth.
Step 2: Let it chill in the freezer for 1 hour, until it thickens to the texture of softened ice cream.


Assembling the Ice Cream Sandwiches
Step 1: Take the cookie base out of the freezer, and cut it in half so it creates two 9 x 13-inch rectangles.
Step 2: Evenly spread the ice cream base on one of the cookie layers.

Step 3: Top with the second cookie layer and wrap the large ice cream sandwich with plastic wrap and keep it in the freezer until completely frozen, about 6 hours or overnight.
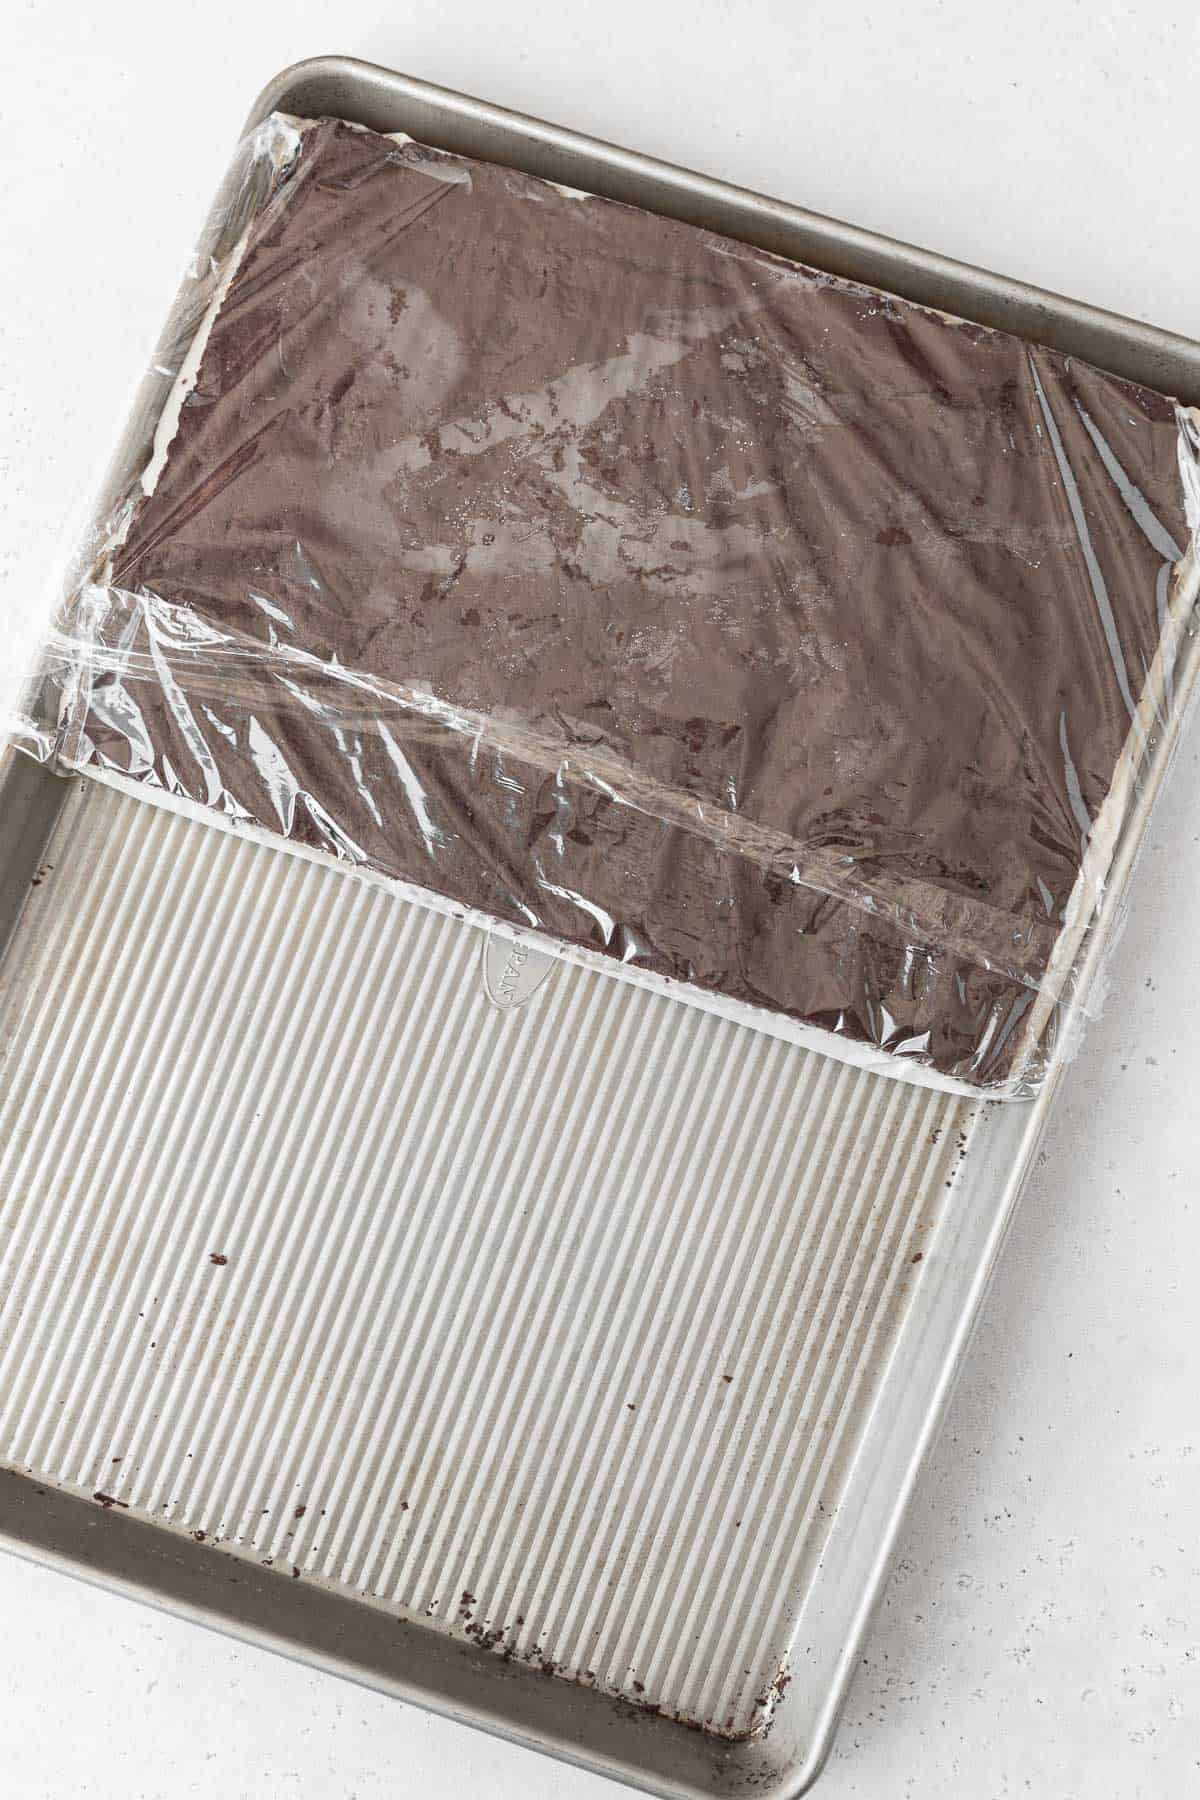
Step 4: Take the sheet of ice cream cookie out of the freezer, remove the wrap, and cut it into individual pieces.
Step 5: Wrap each ice cream sandwich with plastic wrap and store in an airtight bag or freezer-safe container until serving!
Recipe Success Tips
- Chill the oat whipping cream before making the ice cream. This will help the dairy-free cream whip up in stiffer peaks, resulting in a light and creamy vanilla ice cream.
- Use a stand mixer or hand mixer to make the cookie base and ice cream. Whichever you have on hand!
- Freeze the sandwiches after assembling them. This will allow them to set and for the ice cream to firm up.
- Make traditional ice cream sandwiches by using unsalted butter, sweetened condensed milk, and heavy whipping cream. By making these substitutions, however, these will no longer be non-dairy or vegan ice cream sandwiches.

Can You Make Gluten-Free Ice Cream Sandwiches with Store Bought Ice Cream?
Yes, you can certainly make ice cream sandwiches with gluten-free store-bought ice cream. Make sure to start with gluten-free ice cream (see my tips above when shopping), soften the ice cream at room temperature for 15-30 minutes, and then continue with the recipe as directed.
Note: to make dairy-free ice cream sandwiches, follow the above tips with store-bought dairy-free or vegan ice cream!
Recipe Variations
Though these gluten-free and non-dairy ice cream sandwiches are a hit as-is, you can always take them up a notch with any of the following variations:
- Chocolate Chips: Stir mini chocolate chips into the ice cream before chilling and assembling the cookies for a bit of chocolate crunch! To keep this recipe dairy-free, use vegan or dairy-free chips.
- Sprinkles: Add a pop of color and fun by dipping the sides of the ice cream sandwiches into rainbow or chocolate sprinkles.
- Flavors: Add mint extract, dried strawberry powder, or cherry pie filling to the ice cream to explore different flavor combinations.
Storage Directions
To store these vegan ice cream sandwiches, wrap them individually in plastic wrap before storing them in a freezer-safe container or bag. Once stored this way, the sandwiches can keep for up to 2 months.
Tools Needed to Make This Recipe
- Measuring Cups & Spoons
- Mixing Bowl
- Whisk
- Hand Mixer or Stand Mixer
- Cookie Sheet
- Wire Cooling Rack
- Chef Knife
- Offset Spatula
- Silicone Spatula
More Ice Cream and Sandwich Dessert Recipes
Thanks so much for stopping by! I hope you loved this gluten-free ice cream sandwich recipe as much as I do. For more mouth-watering dairy-free, gluten-free, and/or vegan dessert inspiration, make sure to follow me on Pinterest, Facebook, and Instagram. You can also get all of my newest content delivered straight to your inbox by signing up for my email newsletter — I promise not to spam you!

Gluten-Free Ice Cream Sandwiches
Ingredients
Chocolate Cookie Base
- 2 cups gluten-free 1-to-1 flour
- 1 cup cocoa powder
- ½ teaspoon fine salt
- 1 teaspoon baking powder
- 1 cup vegan butter softened
- 1 cup light brown sugar
- ½ cup dairy-free milk
- 2 teaspoons vanilla extract
Ice Cream
- 1 can Nature's Charm sweetened condensed oat milk
- 1 can Nature's Charm oat whipping cream chilled overnight
- 1 teaspoon vanilla extract
Instructions
- In a large bowl, whisk together the gluten-free flour, cocoa powder, salt, and baking powder. Set aside.
- In the bowl of a stand mixer or a large bowl with an electric hand mixer, beat together vegan butter and light brown sugar until fluffy, about 3 minutes. Add the vanilla and beat again. Slowly add the dairy-free milk while continuing to beat.
- Add half of the dry ingredients, beat again, and scrape the bowl with a silicone spatula before adding the other half and beating again. Once the mixture comes together, cover the bowl and let it rest for 30 minutes.
- Preheat the oven to 350°F (175°C). Grease and line a half-sheet baking pan (13x18 inch) with parchment paper. Spread the rested cookie base mixture evenly over the parchment paper and bake for 10-12 minutes. Let it cool completely before letting it chill in the freezer while preparing the ice cream.
- In a large bowl, beat the chilled oat whipping cream for 5 minutes. Add the sweetened condensed oat milk, vanilla, and beat until smooth. Let it chill in the freezer for 1 hour, until it thickens to the texture of softened ice cream.
- Take the cookie base out of the freezer, and cut it in half so it creates two 9x13 inch rectangles. Evenly spread the ice cream base on one of the cookie layers. Top with the second cookie layer and wrap the large ice cream sandwich with plastic wrap and keep it in the freezer until completely frozen, about 6 hours or overnight. Take it out of the freezer once frozen, take the wrap off, and cut it into ---- pieces. Wrap each ice cream sandwich with plastic wrap and store in an airtight bag or container in the freezer until ready to serve.






Leave a Reply