


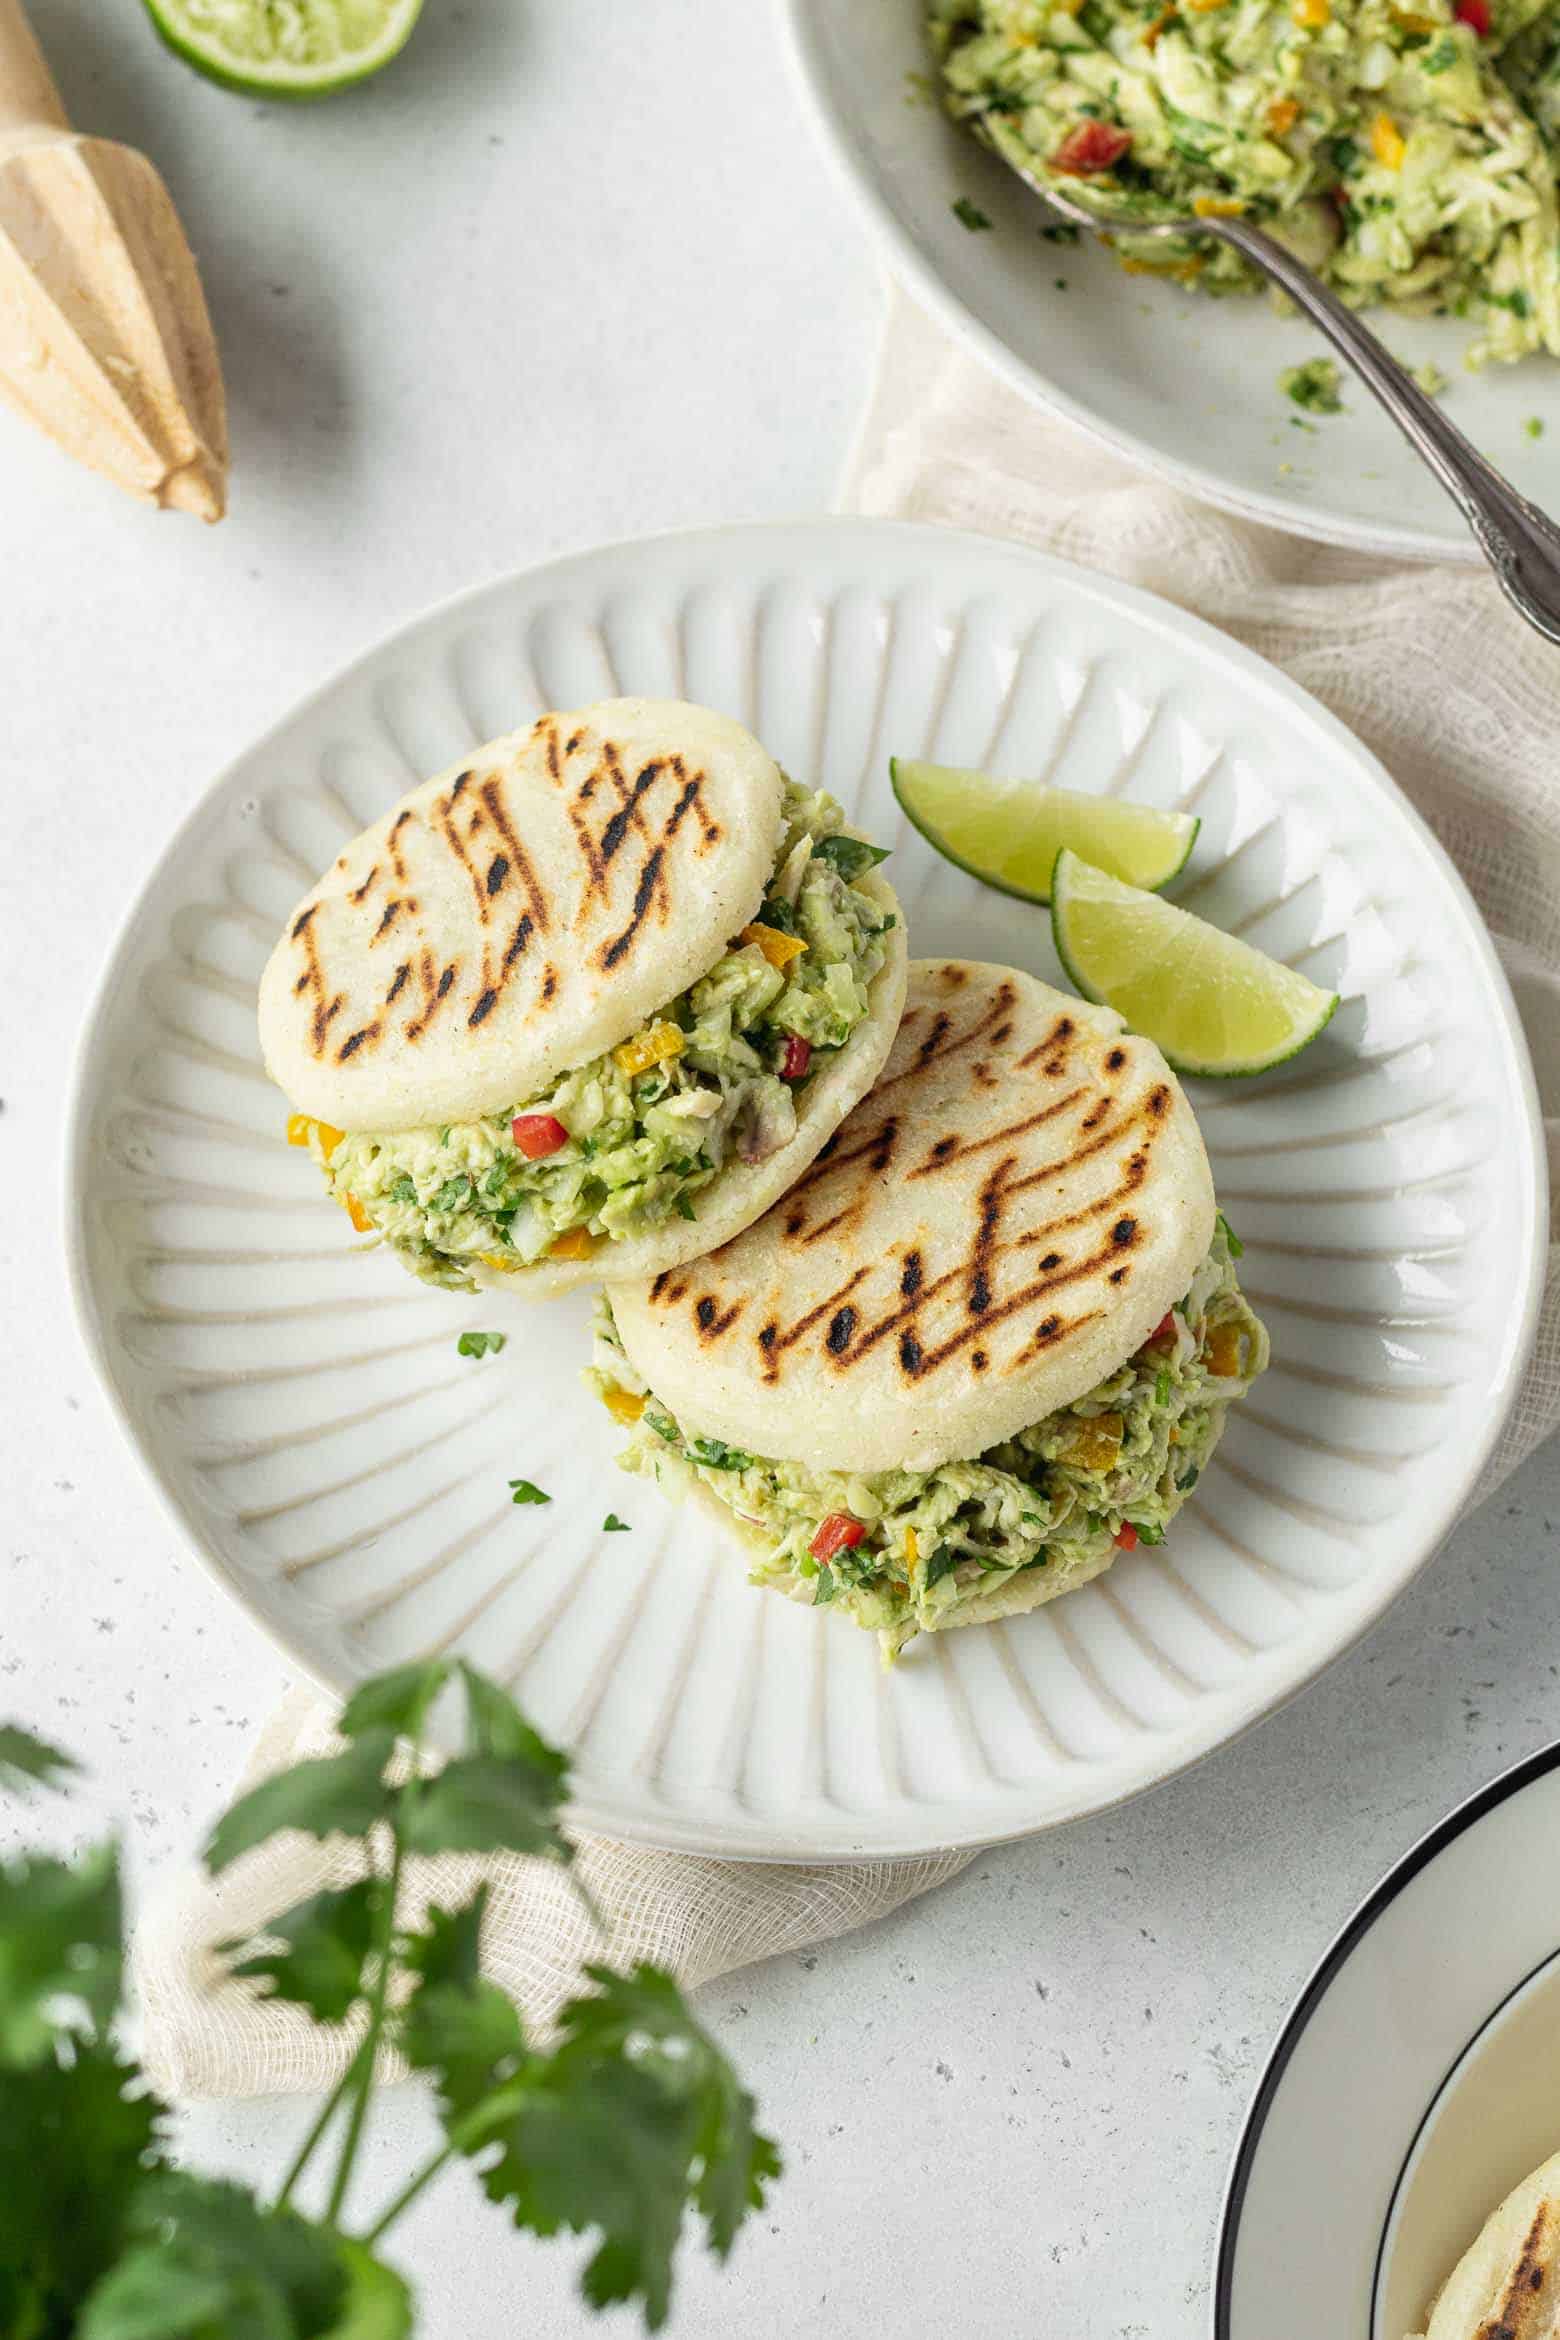
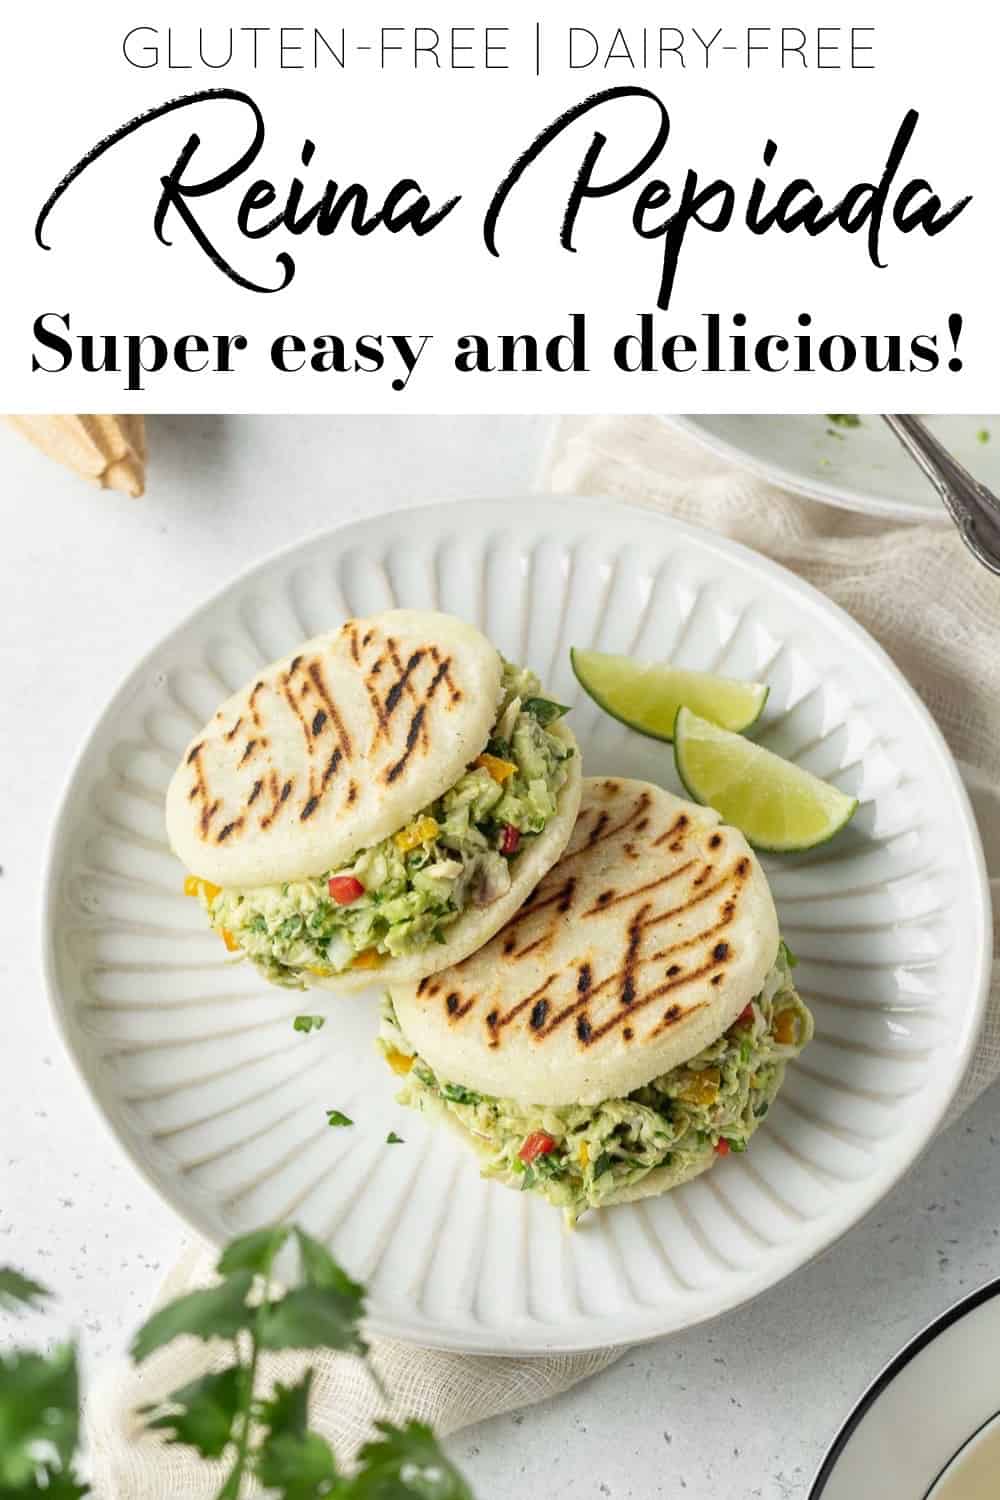
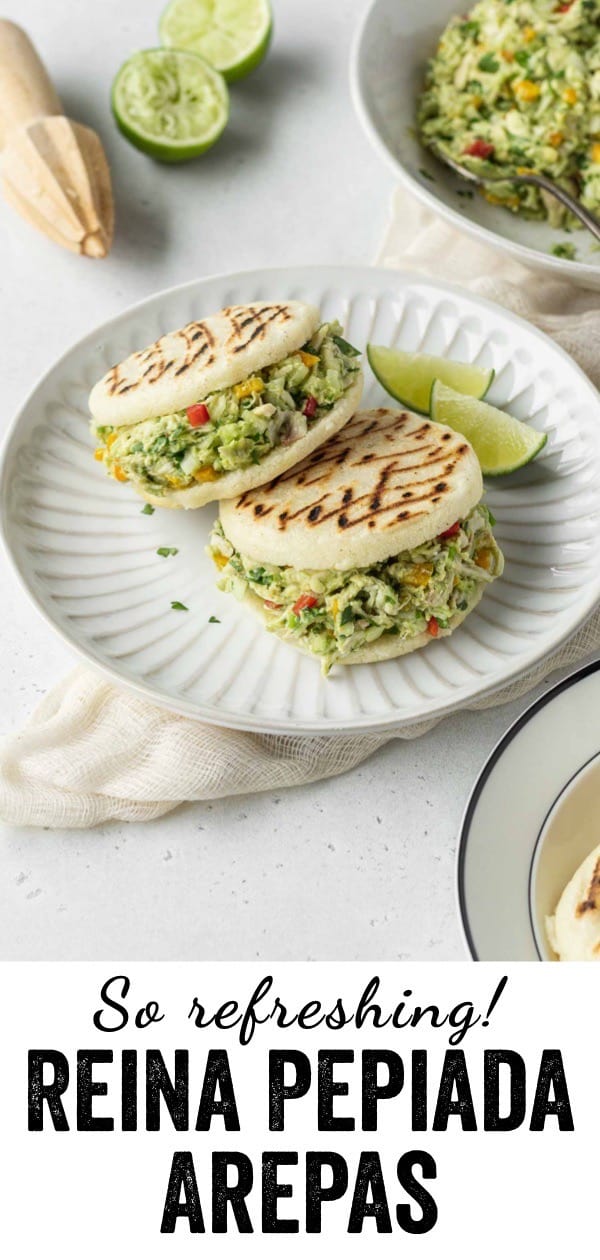
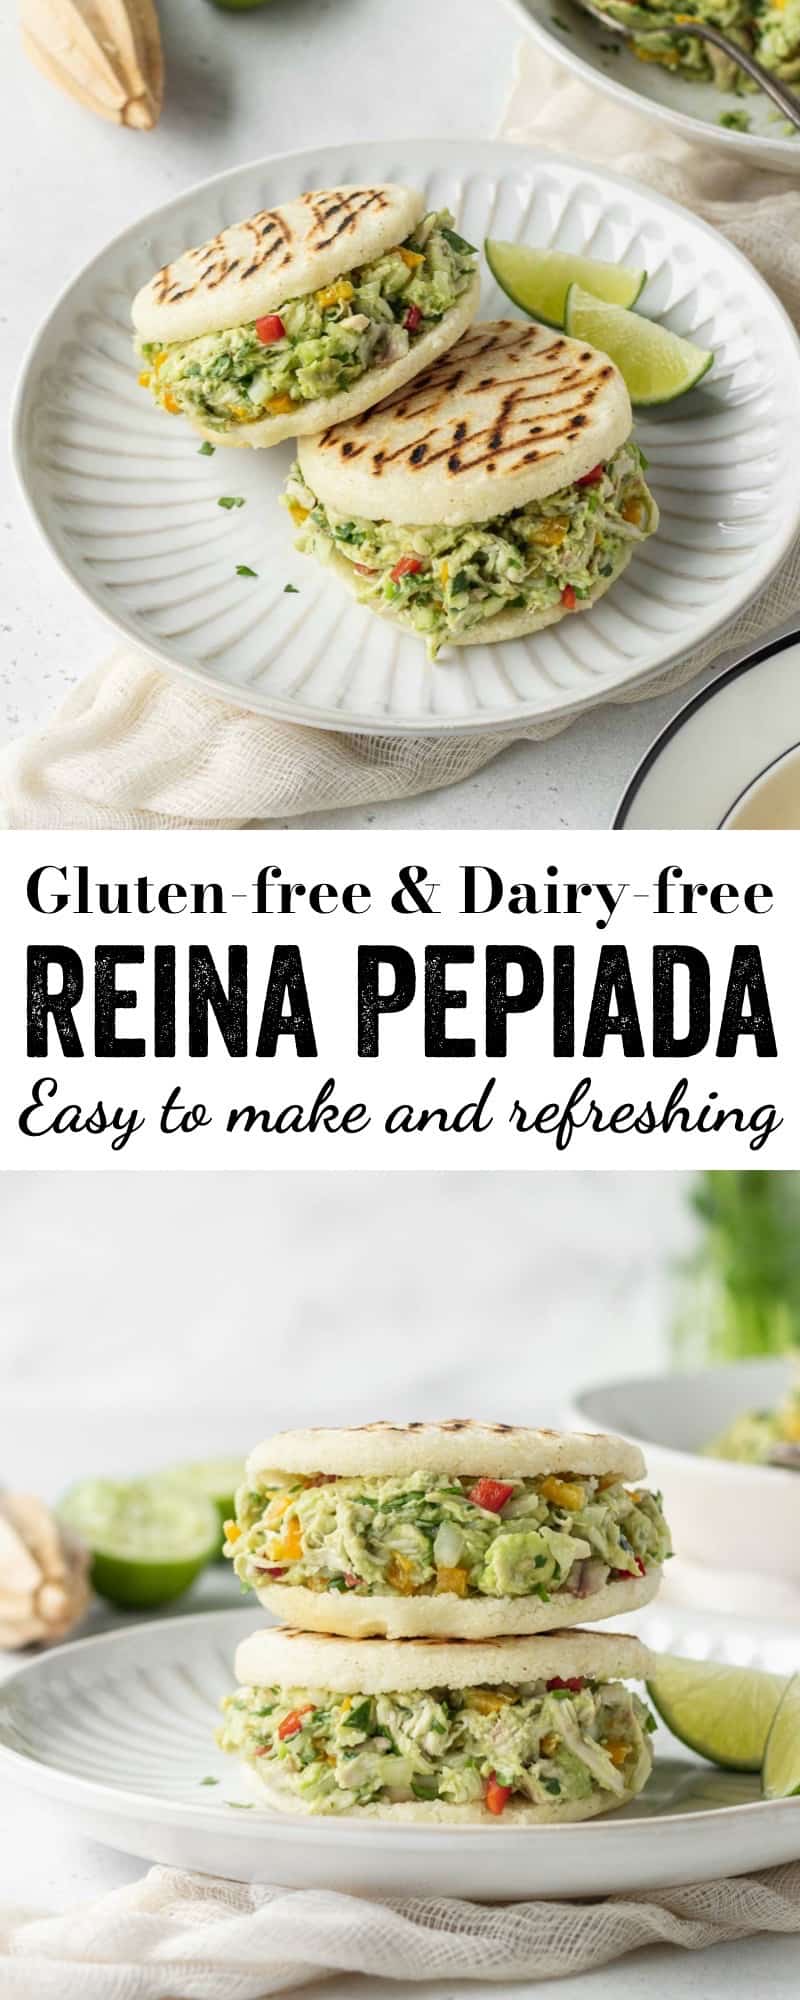
Reina pepiada is a Venezuelan chicken and avocado filling for arepas! It's my favorite arepa filling because it's so fresh yet satisfying! Both the arepas and the filling are gluten-free, so I can eat this sandwich without feeling bloated or sluggish!
This recipe was originally published on April 2, 2019. It was updated with new photos and information on May 1, 2022.
What is reina pepiada ?
Reina
What does reina pepiada mean?
Reina pepiada in English means "curvy queen".

Ingredients
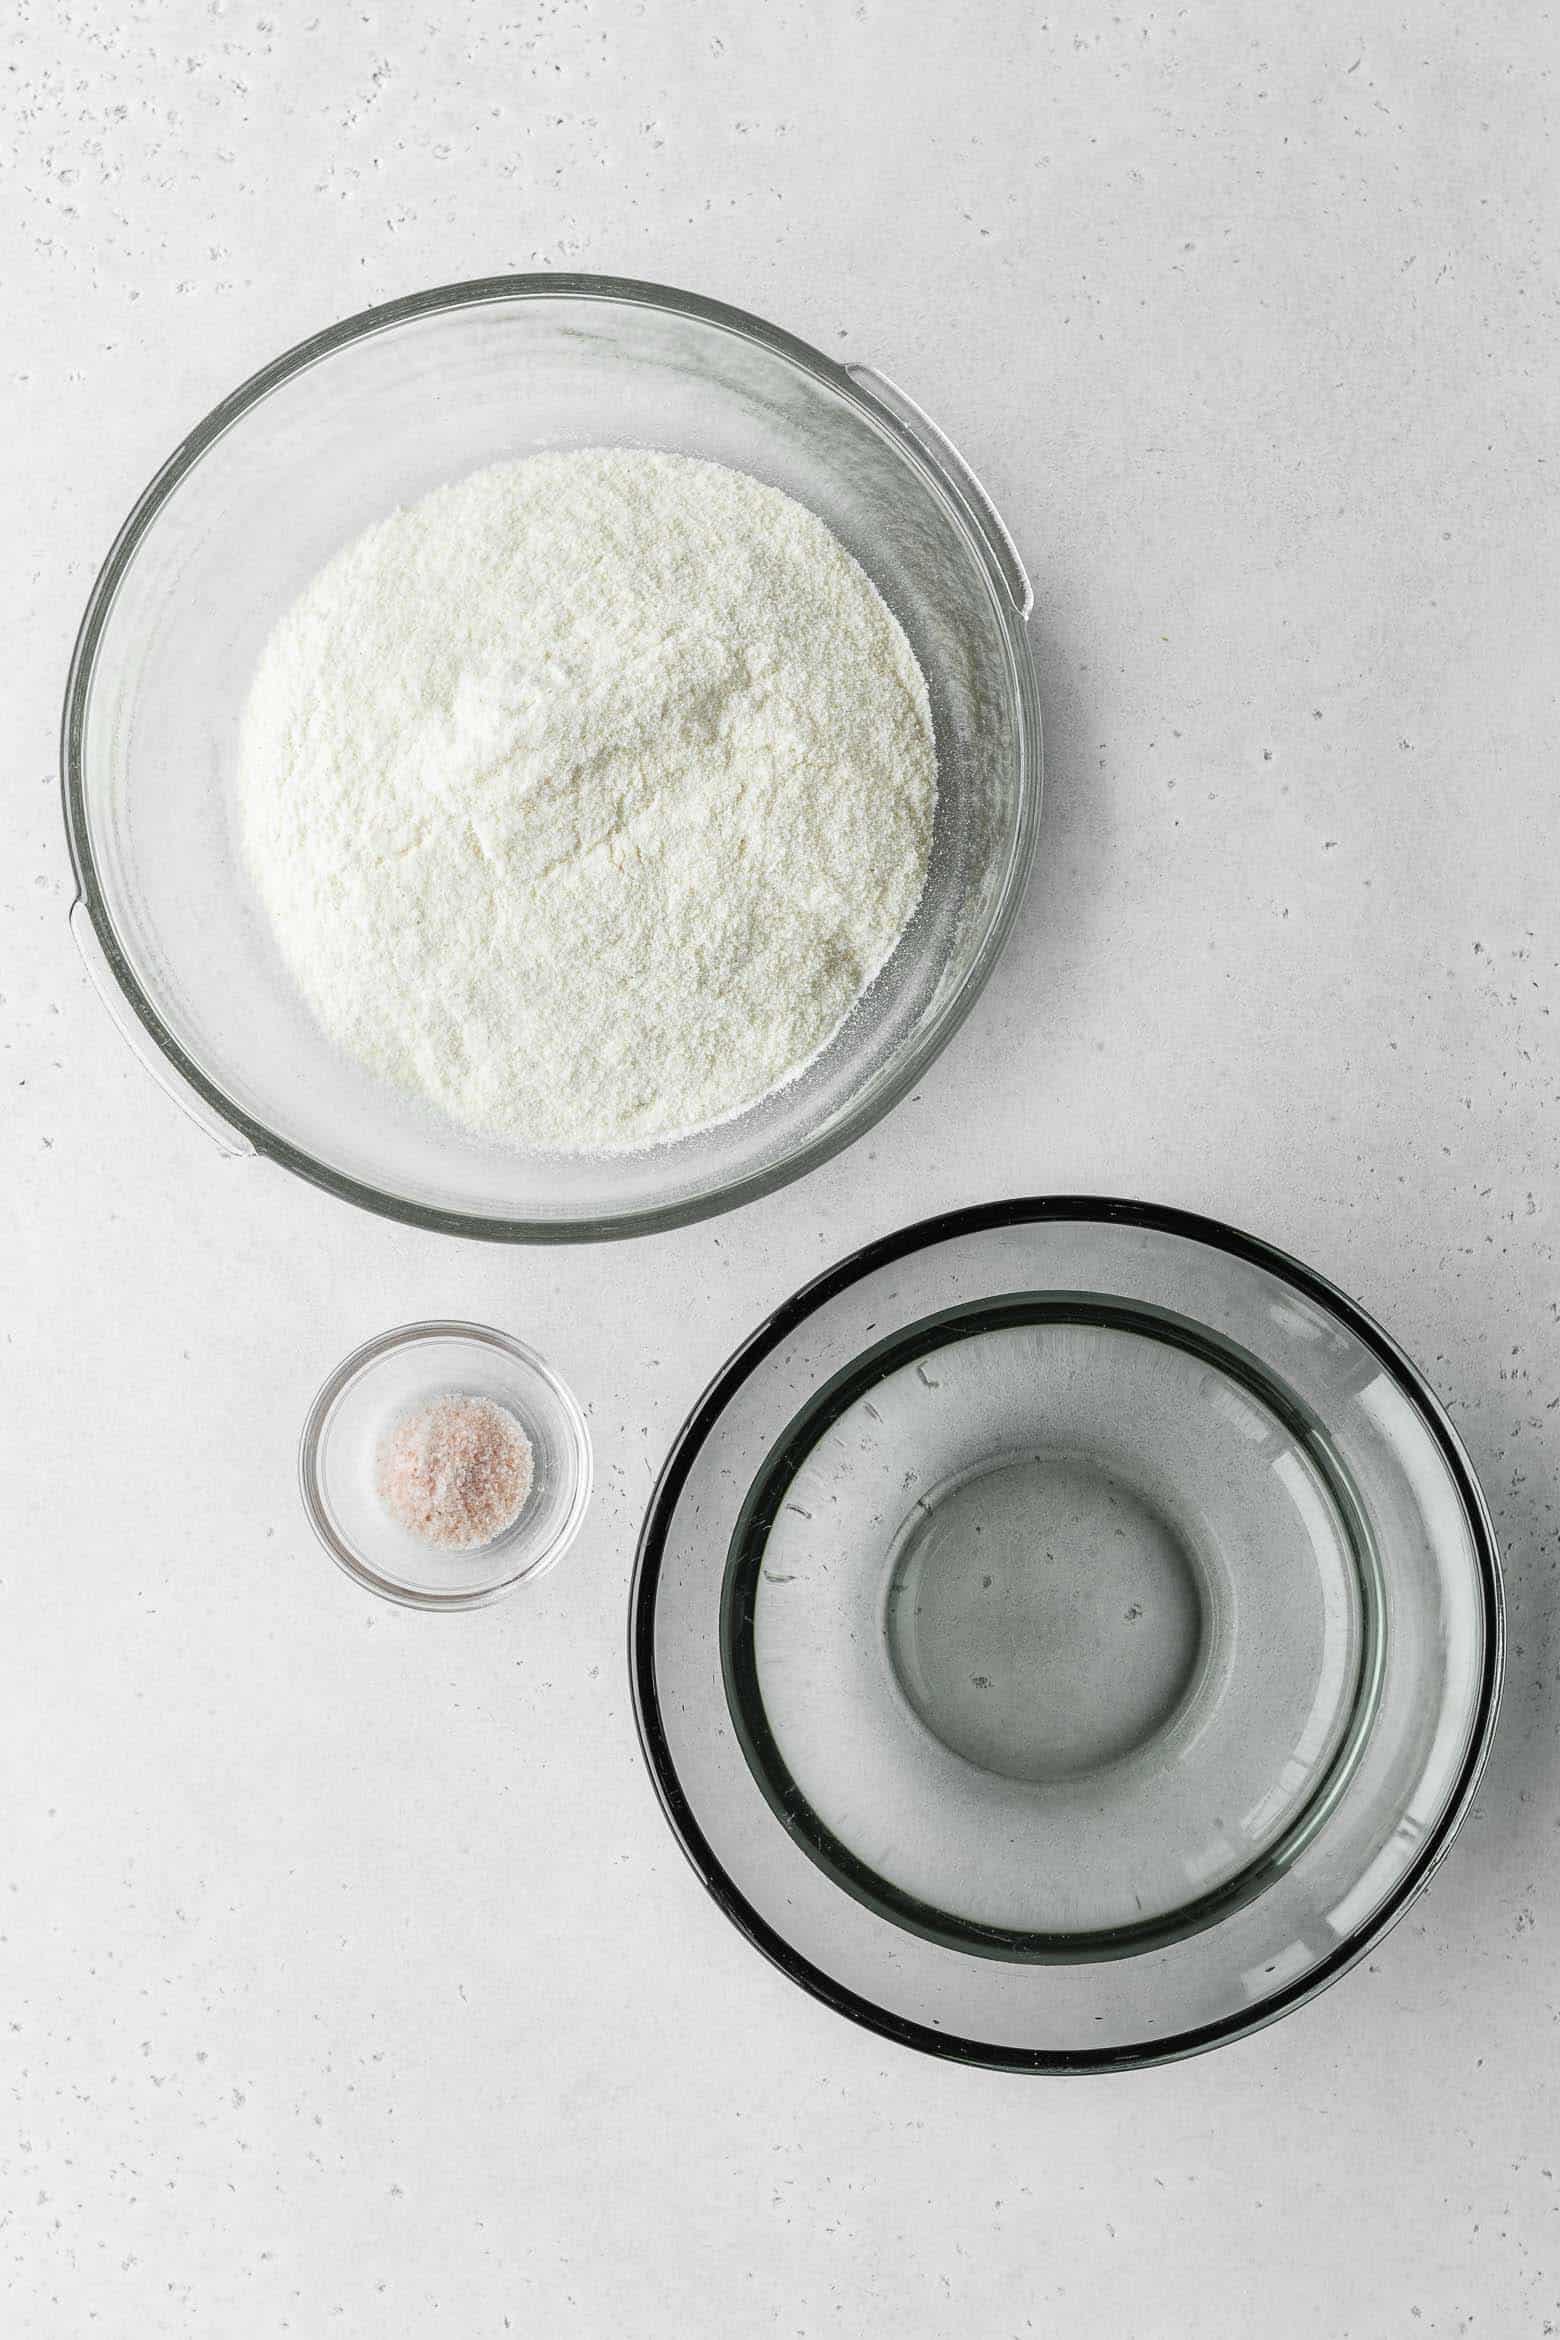
Arepa ingredients
- Arepa flour - Also known as masarepa or harina PAN, arepa flour is pre-cooked cornmeal used to make arepas.
- Salt - Use fine salt.
- Water
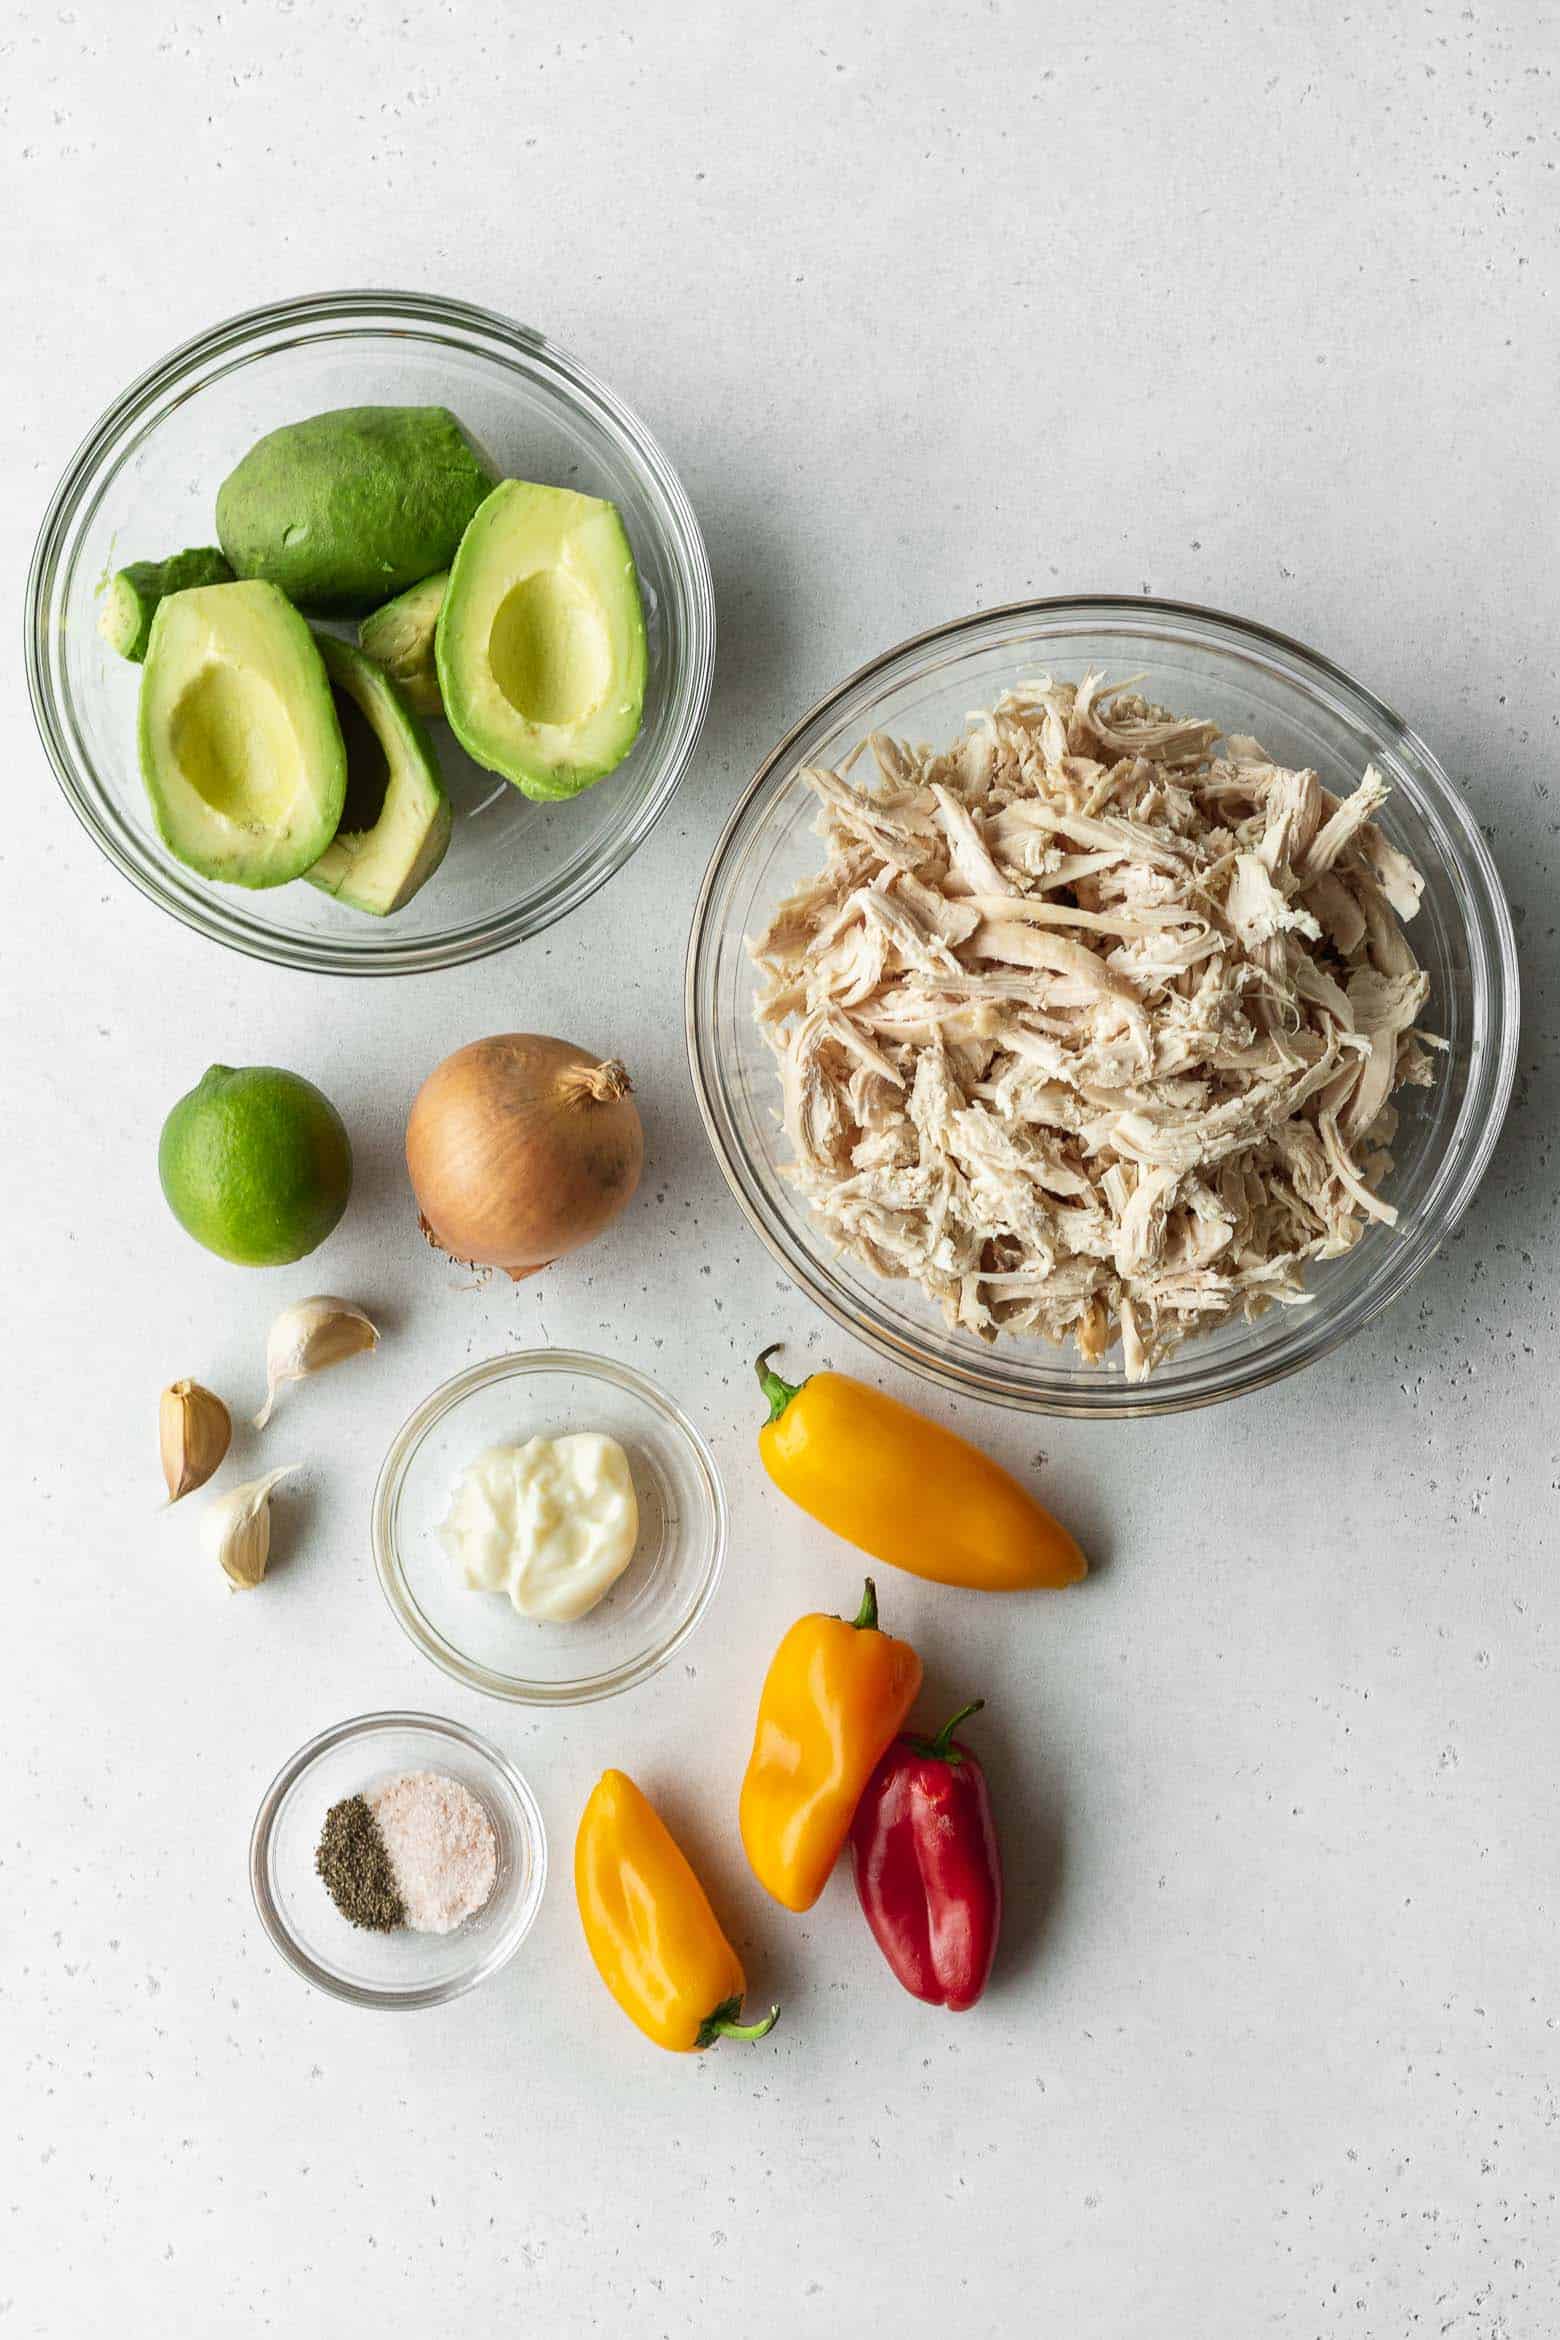
Filling ingredients
- Chicken breast - Chicken breast can easily be overcooked and become dry, but poaching it is going to make for moist and juicy chicken breast.
- Avocado - Make sure your avocados are nice and ripe!
- Onion - Use white or yellow onion.
- Bell pepper - Use a red bell pepper. If you can’t find it, use either a yellow or orange pepper!
- Garlic - Use fresh, minced or grated garlic.
- Salt - Use fine salt.
- Black pepper - Freshly ground pepper has the best flavor!
- Mayonnaise - I’ve tried these arepas venezolanas with North American mayo and Japanese kewpie mayo, and both are delicious!
- Lime juice - Freshly lime juice is hard to beat, but you can use lemon as a substitute.
- Cilantro - Optional, but not in my house.
Substitutions
Chicken - If you’re not a fan of chicken breast, you can substitute it with chicken thigh. If you’re not a fan of chicken in general, try making this chicken arepas recipe with tuna - reina pepiada de atun!
Mayonnaise - There’s not a lot of mayo in this recipe, but if you’d like, feel free to skip it altogether. You can add extra mashed avocado or lime juice if you find that the filling isn’t moist enough.
Cilantro - I understand that cilantro is not everyone’s favorite herb, so you can skip it if you don’t like it!
Spice it up! - Add some chopped jalapeños for a little kick, or add shredded or diced cheese and make reina pepiada con queso!

How to make reina pepiada arepas
How to make the chicken avocado filling
- In a pot, add the raw chicken breast, sliced onion, salt, and black pepper. Add water until the chicken breast are covered by an inch or two.
- Bring it to a boil, then lower the heat and simmer for 10 to 15 minutes until the chicken is cooked through. Remove the chicken and let it cool. Once cool, shred the chicken, and set it aside.
- In a large bowl, mash the avocados and add the garlic, bell pepper, onion, cilantro, mayonnaise, and lime juice.
- Add the shredded chicken breast and toss it until the chicken is coated with the avocado mixture. Season to salt and black pepper to taste.
- Cover the bowl and keep it in the fridge until you’re ready to serve.
How to make the arepas
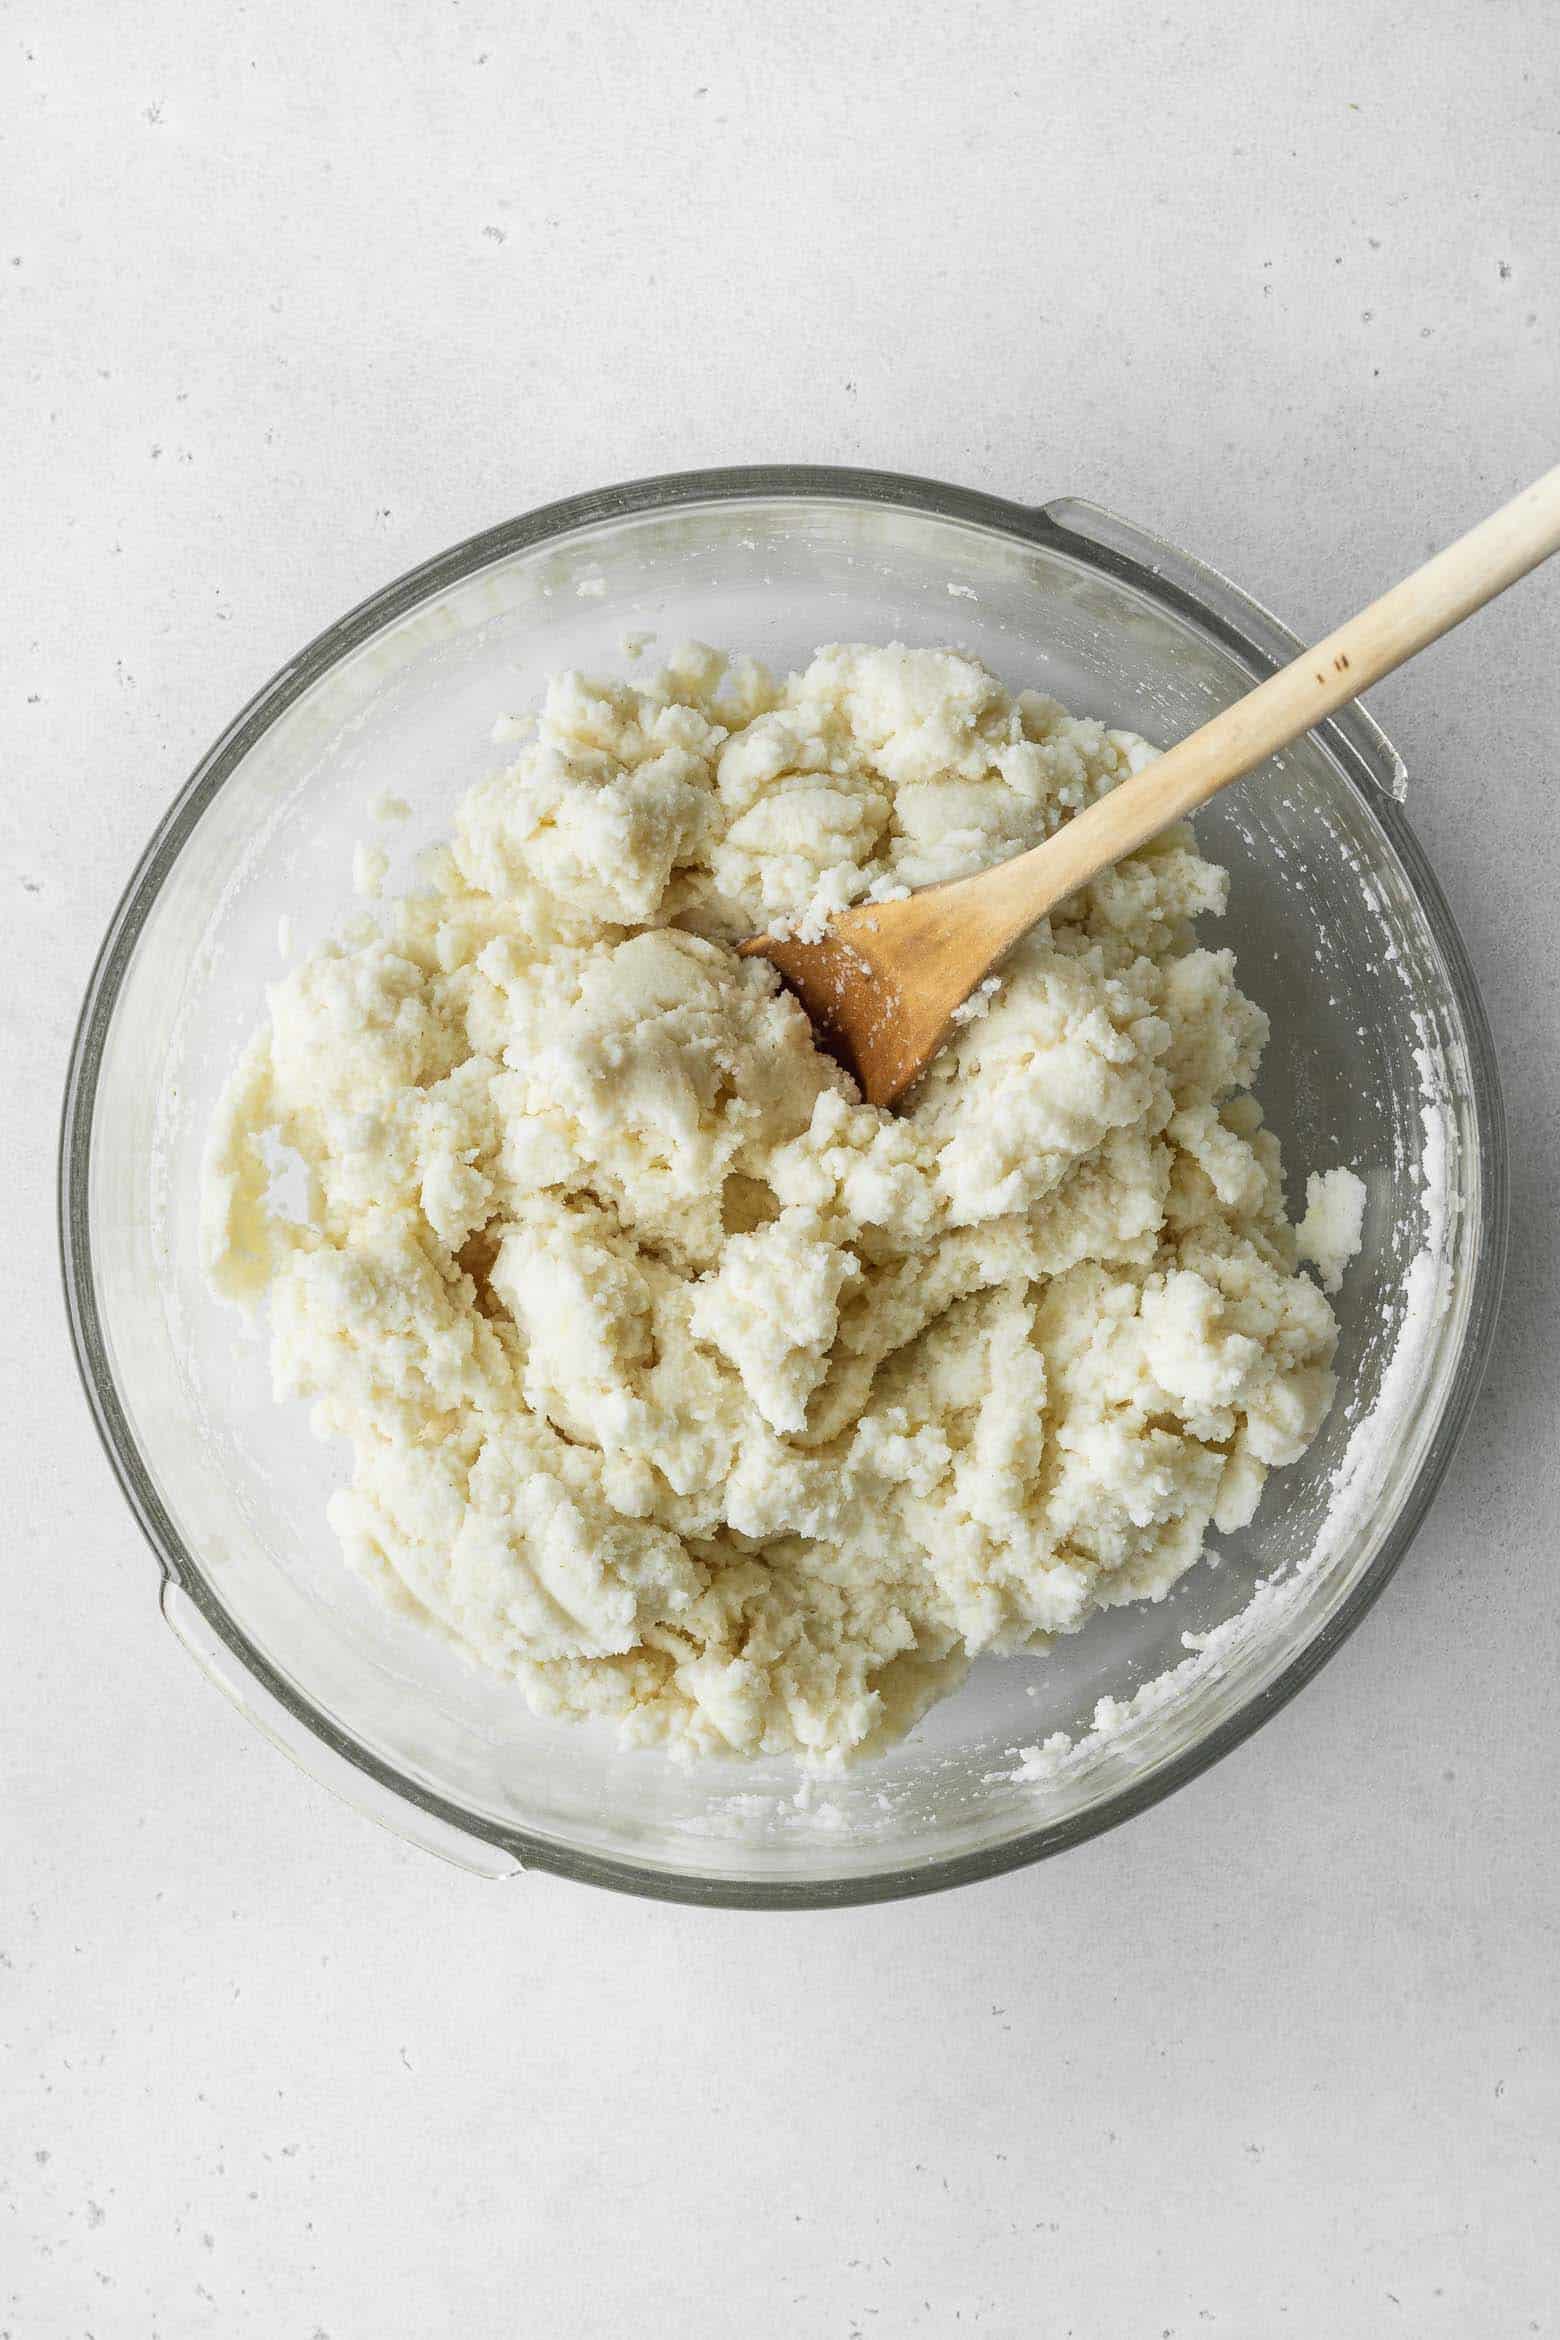
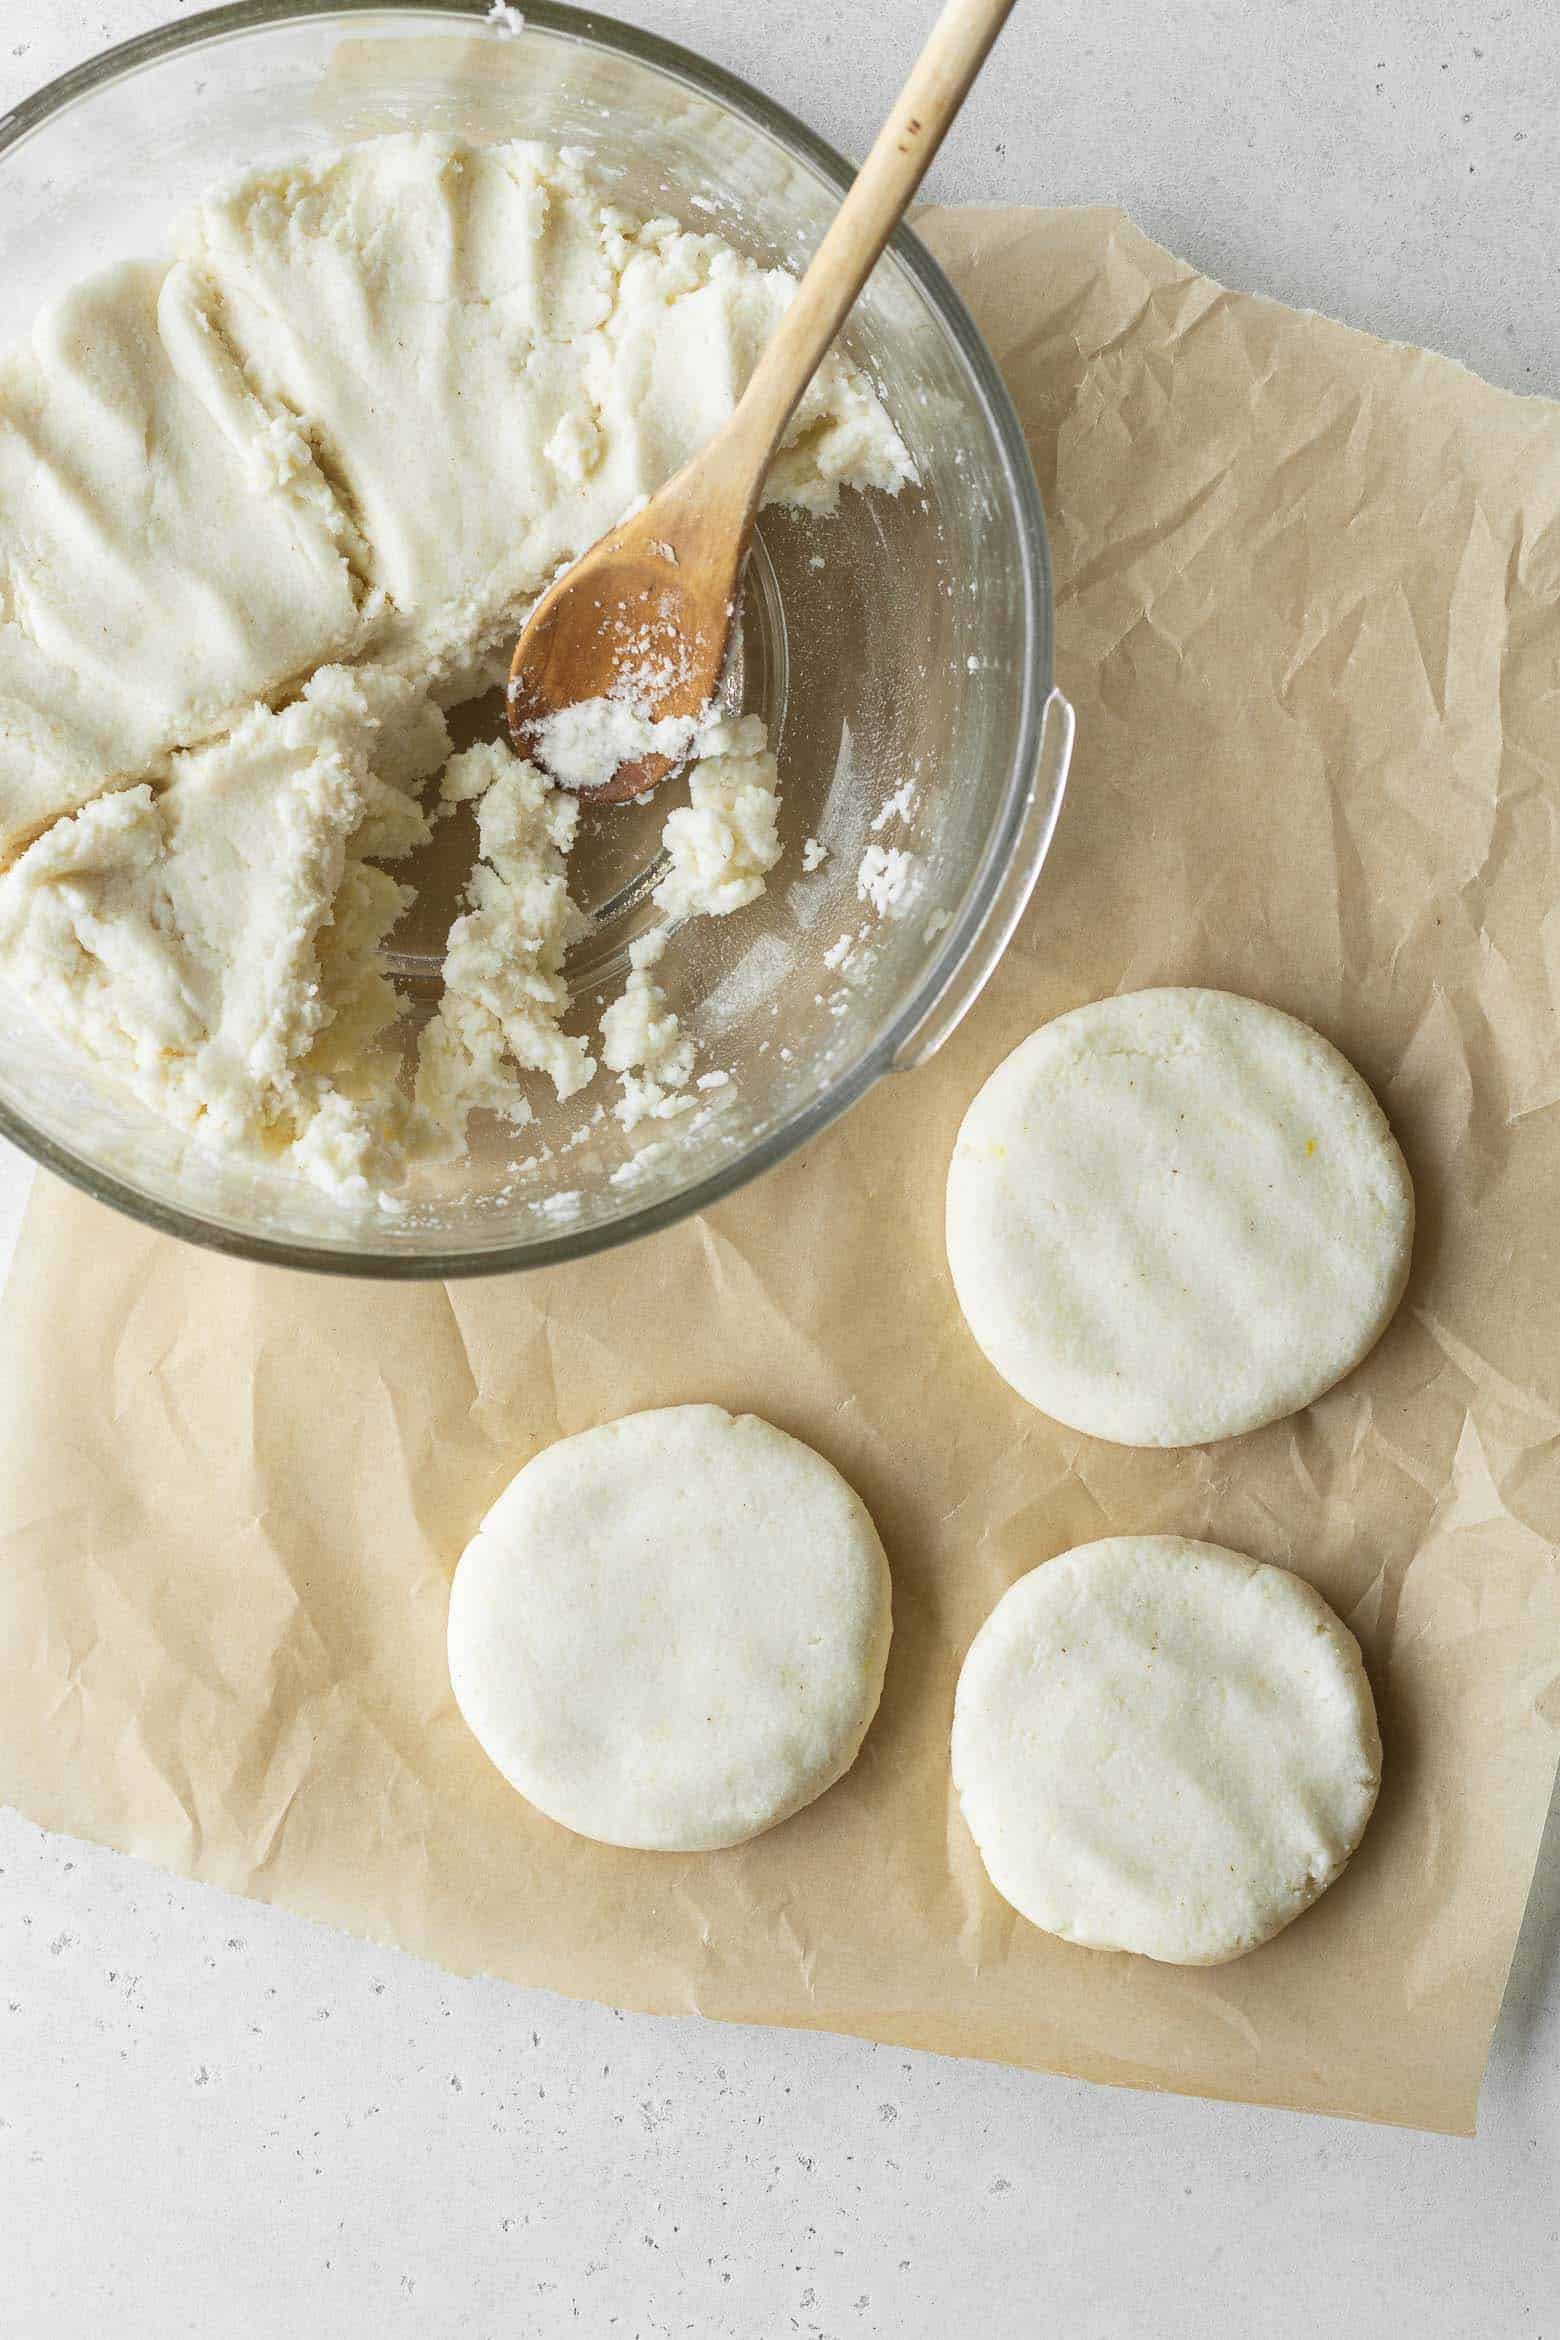
- In a bowl, combine the masarepa and salt. Pour the water in and stir until smooth. Let it rest for a couple of minutes.
- Divide the dough into 8. Roll each one into a ball and flatten using your hands.
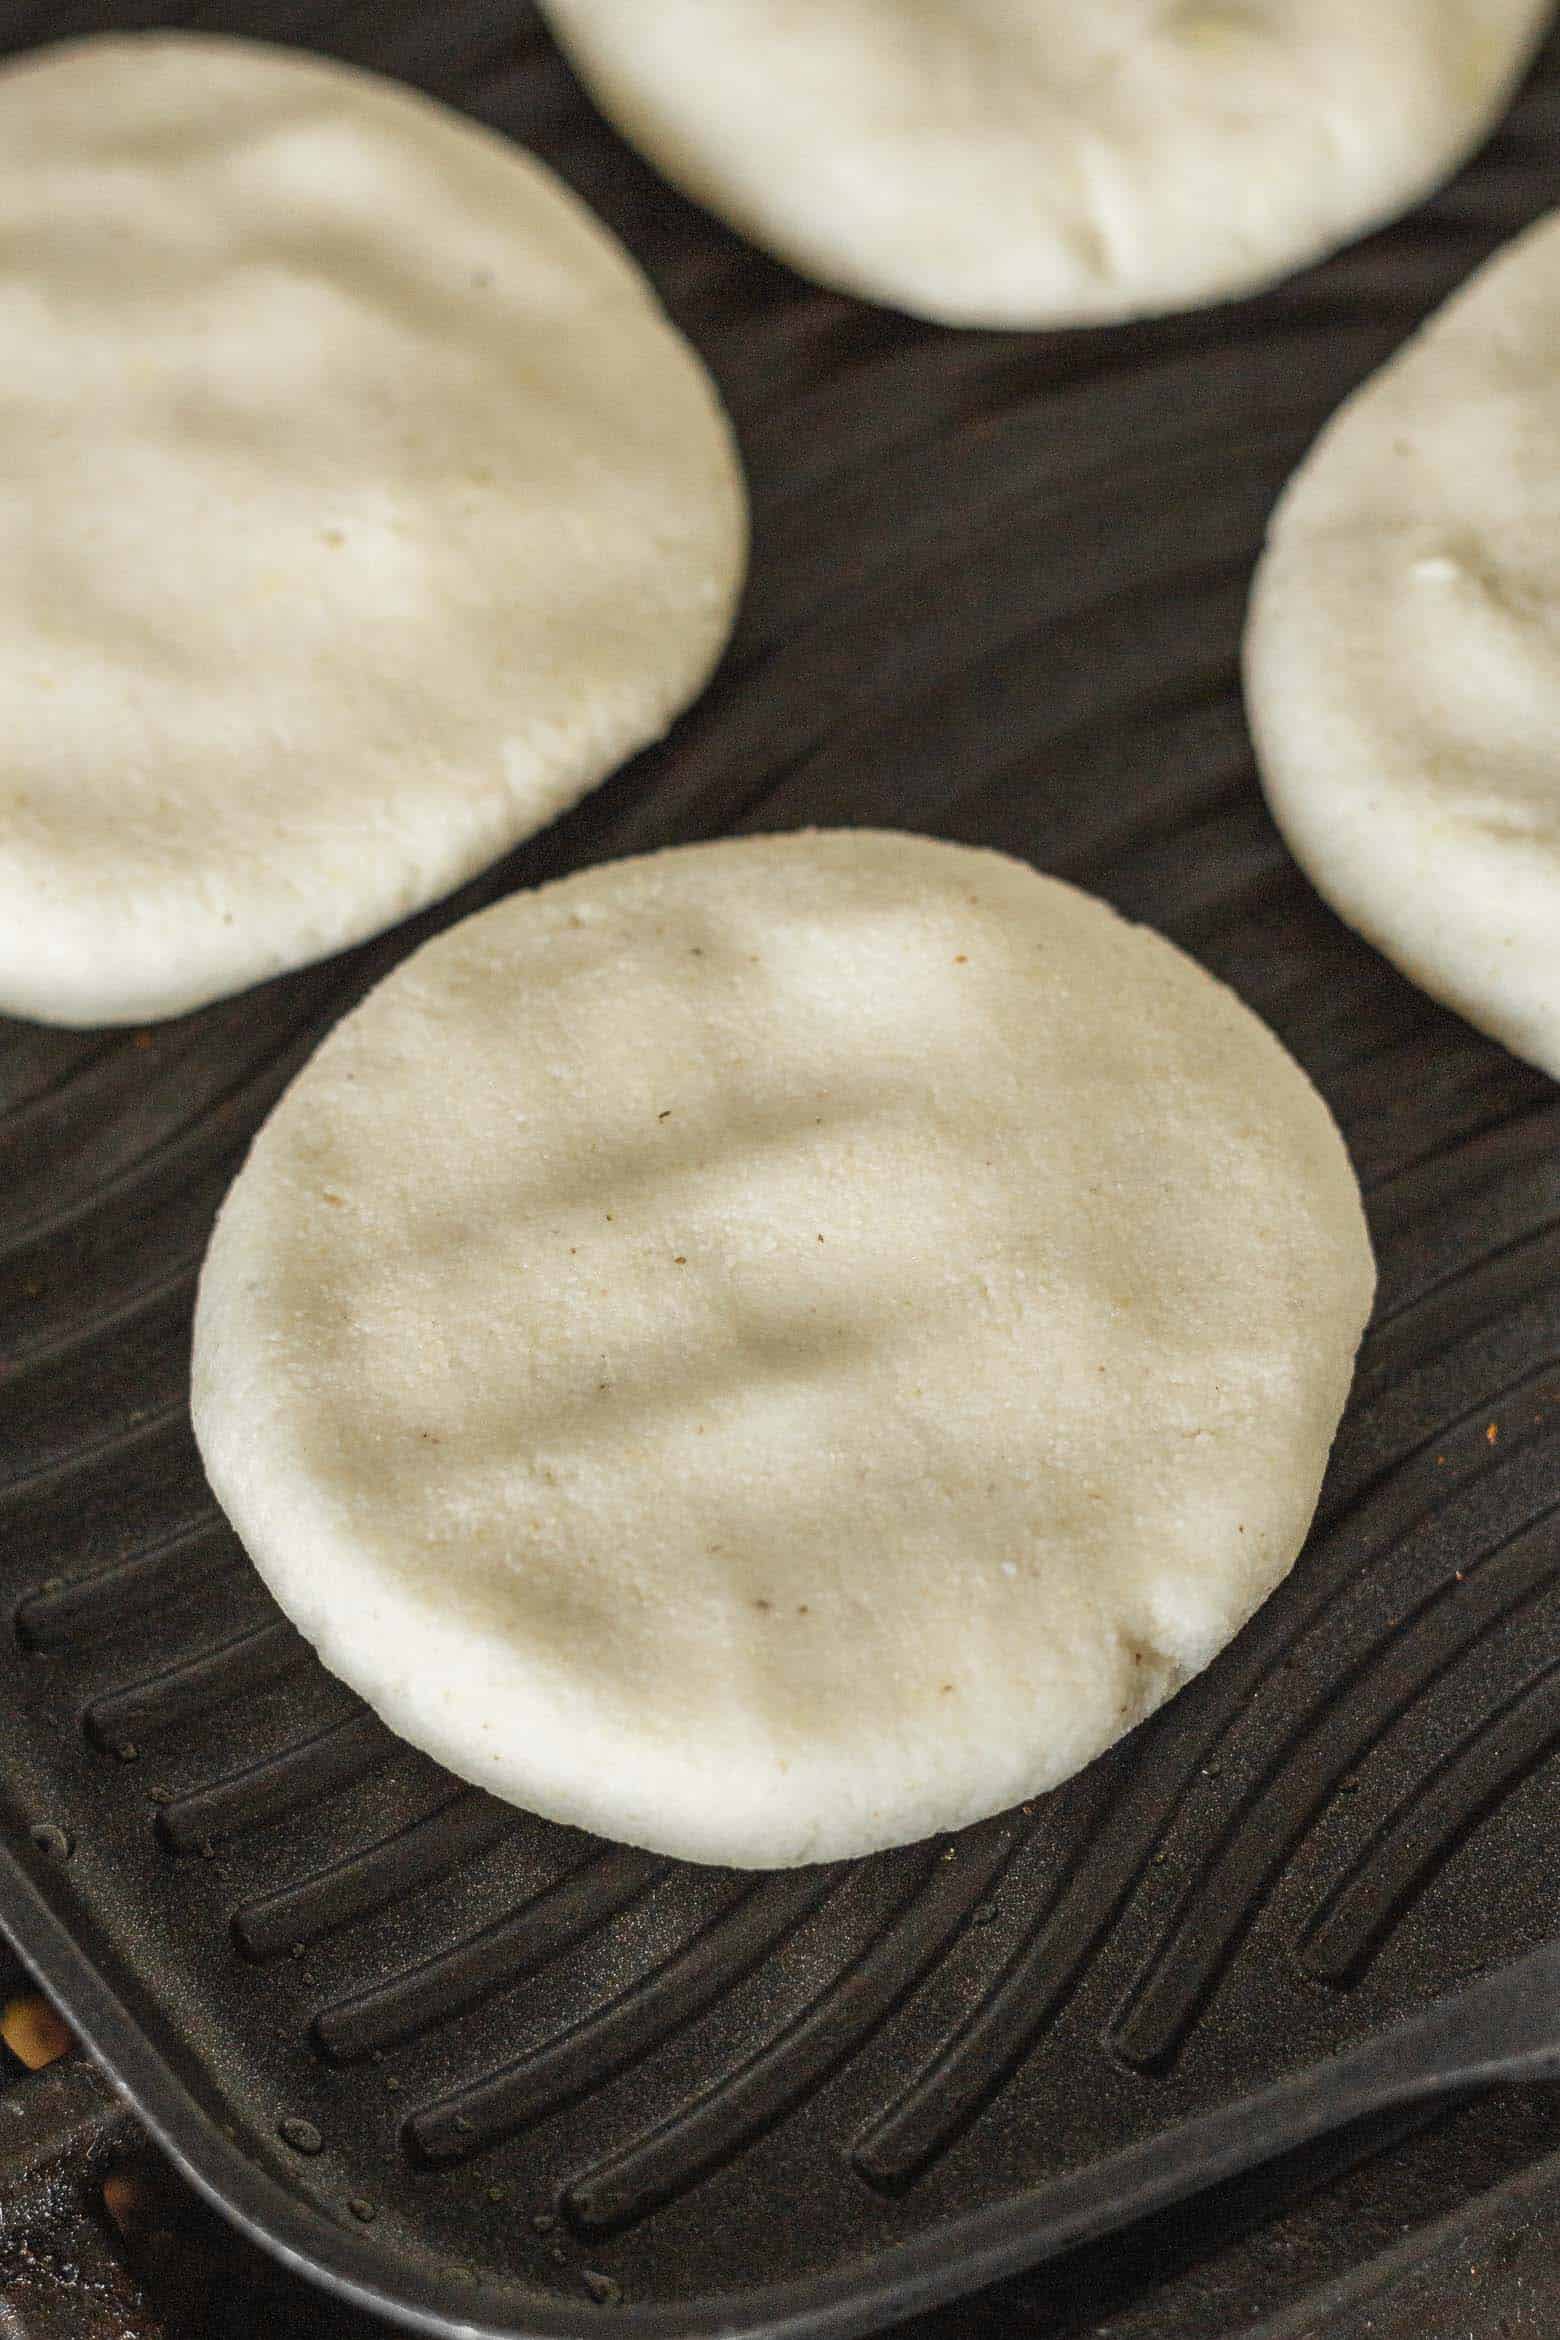
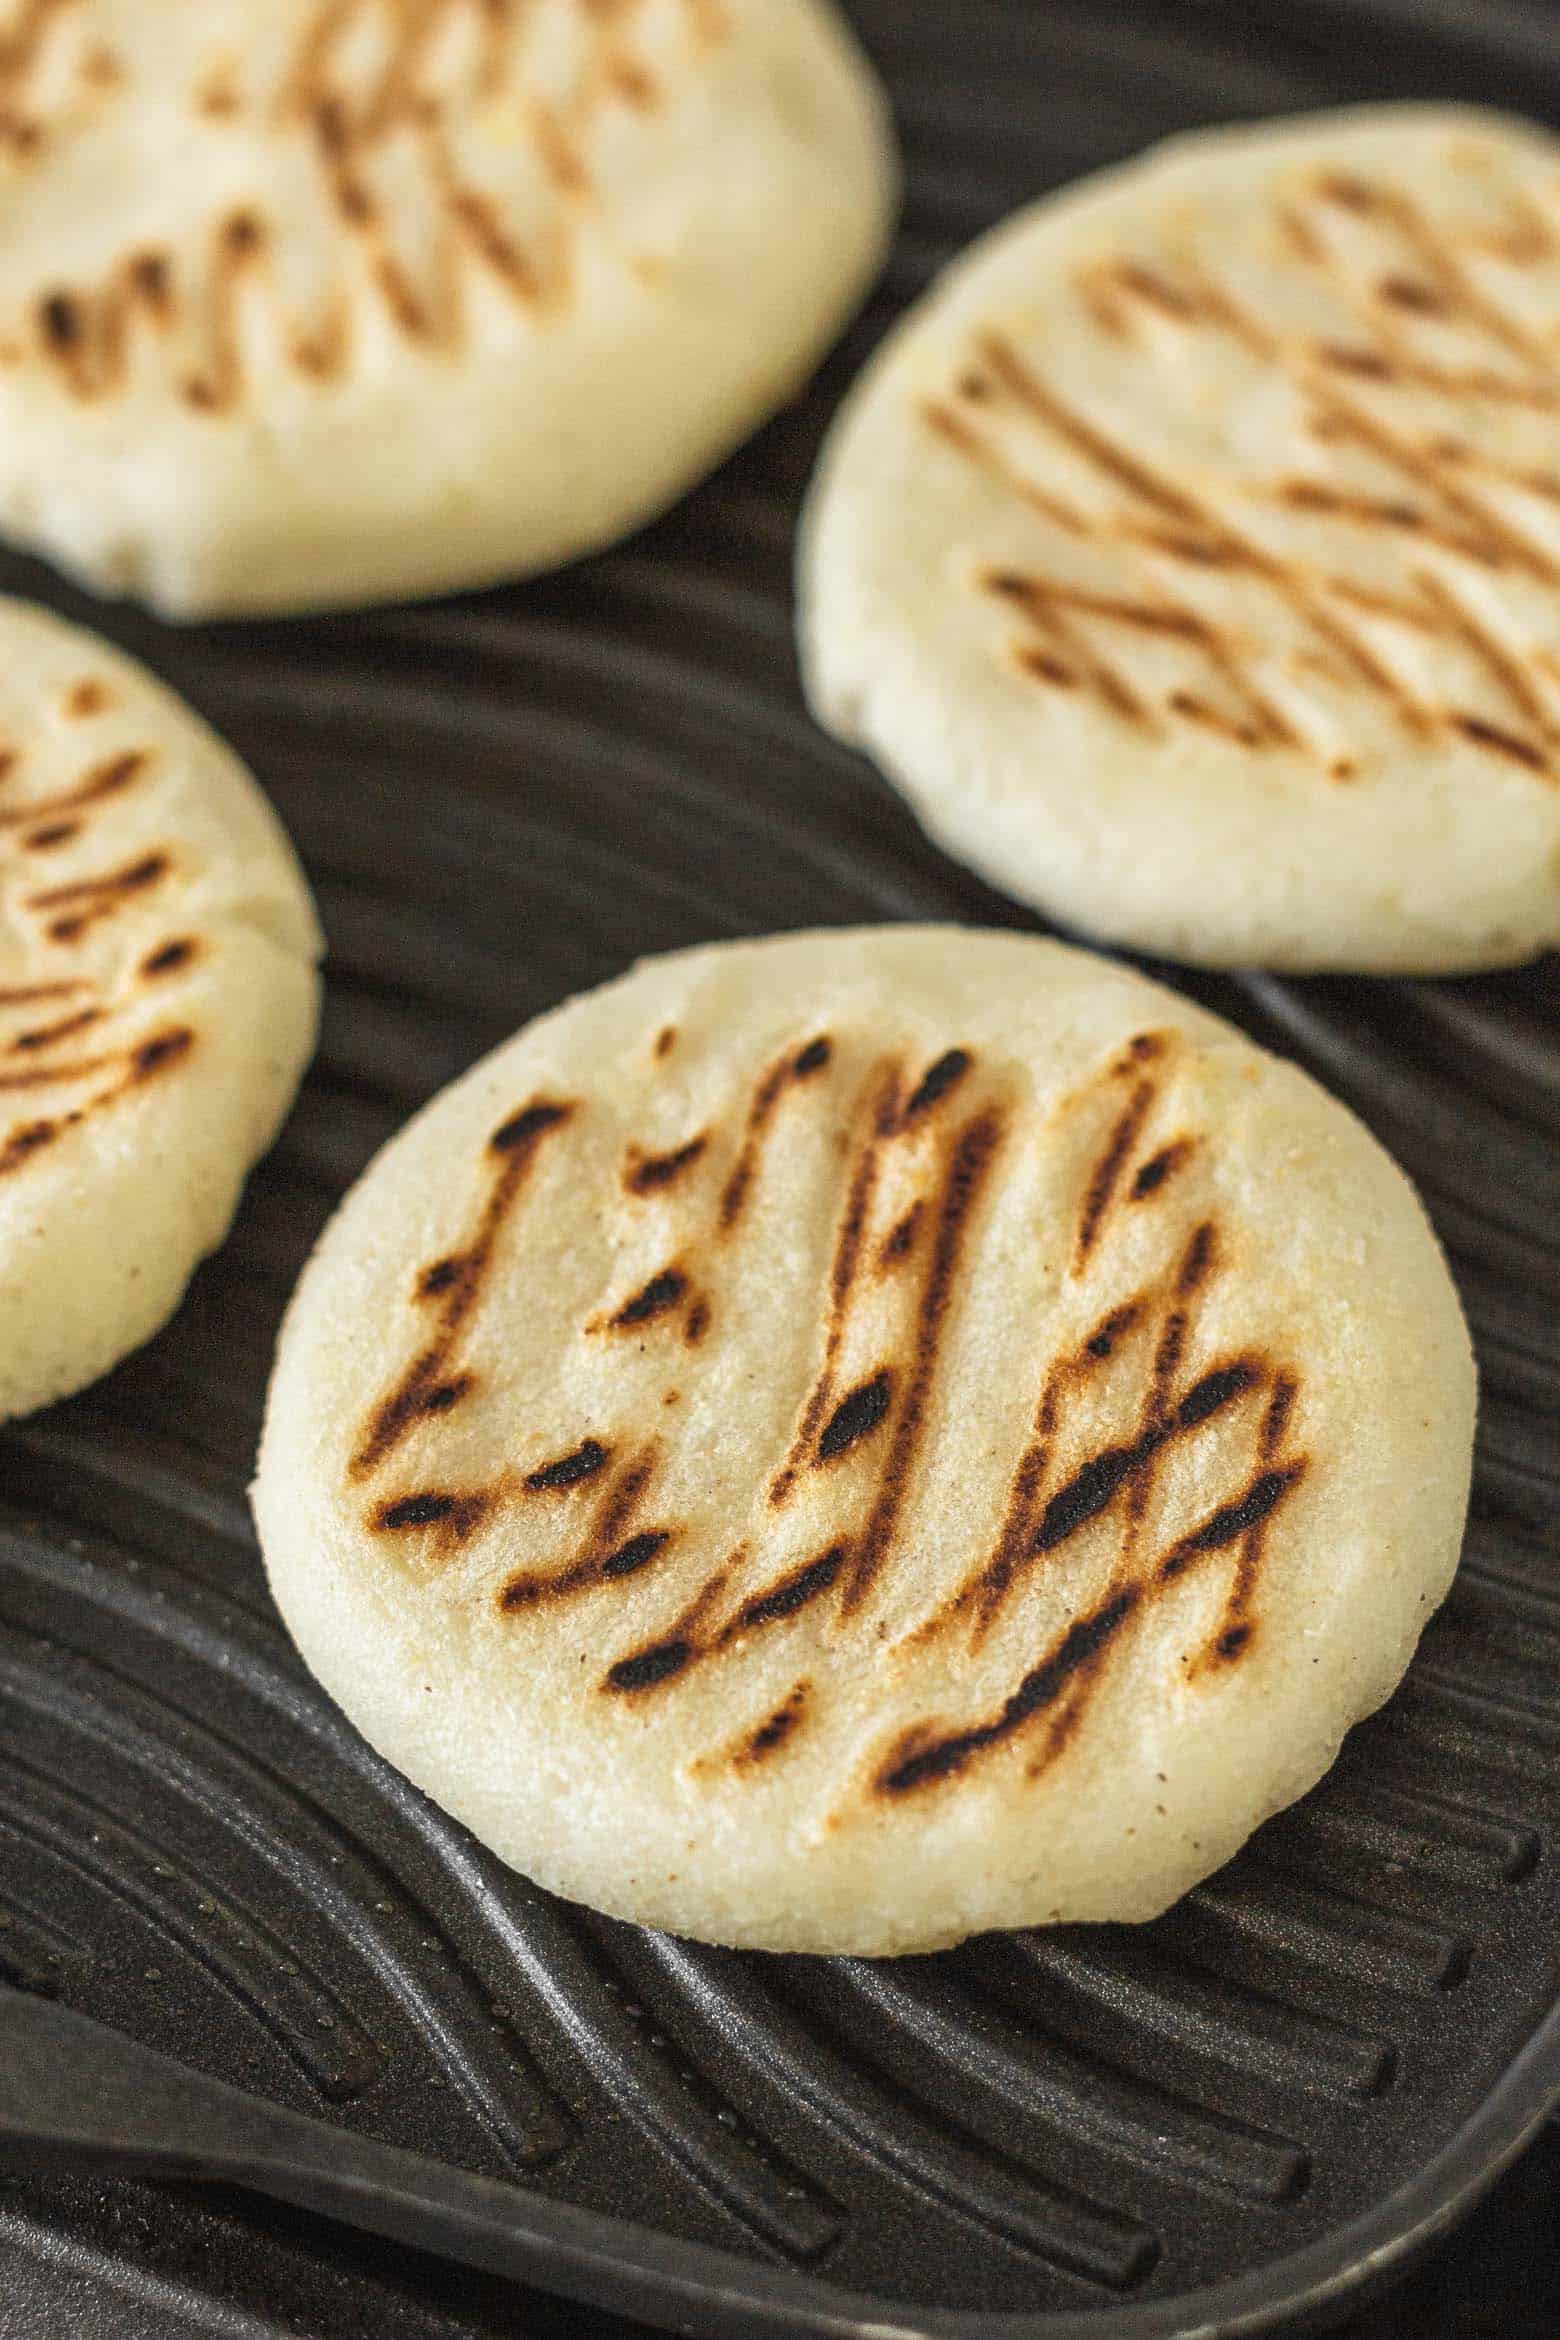
- Cook them on a nonstick pan or griddle. Let them rest on a wire rack until ready to serve.
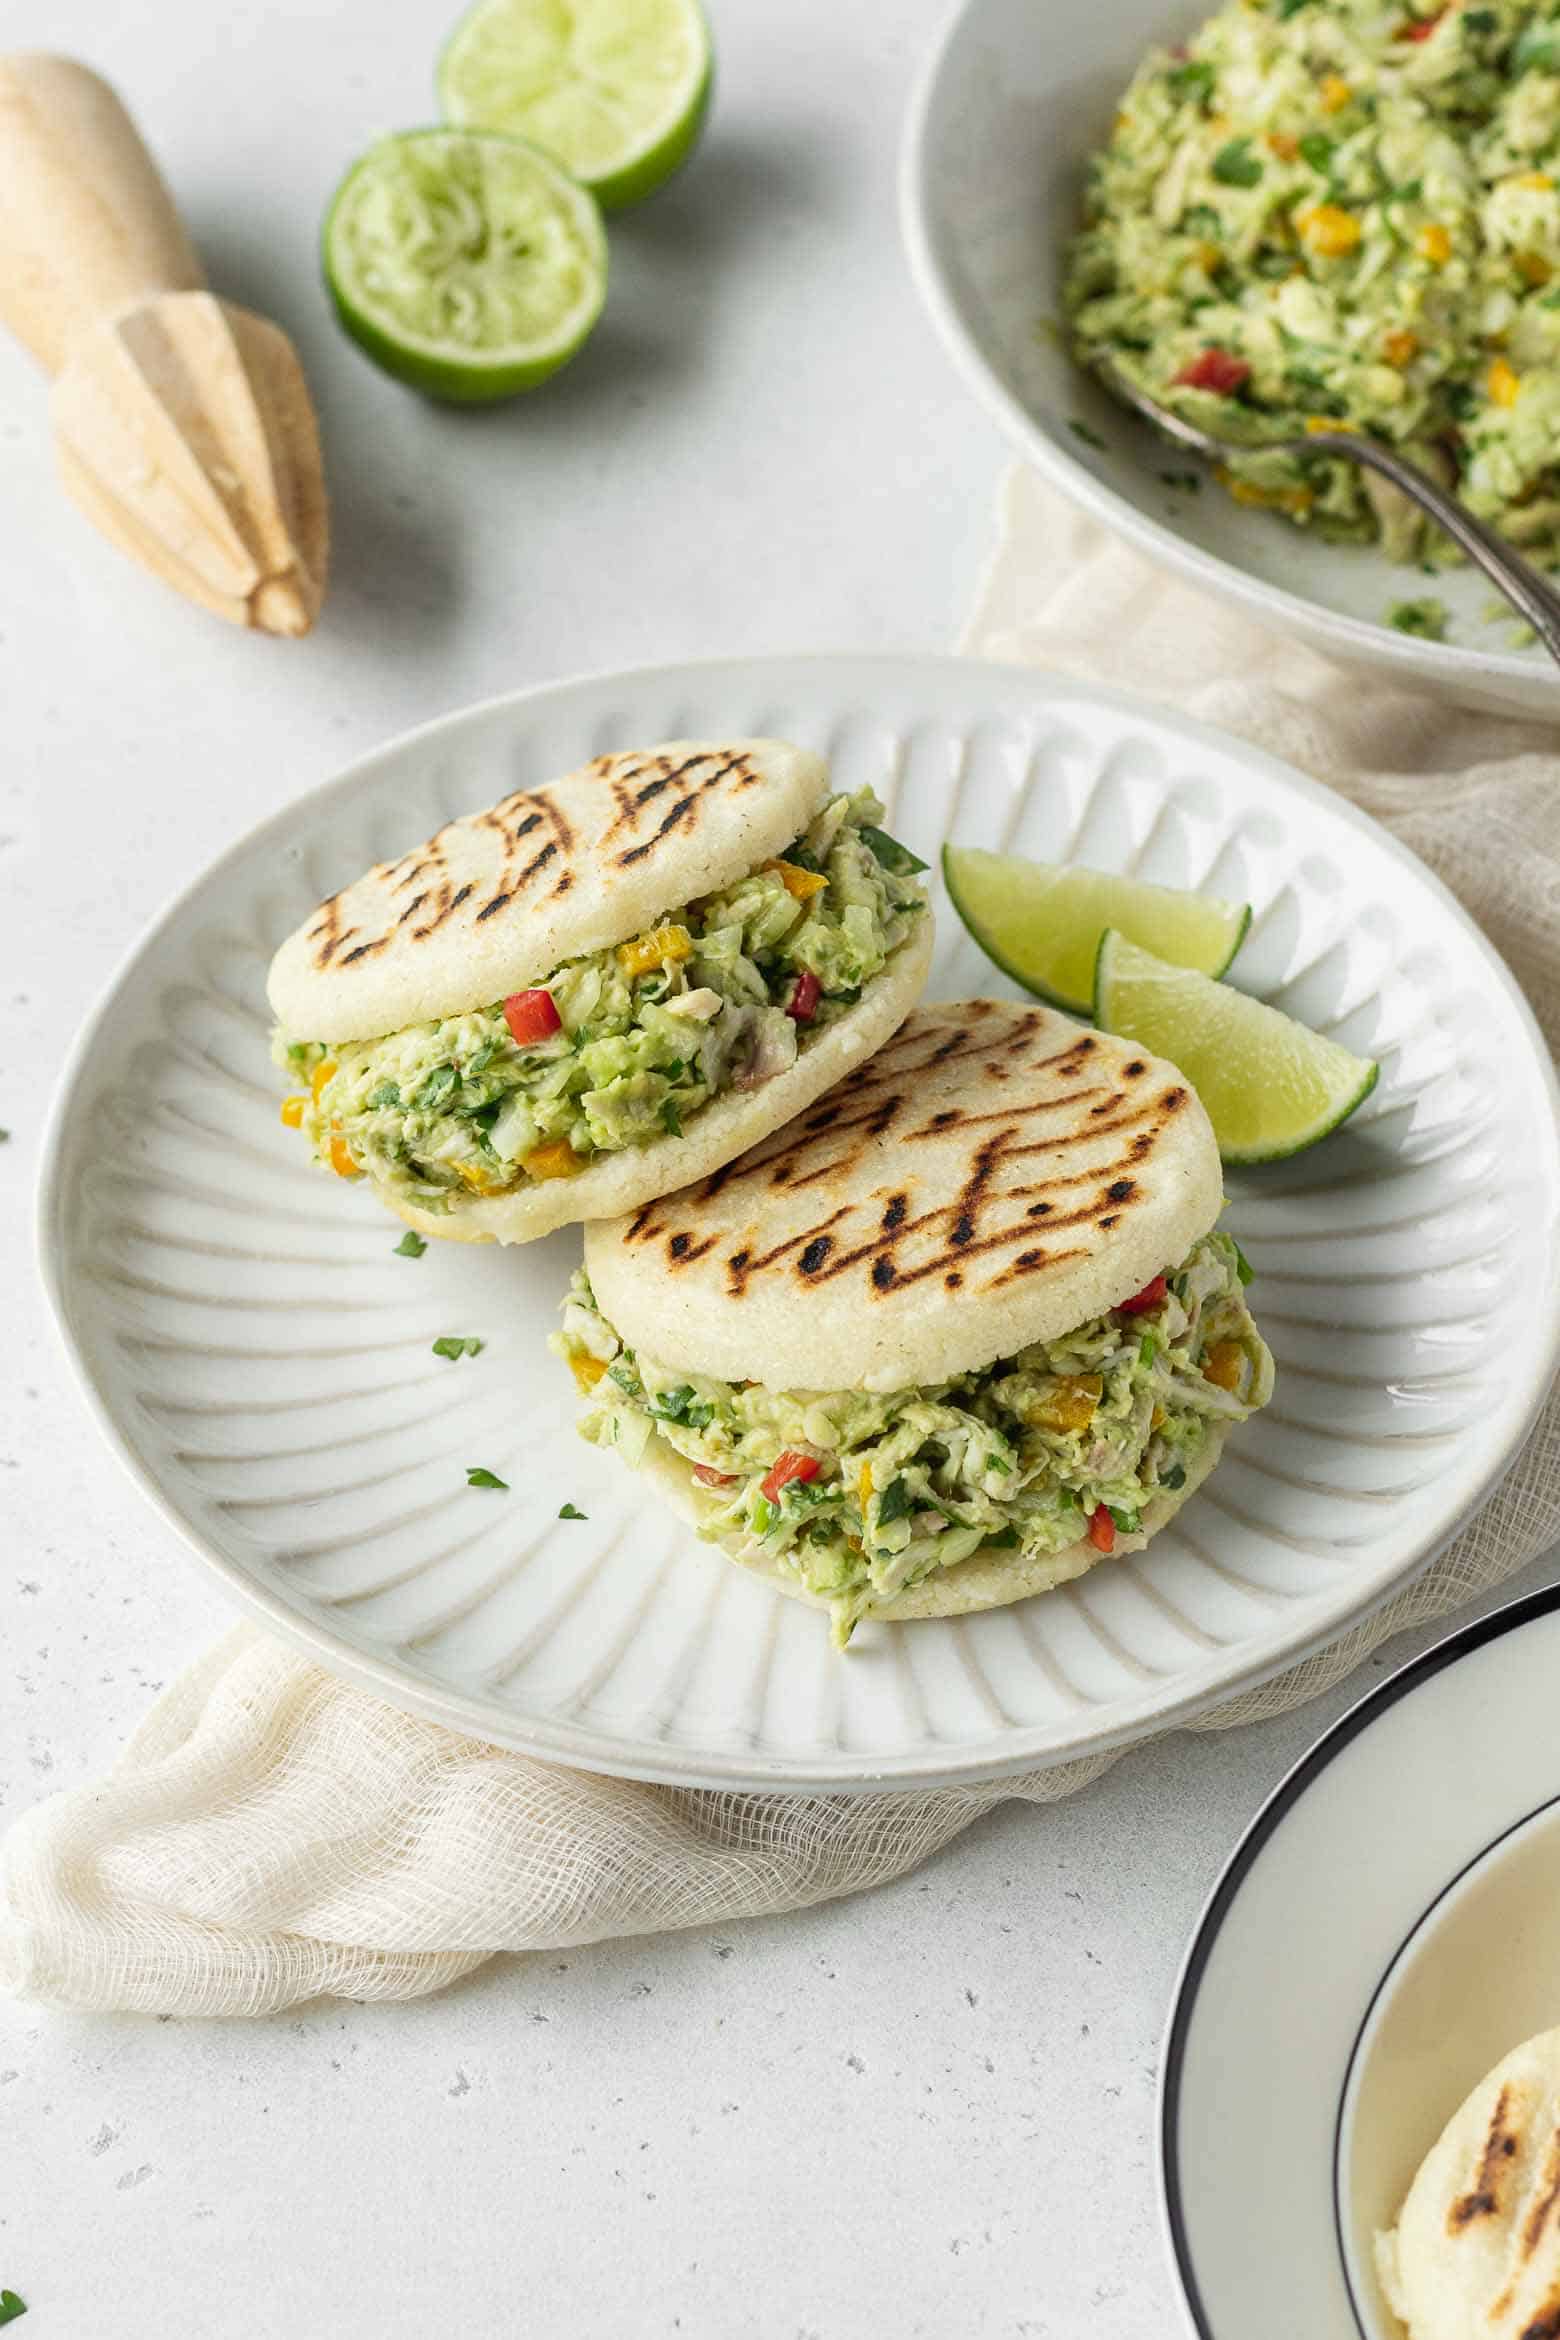
Assemble the arepa reina pepiada
- While the arepas are still a little warm, slice your arepas.
- Add the filling in between the two slices. Add as much filling as you like.
- Enjoy!
Recipe pro-tips
Rest the arepa dough! It takes a couple of minutes for the arepa flour to hydrate and thicken, so don’t add more flour if you think your dough is too loose.
Separate the dough into equal portions before flattening. To ensure that you have arepas of the same size, portion out the dough and roll each portion into a ball before flattening them.
Poach the chicken. Chicken breast is notoriously dry so I think poaching it would be the best way to keep it moist as well as add flavor before mixing it with the avocado.
Add more filling to your arepas than you think is necessary! It can be messy, but don’t be shy and take big bites!

Serving suggestions
This recipe is meant to be eaten on its own - like a sandwich, burger, or hot dog. You can serve them already stuffed, or bring sliced arepas and the filling in a big bowl so family or guests can stuff their own arepas.
Storage directions
You can store cooked arepas in an airtight container in the refrigerator for a couple of days. Make sure to reheat them on a skillet or in the oven before serving them.
Freezing directions
You can wrap each cooked arepa and put them in a freezer bag to store them in the freezer. You can reheat them in the oven in about 10 minutes.
Dietary adaptations
This recipe is gluten-free and dairy-free. If you would like to make this egg-free, either skip the mayonnaise or opt for vegan mayonnaise.
If you would like to make this vegan, you can use young green jackfruit as a chicken substitute. Cook it in a skillet while pulling apart the fibers to make it look like shredded chicken.
If you are avoiding corn and cornmeal, you can skip the arepas and add some lettuce and tomatoes to the filling to make it into a salad!
Tools needed to make the recipe
No special tools are needed to make this recipe! You’ll need a skillet or grill to cook the arepas. Otherwise, you’ll only need the basics: bowls, utensils, a cutting board, and a knife.
Frequently Asked Questions
Grocery stores with a good selection of Central and South American products should carry the P.A.N. brand of arepa flour. You can also buy it on Amazon.
It may also be called harina P.A.N., masa arepa, or masarepa. Two common brands are P.A.N. and Maseca.
Yes, you can make this arepa venezuelan ahead of time. Store the cooked arepas in an airtight container in the refrigerator. Heat them in a skillet or in the oven before serving.
The chicken and avocado filling can be made a couple days ahead and kept in the fridge. The avocado may discolor a little, but the lime juice should help to keep the color.
Yes, arepas are gluten-free, because it’s made from three naturally gluten-free ingredients: cornmeal, salt, and water.
Absolutely! You can use leftover roasted chicken from the night before.
More gluten-free recipes!
- Lemon poppy seed cake
- Mango lime sorbet
- Double chocolate cookies
- The BEST chocolate chip cookies
- German chocolate cake

Reina Pepiada
Ingredients
Arepas
- 2 cups arepa flour
- 1 teaspoon fine salt
- 2½ cups water
Chicken and avocado filling
- 21 ounces chicken breast
- 1 small onion, sliced
- pinch of salt
- pinch of black pepper
- water
- 2½ ripe avocados
- 3 cloves garlic, minced
- 1 bell pepper, diced
- 1 small onion, finely chopped
- 1 bunch of cilantro, minced
- 1 tablespoon mayonnaise
- 2 tablespoons lime juice about 1 lime
- salt
- black pepper
Instructions
Chicken and avocado filling
- If poaching the chicken, add the chicken breast, sliced onion, salt, and black pepper to a pot and cover with water by an inch or two. Bring it to a boil, then lower the heat and simmer for 10-15 minutes until the chicken is cooked through. Remove the chicken and set aside to cool.
- In a large bowl, mash the avocados and add the garlic, bell pepper, onion, cilantro, mayonnaise, and lime juice. Shred the chicken and add it to the bowl. Season with salt and black pepper to taste. Cover and keep it in the fridge.
Arepas
- In a large bowl, combine the arepa flour and salt. Add the water and stir until combined. Knead until a smooth dough forms and let it rest for a couple of minutes to let the arepa flour hydrate and thicken.
- Separate the dough into eight portions and roll them into balls. Flatten each ball into 3.5in/10cm disks. Cook on a griddle or skillet over medium heat until golden on both sides, about 5-7min per side.
- Take the arepas off the heat and slice them. Fill with as much filling as you like.
Nutrition


Patricia Dol says
This looks so tasty!!
Ai says
Thanks Patricia! 🙂
Jhuls | The Not So Creative Cook says
I could just eat that filling! It looks really tasty, Ai. Thanks for sharing at Fiesta Friday party!
Ai says
I won't lie, I ate leftovers straight out of the bowl with a fork haha
Meghan says
Yumm!! These look delicious! going to have to try them!
Ai says
Thanks Meghan! You won't regret it 😉
Petra says
I am not sure I need any other recipe, this sounds just like my kind of food, how delish!
Ai says
Thanks Petra! It's my kind of food too! Fresh veggies, moist meat, and light yet filling. So good!
Irene says
These arepas look so fresh; I will try the Reina Pepiada for sure!
Ai says
Thanks Irene! You definifitely have to try them. SO good!
Julie says
What an amazing recipe!
Ai says
Thank you so much Julie!!
Francisco J Serrano says
Una de las mejores arepas de Venezuela.. Sabe cómo preparar para hacer una arepa de morcilla dulce (oriental)?
Gracias