


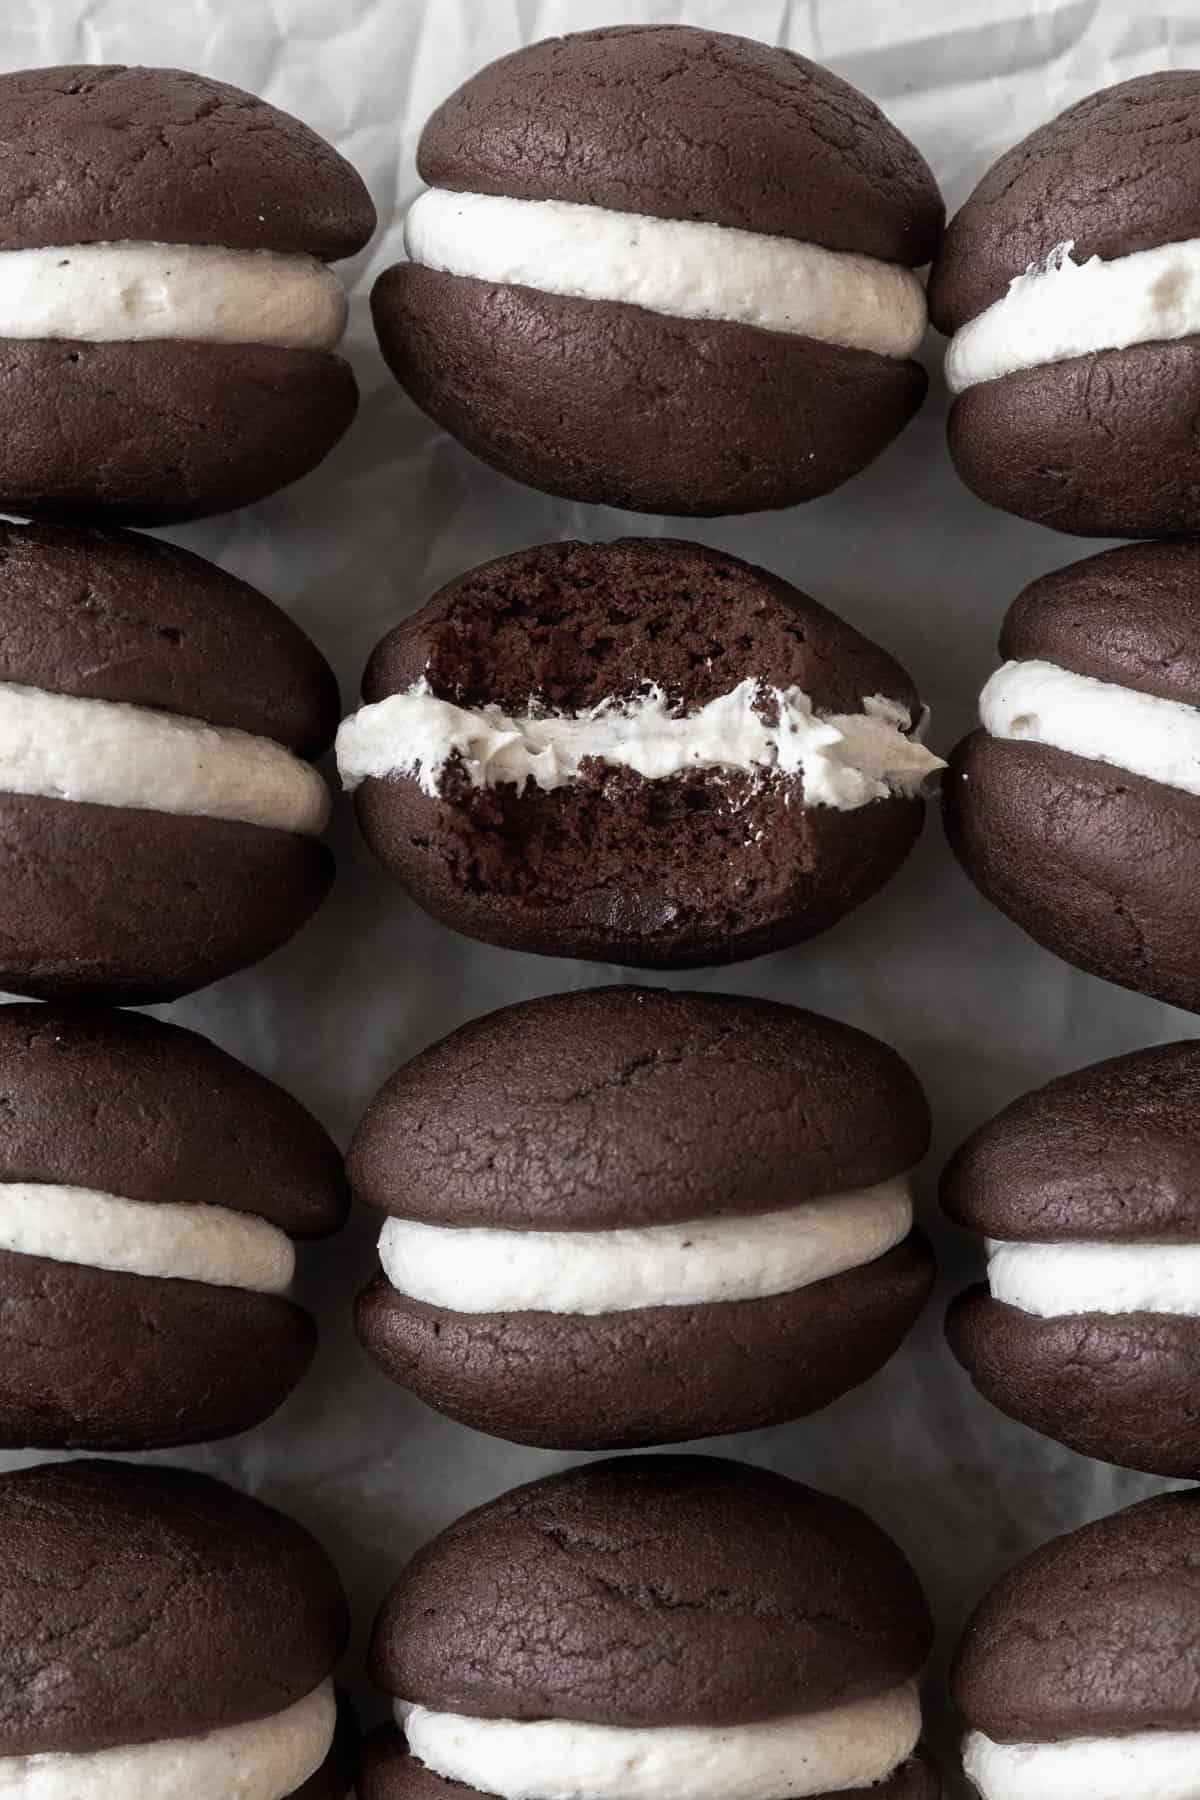
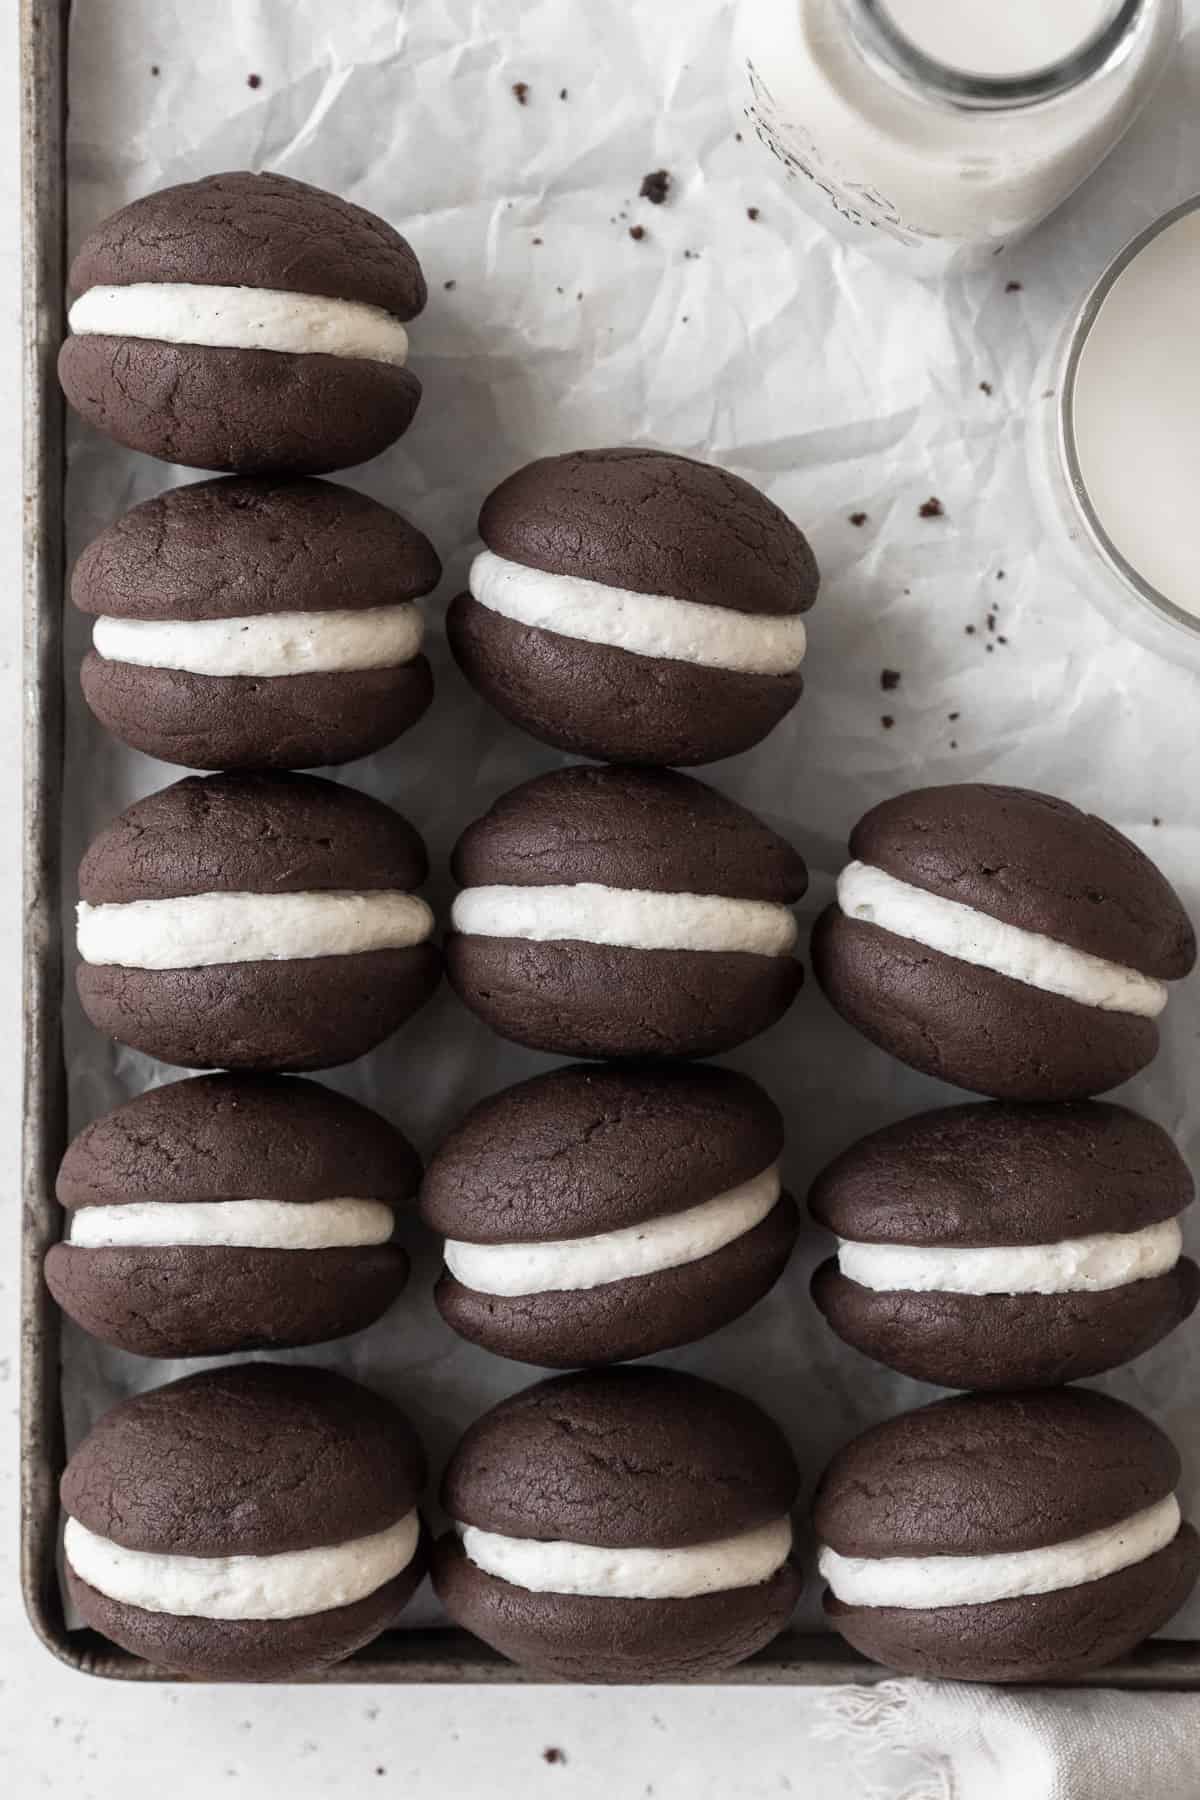
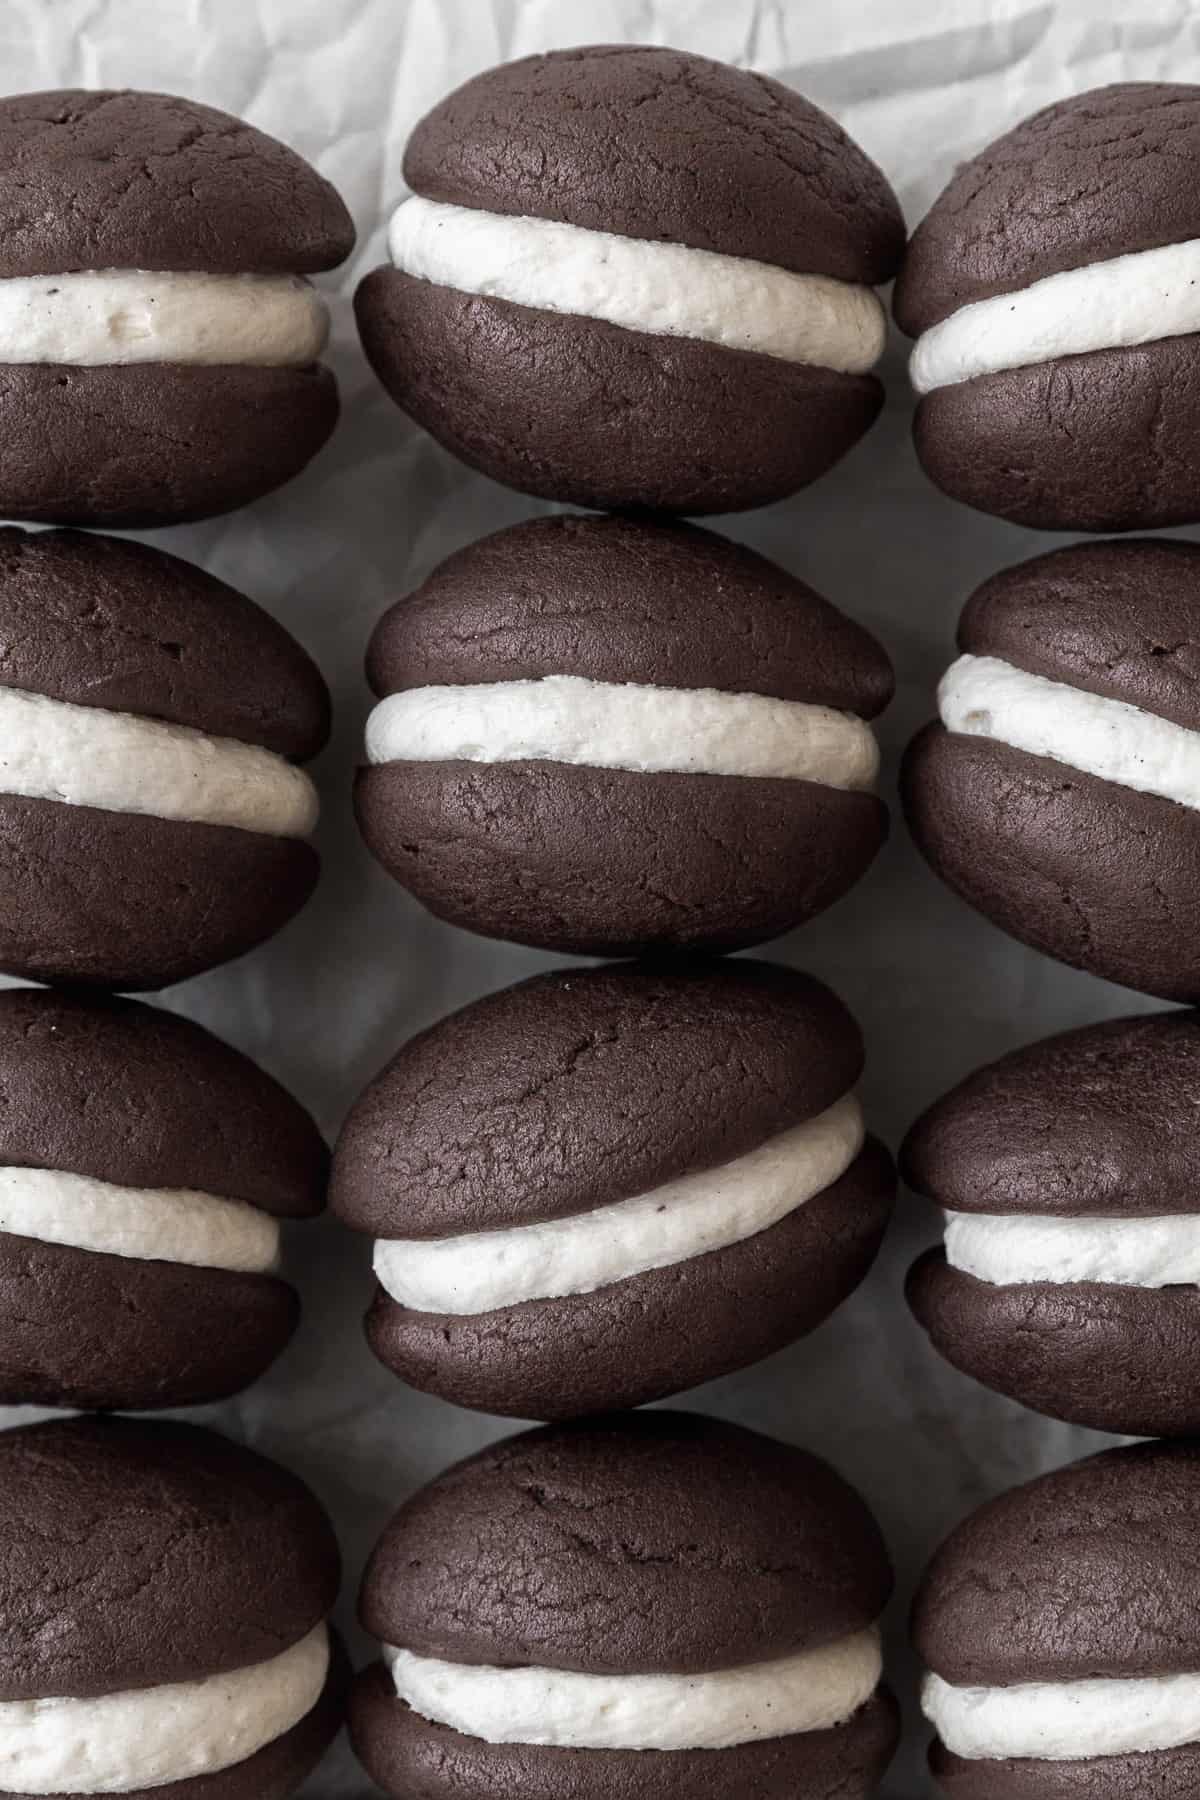
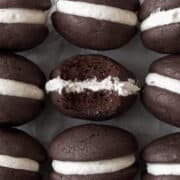
With soft and cakey chocolate sandwich cakes and old-fashioned vanilla filling, Gluten-Free Whoopie Pies are everything delicious and nostalgic without any of the wheat products or gluten!
This post was originally published on June 1, 2023. It was updated with new recipe information on February 5, 2024.
What is a Whoopie Pie?
Also known as gobs, chocolate gobs, or Amish whoopie pies, whoopie pies are soft and cakey sandwich cookies that are filled with an old-fashioned vanilla frosting filling. Originally created from leftover cake batter, whoopie pies are portable, chocolaty, buttery, and sweet.
The original whoopie pie recipe is believed to come from German settlers or farmers in Pennsylvania and Maine, though many Amish communities in the Northeast United States also have their own whoopie pie recipes.
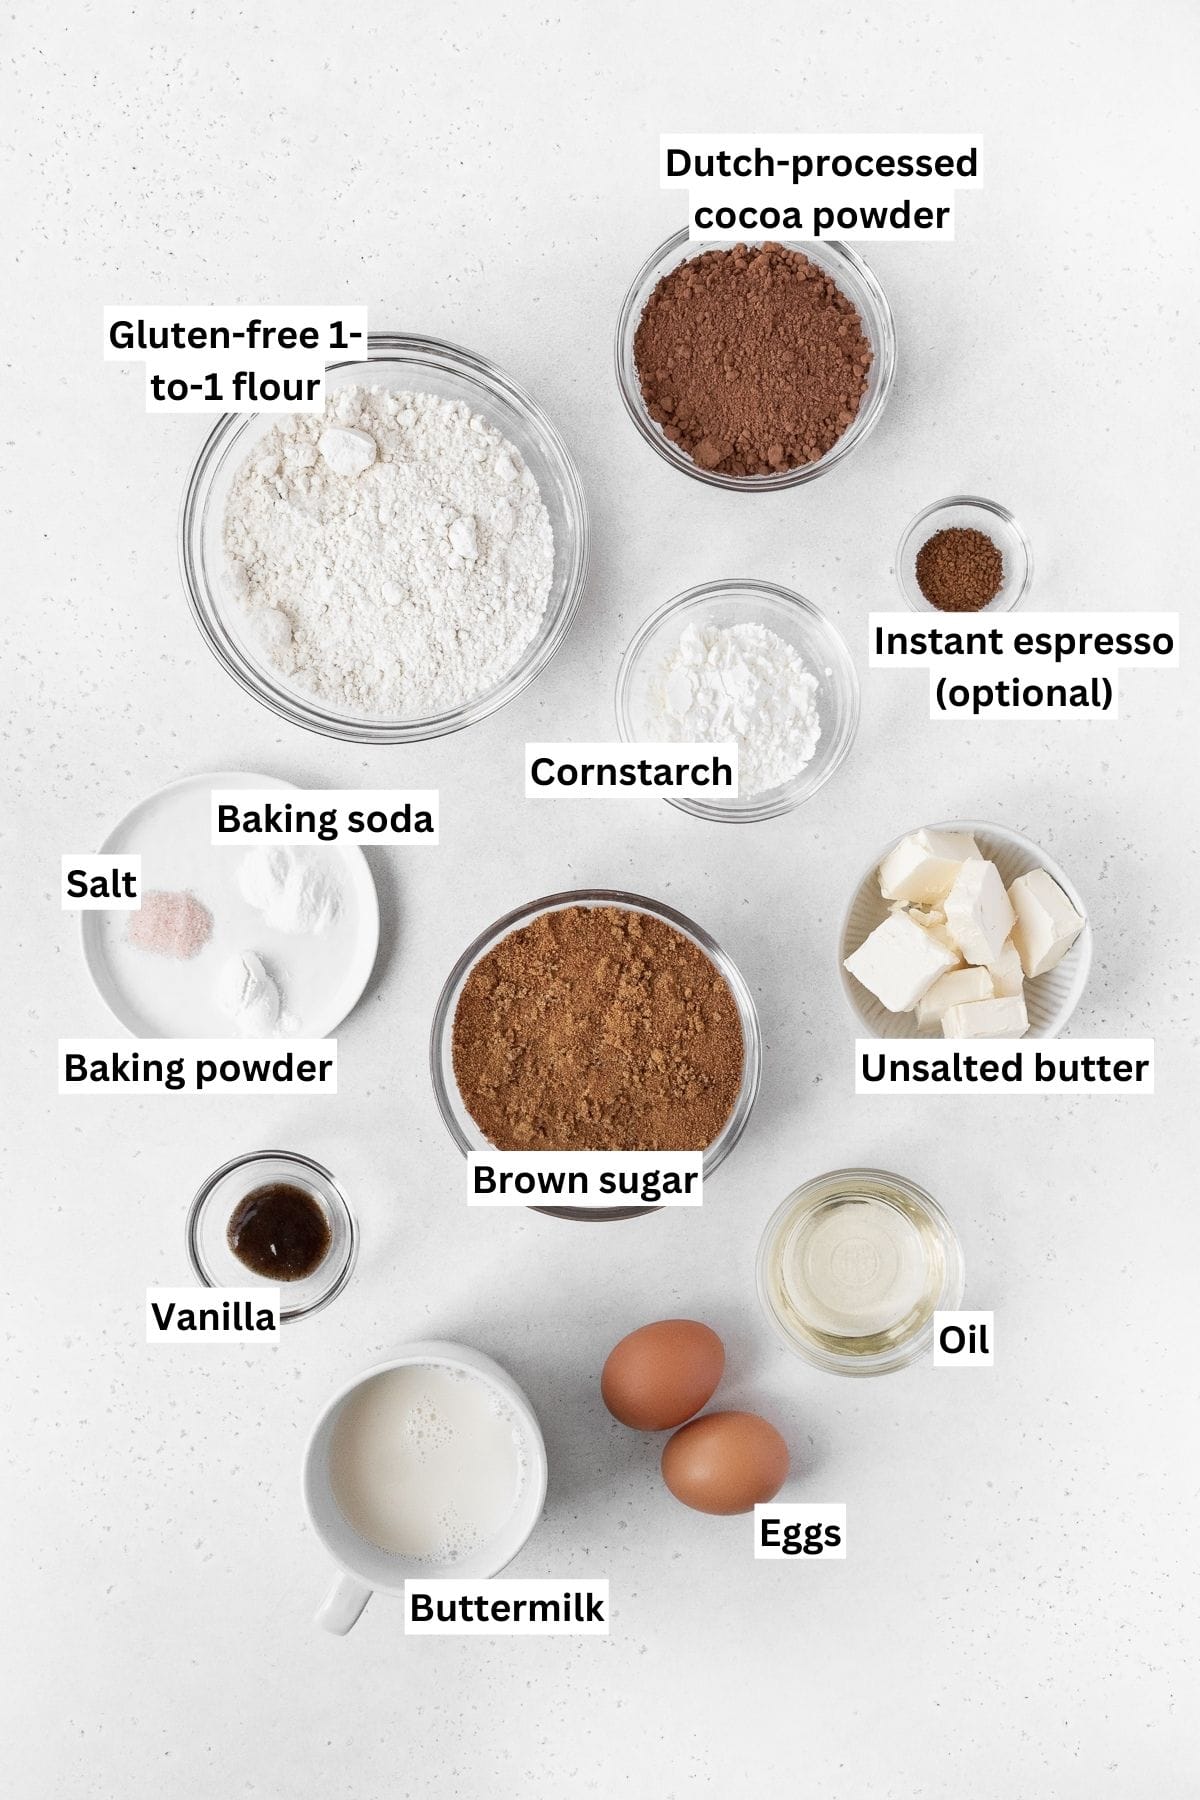
Gluten-Free Whoopie Pie Ingredients
- Gluten-Free Flour - A 1-to-1 or measure-for-measure gluten-free flour blend like Bob's Red Mill 1-to-1 Baking Flour or King Arthur's Measure for Measure Flour, is best for this recipe. You can use regular all-purpose flour if you're not gluten-free.
- Cornstarch - Adds a light and airy texture to the pies without adversely affecting the flavor.
- Dutch Processed Cocoa Powder - Offers the whoopie pies a more intense chocolatey flavor. Also, because the recipe calls for buttermilk, we do not need to use natural cocoa, which is naturally more acidic than the Dutch process.
- Baking Soda & Baking Powder - Leavens the pies, giving them a great loft.
- Salt - Enhances all of the ingredients, accentuating the sweet and rich chocolate flavor.
- Unsalted Butter - You can use either regular or vegan butter sticks.
- Neutral flavored oil - Although avocado oil and light olive oil are my favorite, feel free to use any other neutral-flavored oil like canola or vegetable.
- Brown Sugar - Pack the sugar tightly when measuring it to ensure tender and moist pies.
- Instant Espresso (optional) - To enhance the chocolate flavor of the whoopie pies. You can also use decaffeinated instant espresso, or omit it altogether.
- Large Eggs - Binds the chocolate pies together and adds structure.
- Vanilla Extract - For the best flavor, use pure vanilla extract. The same amount of vanilla extract paste can also be substituted.
- Buttermilk - Tenderizes the whoopie pie batter and enhances the buttery flavor, giving it a great crumb. Make your own by adding 1 tablespoon of distilled vinegar to a 1-cup measuring cup, and fill with dairy or non-dairy milk to the 1-cup line. Let sit for 3-5 minutes before using.
Additional Whoopie Pie Filling Ingredients
- Shortening - Adds an old-fashioned creaminess to the gob icing recipe.
- Powdered Sugar - Also known as confectioners' sugar, this light sugar helps make for a light, smooth, and sweet filling.
How to Make Gluten-Free Whoopie Pies
Make the Chocolate Pies
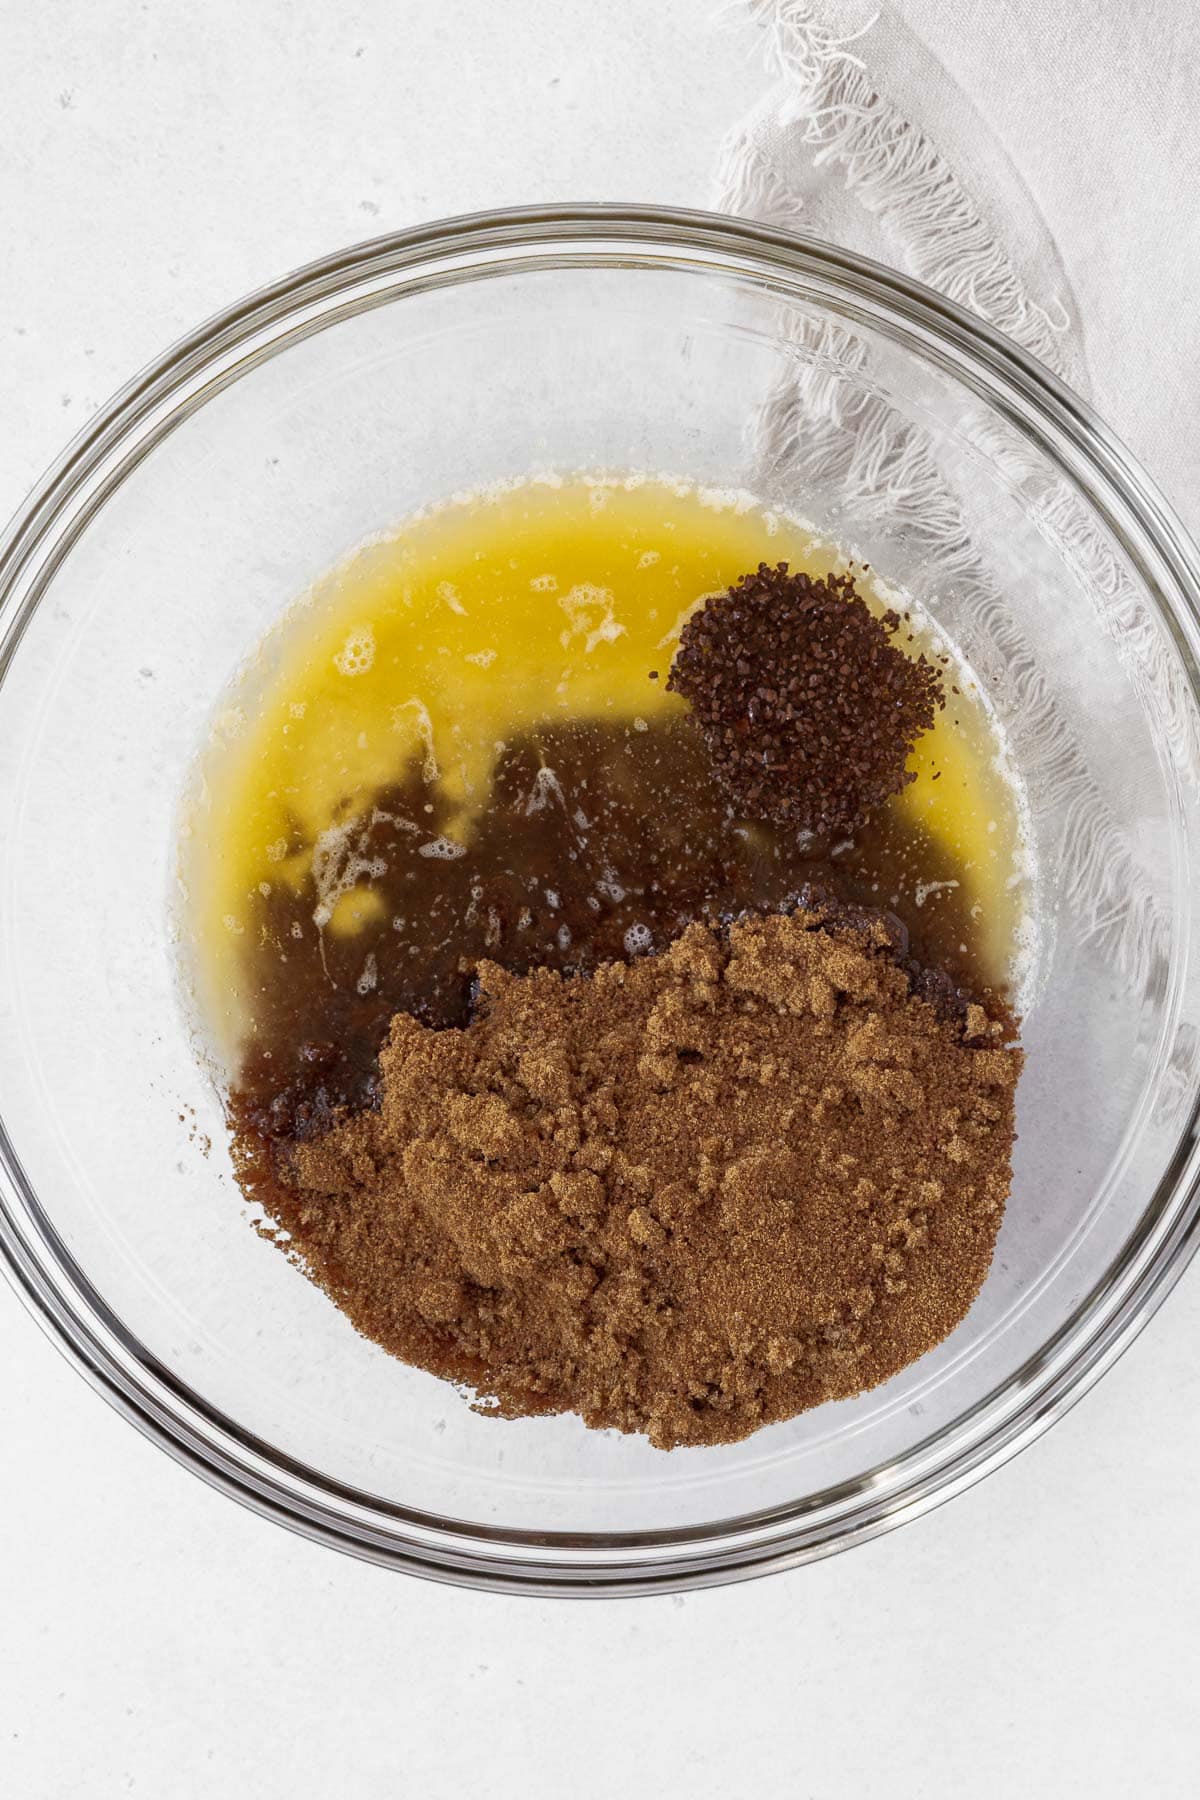
Step 1: In a bowl, mix the melted butter, oil, brown sugar, and instant espresso, if using.
Step 2: Add the egg to the brown sugar and butter mixture. Beat well.
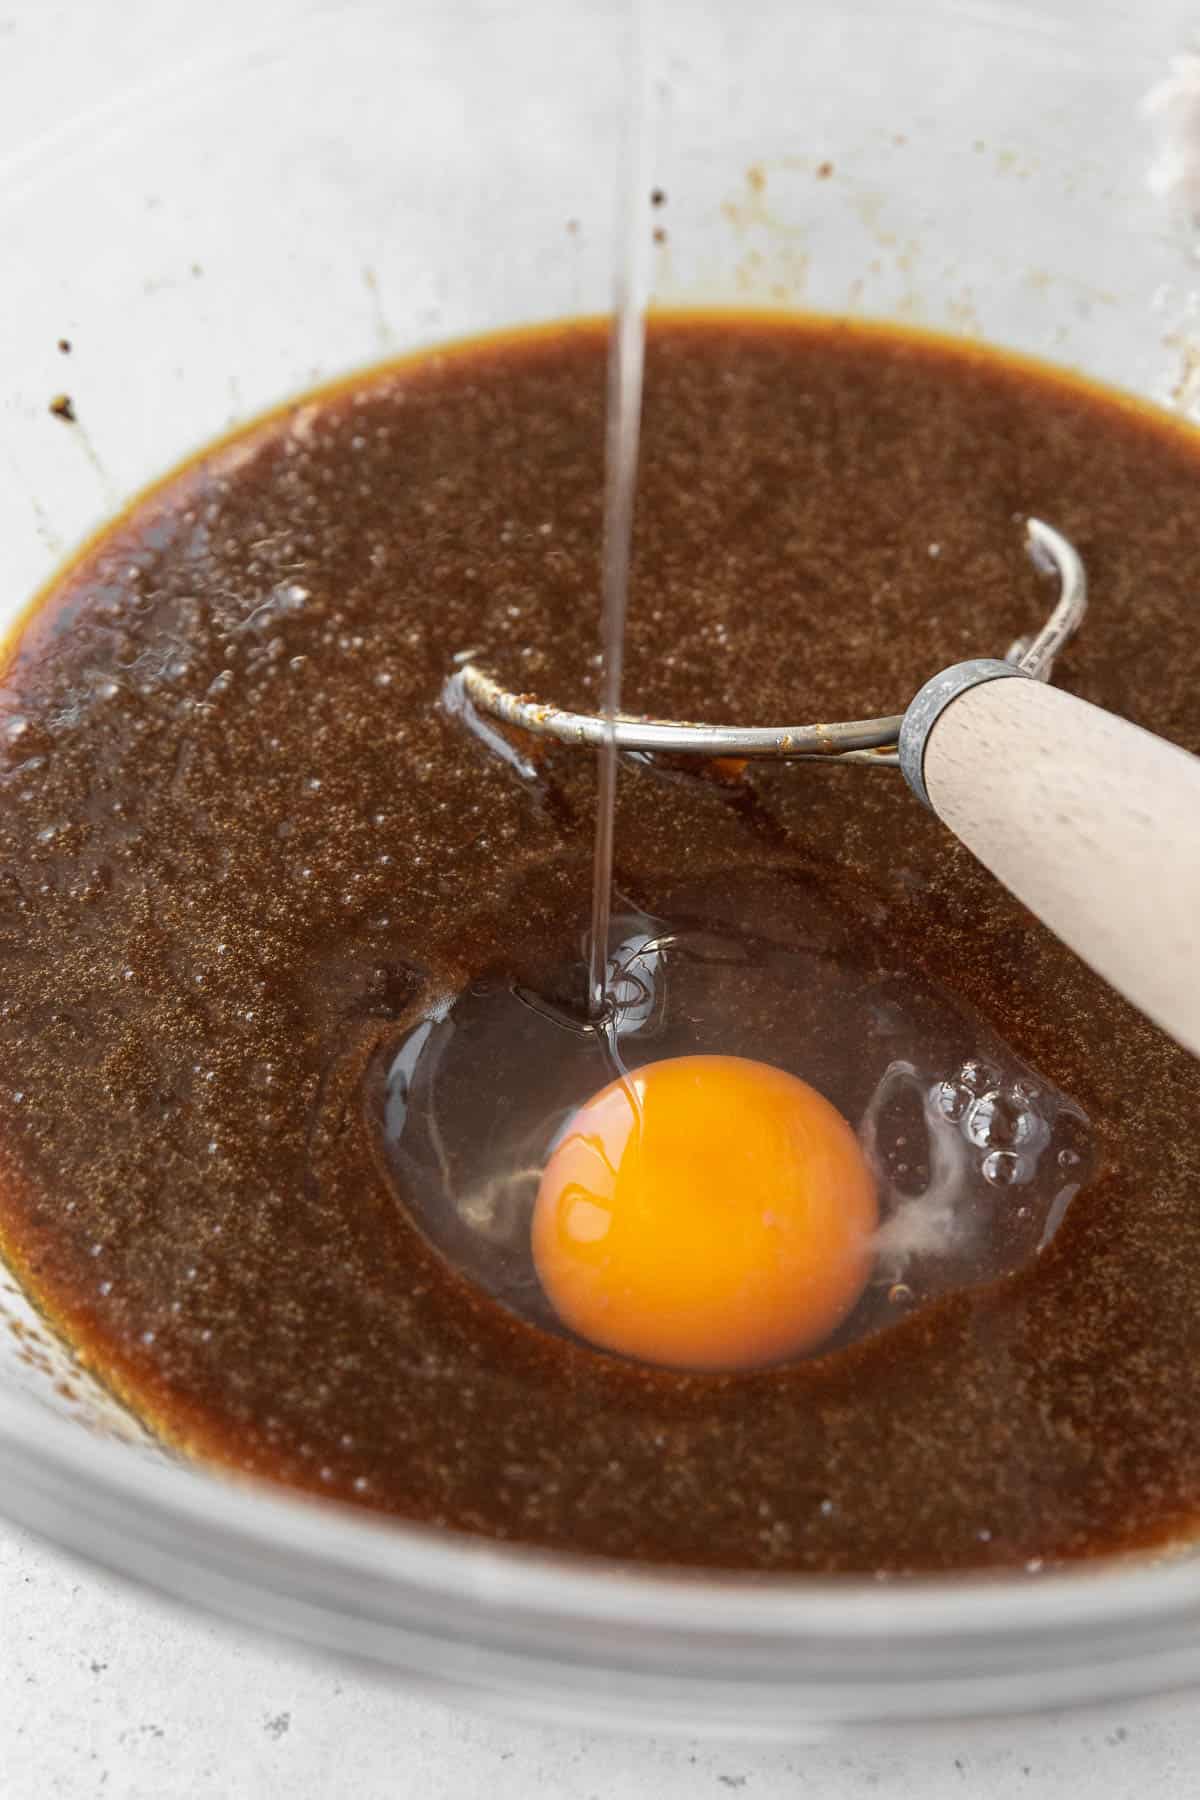
Step 3: Add the buttermilk and vanilla extract and beat until smooth. Set aside.
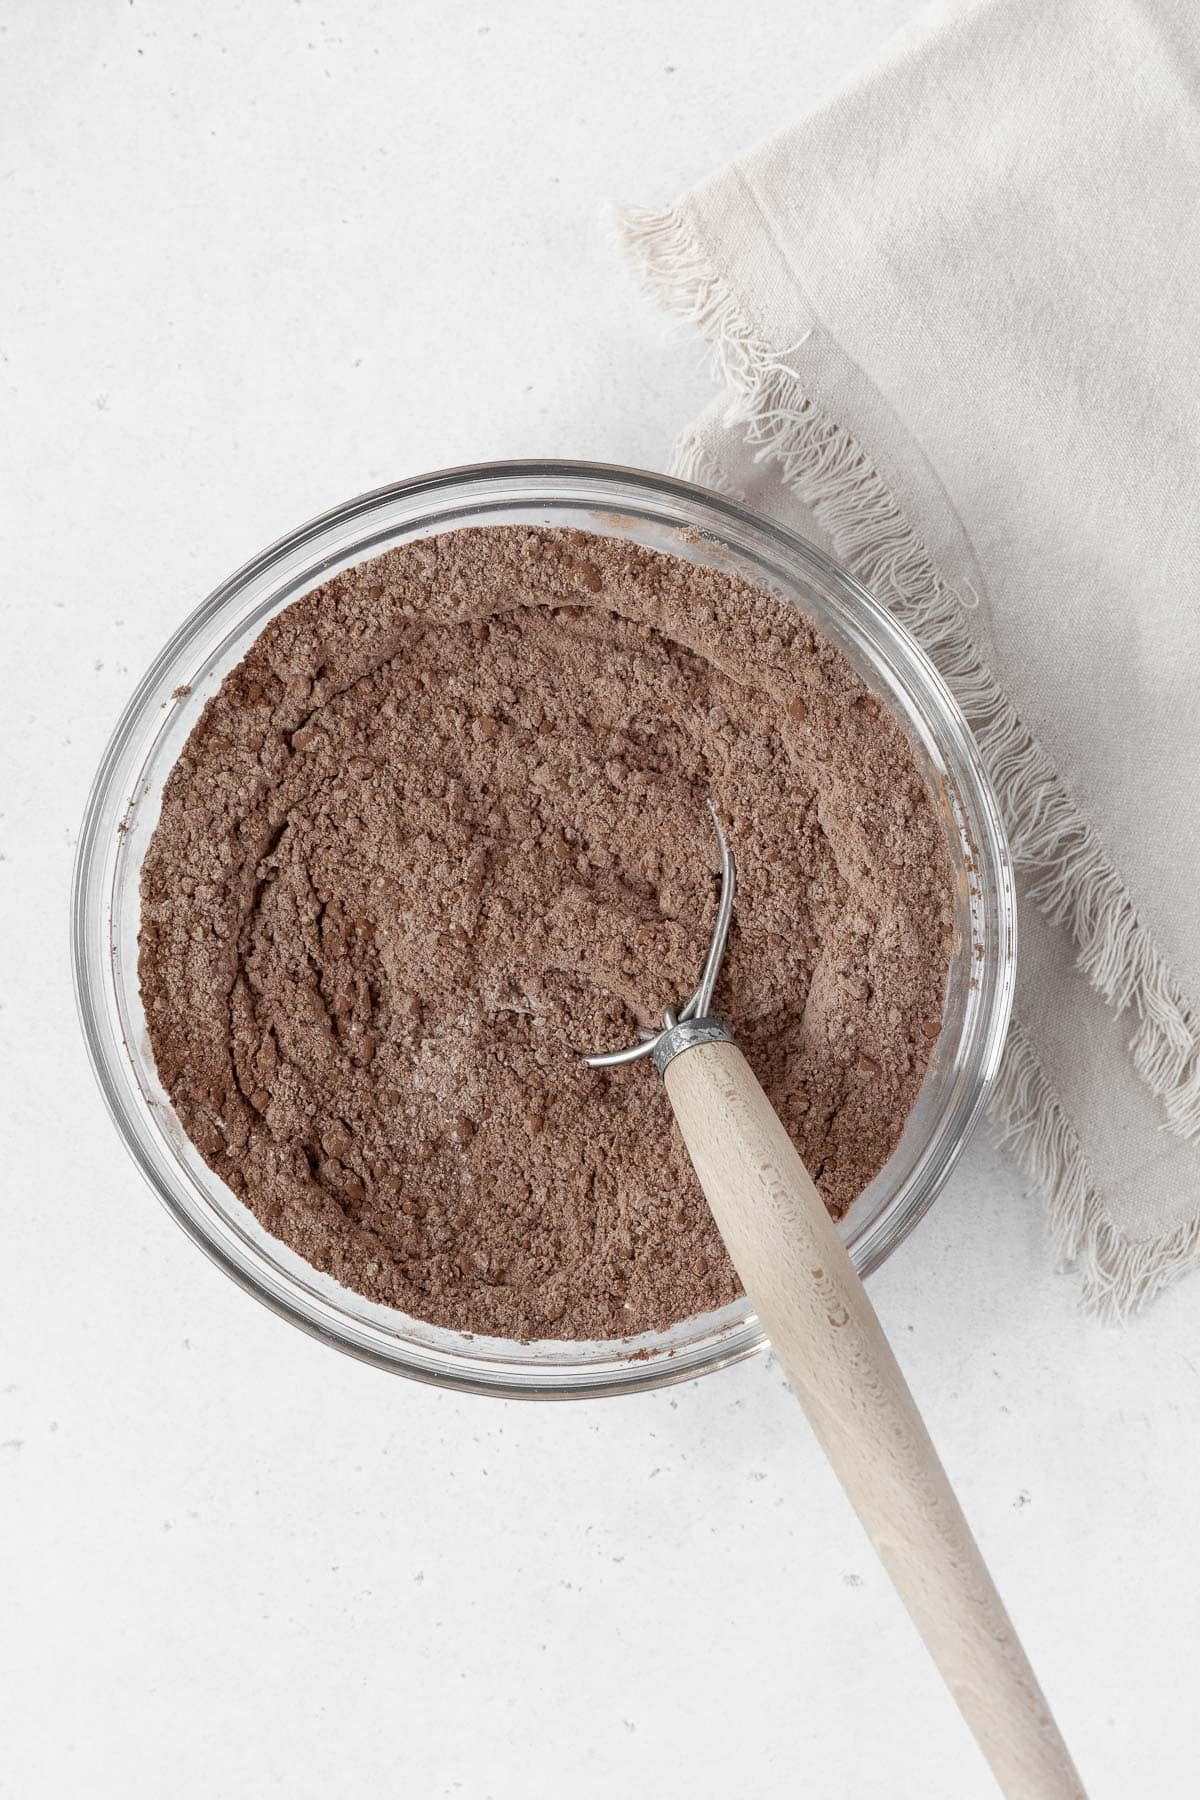
Step 4: In a large mixing bowl, combine the gluten-free flour, cornstarch, cocoa powder, salt, baking soda, and baking powder.
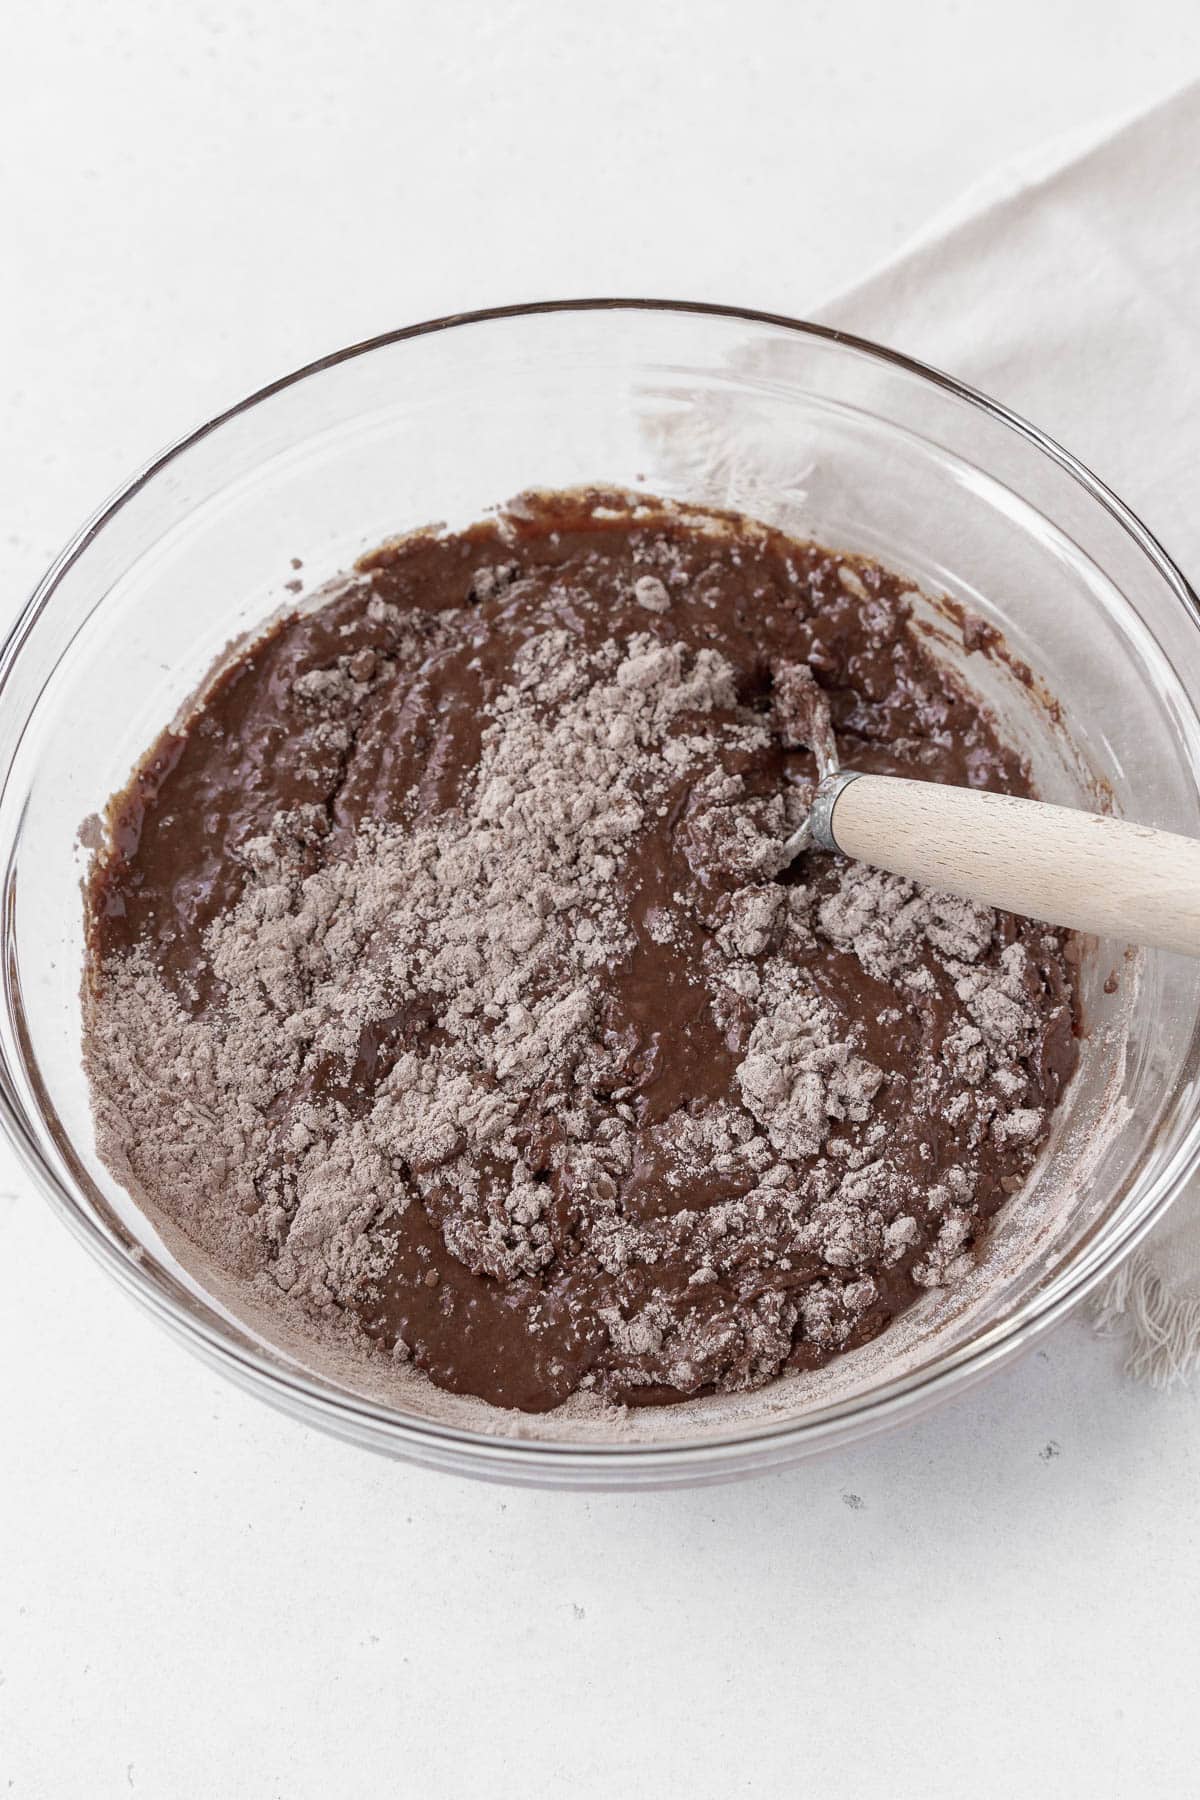
Step 5: Add the dry ingredients to the wet ingredients and stir until smooth. Let the batter rest for 30 minutes.
Step 6: Using a cookie scoop, scoop the batter onto a parchment paper-lined baking sheet, leaving 2 inches between.
Step 7: Bake the pies for 8 minutes. Let them cool on the baking sheet for 1-2 minutes before taking them off onto a wire cooling rack to cool completely.


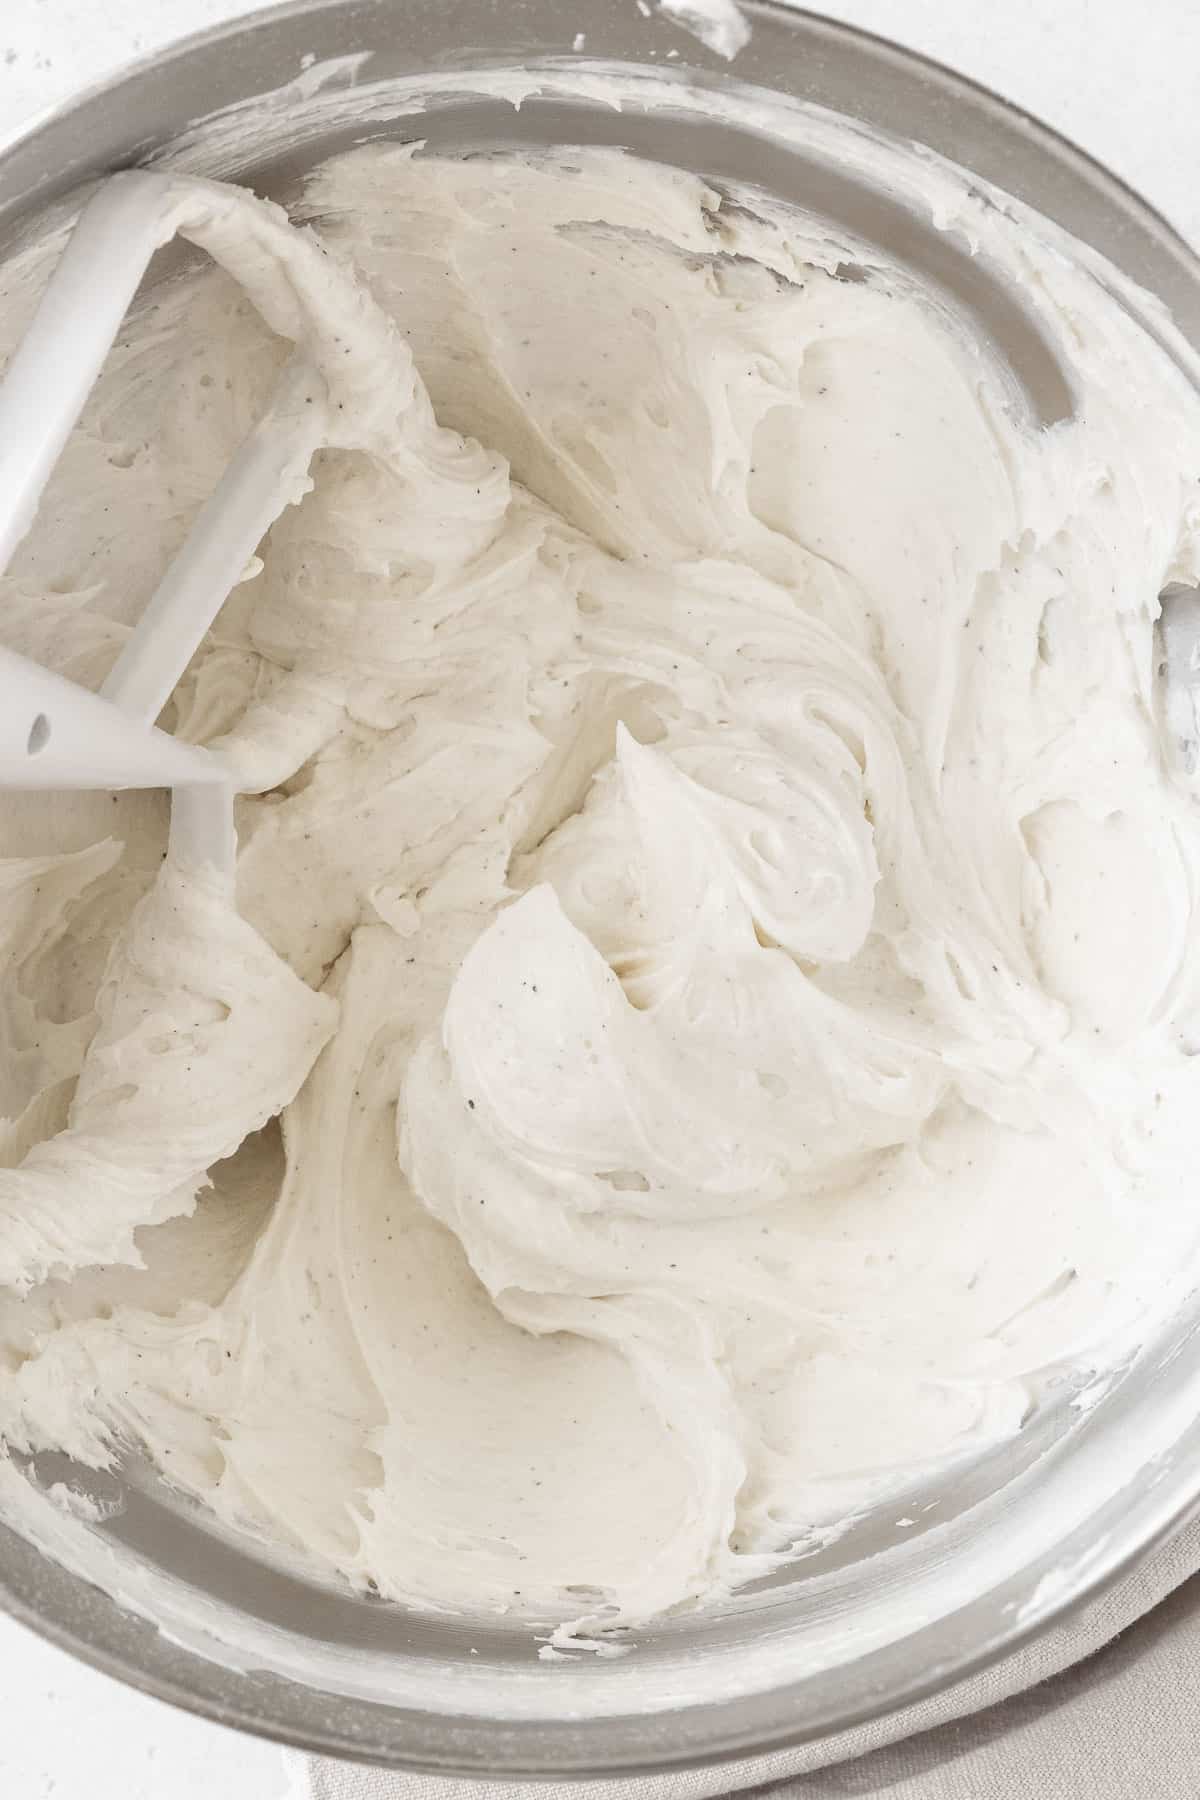
Make the Whoopie Pie Filling
Step 1: Using a hand mixer or stand mixer, beat the butter and shortening together until smooth.
Step 2: Add the powdered sugar to the butter and shortening mixture 1 cup at a time, continuing to beat between additions.
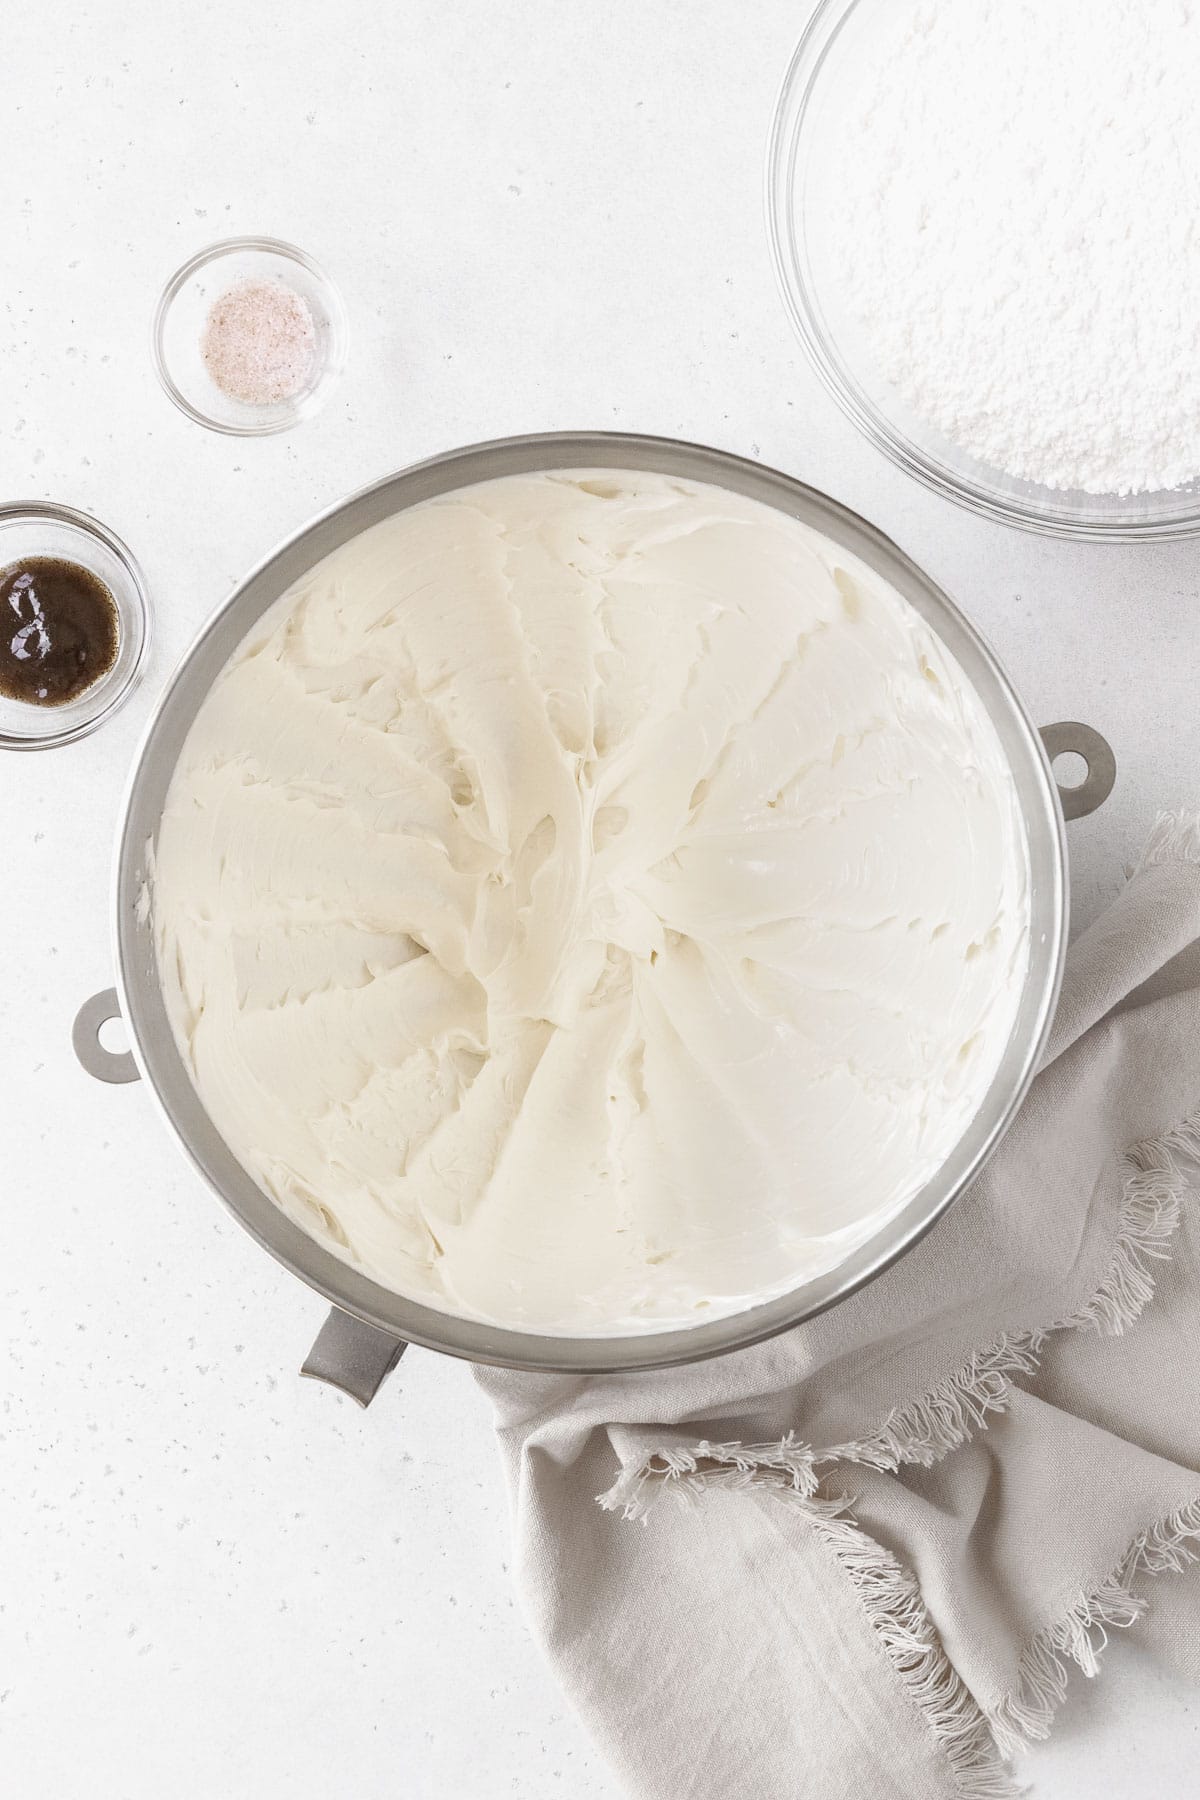

Step 3: Taste the filling and beat in additional powdered sugar to taste.
Step 4: Add the vanilla and salt and beat in until combined.
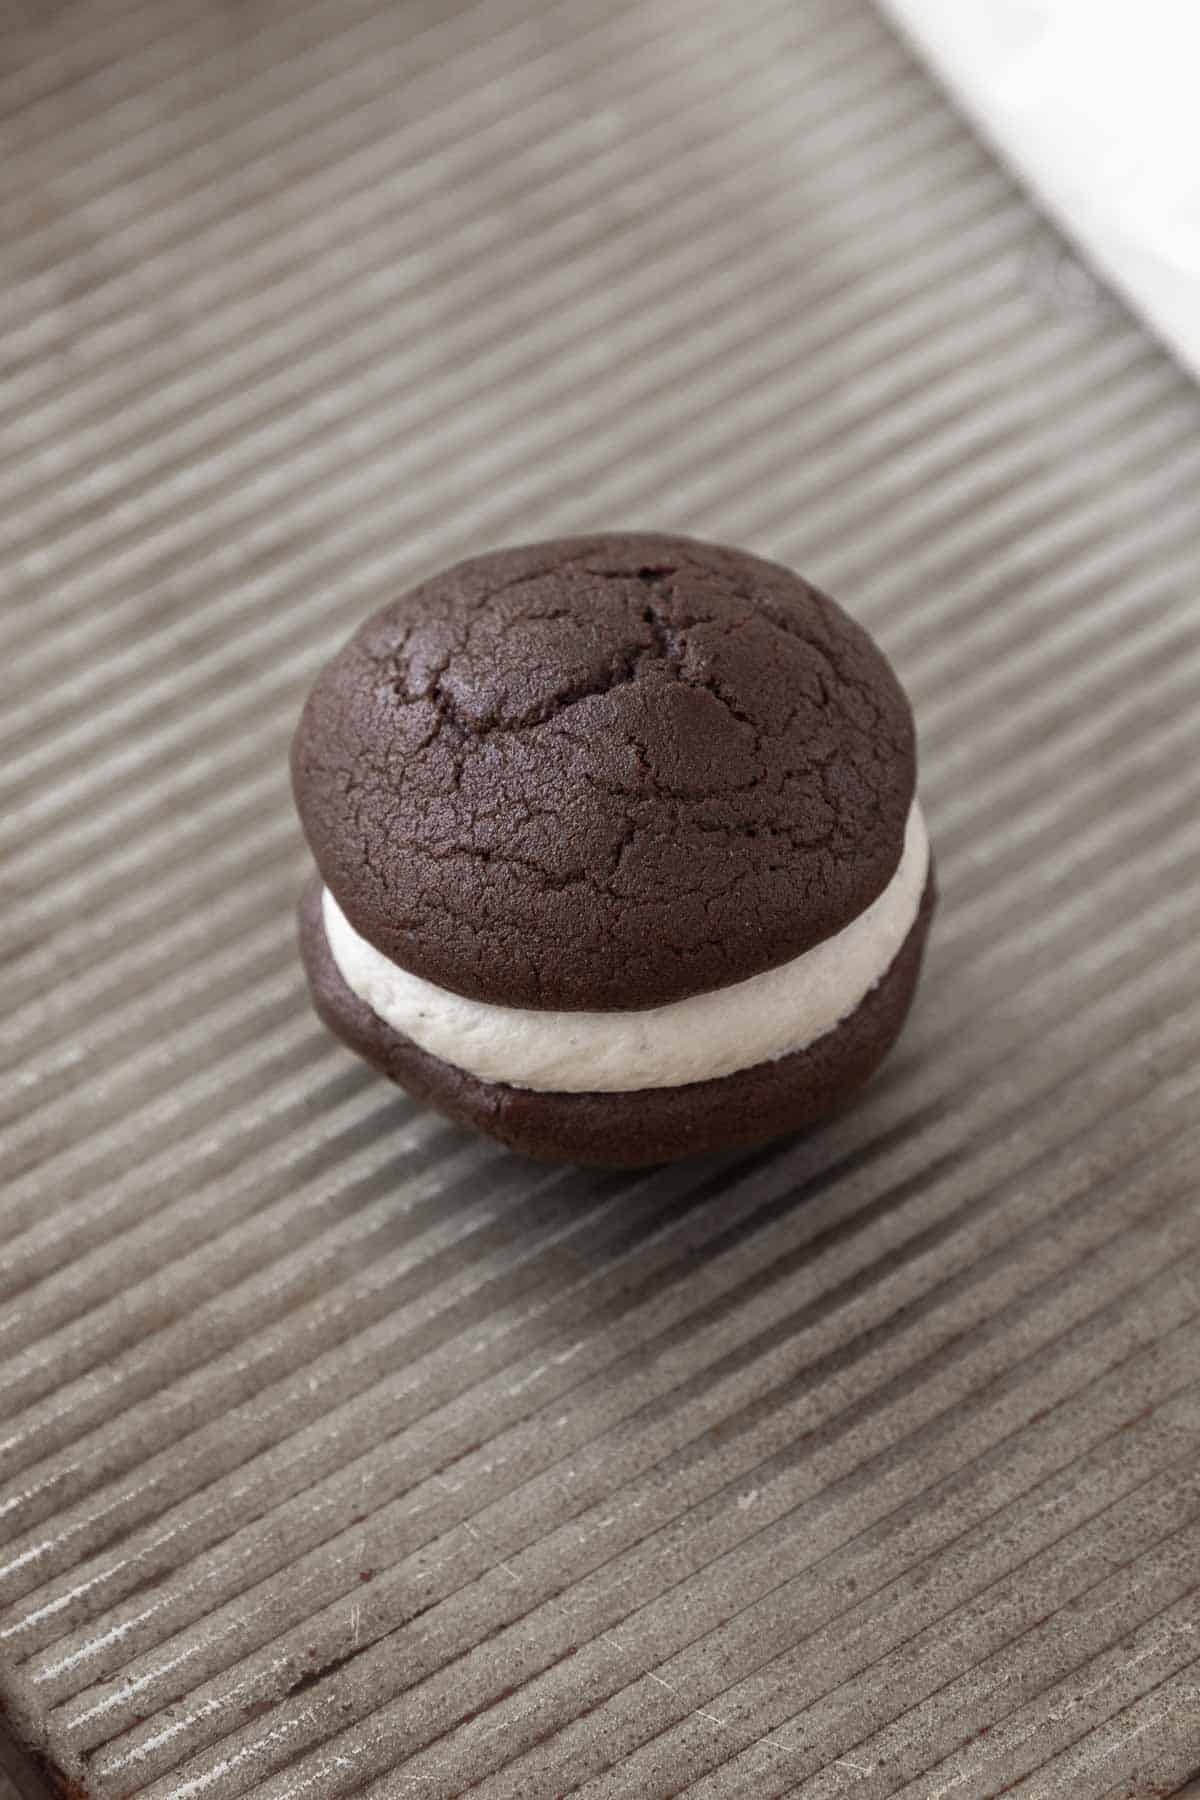
Assemble the Whoopie Pies
Step 1: Pipe or spread the vanilla frosting on the bottom side of half of the chocolate pies.
Step 2: Place the un-frosted chocolate pies on top of the frosted ones, with the unfrosted bottoms facing down.

Recipe Success Tips
- Carefully Weigh the Flour. To keep the pies from getting dense or dry, weigh the flour using a kitchen scale or scoop the flour into the measuring cups, rather than scooping the flour with the measuring cups.
- Dividing the Whoopie Pie Batter Evenly. To make even-sized chocolate pies, use a cookie scooper or weigh the batter as you scoop it.
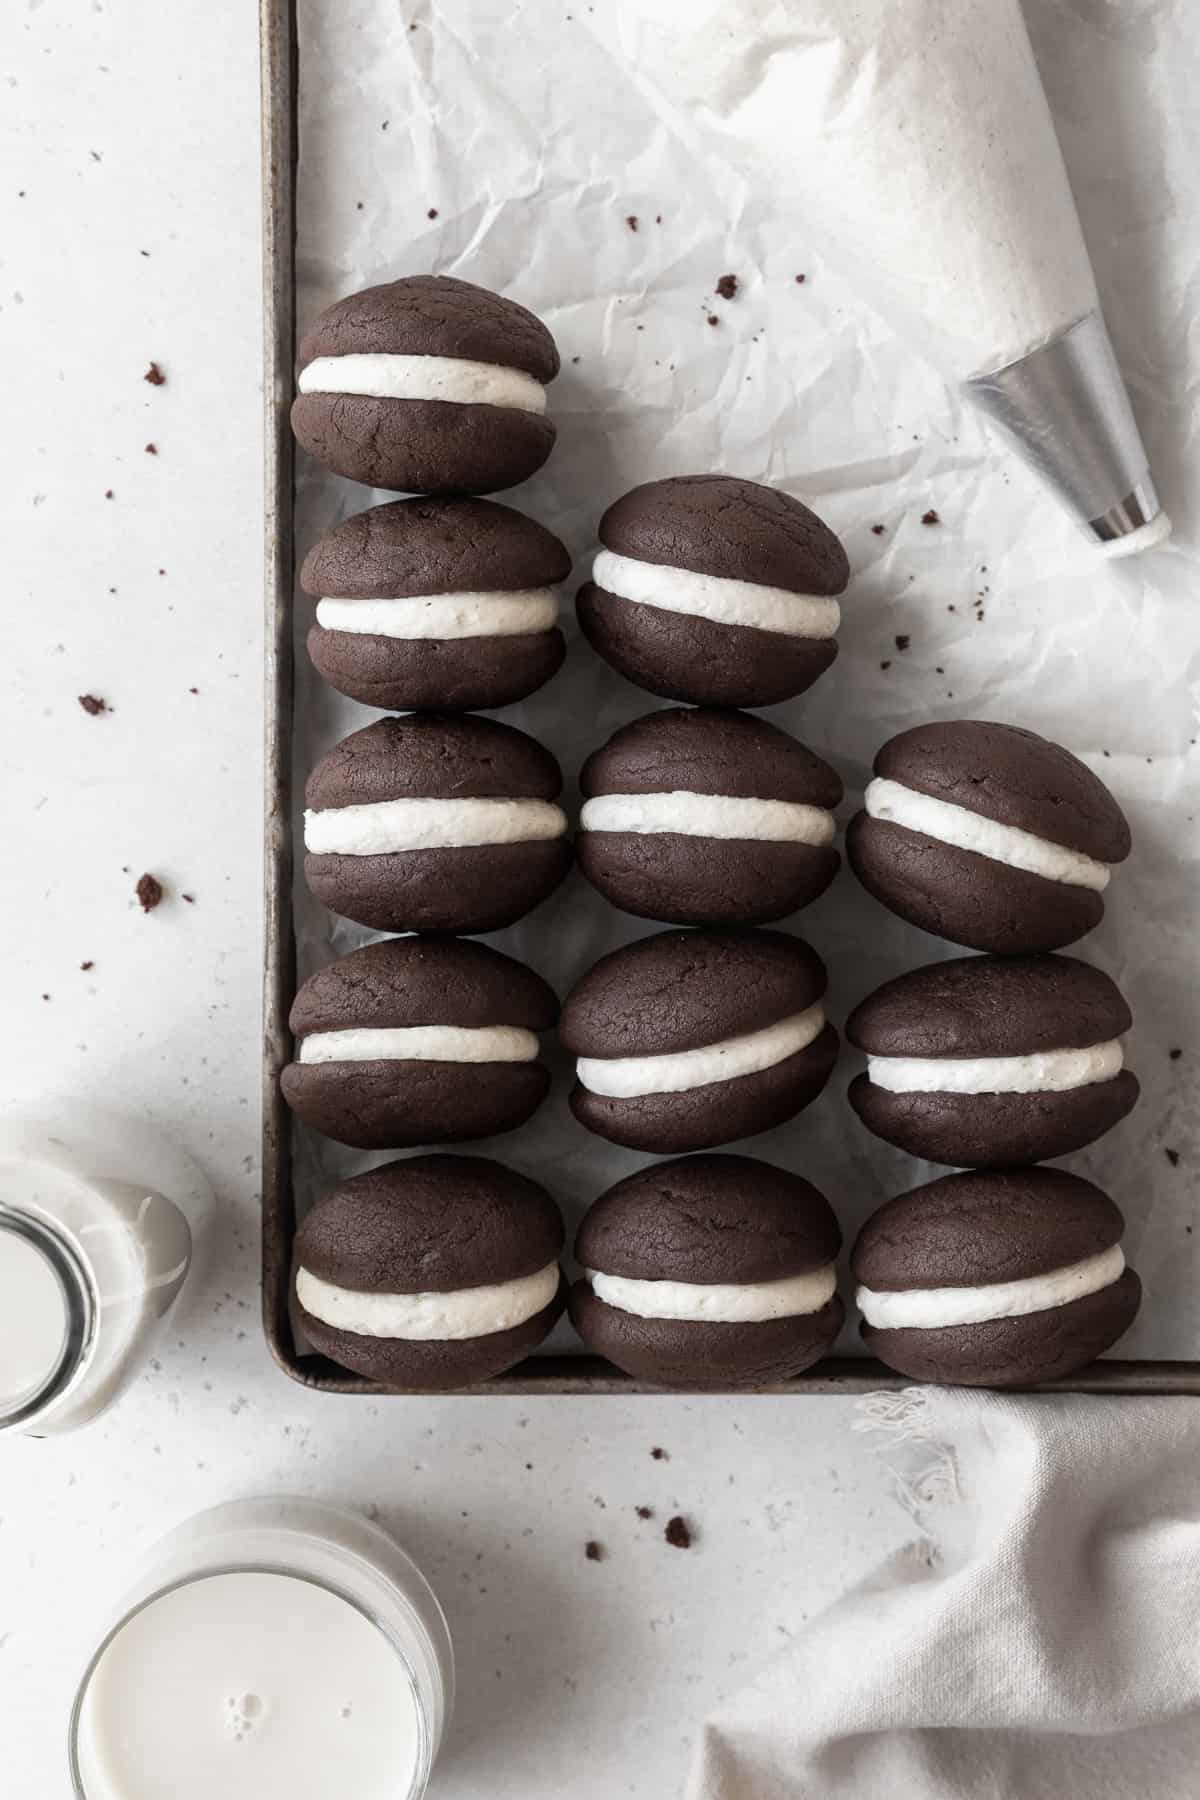
- Filling Piping Tips. Always pipe room-temperature filling, as refrigerated whoopie pie filling can be too stiff or firm to pipe. If you don't have a piping bag, you can use a Ziploc bag; just cut off a corner of the bag and pipe the filling through that. Alternatively, you can also just spread the filling with an offset spatula.
- Serve the Whoopie Pies at Room Temperature. This will ensure that the pies are soft and tender and the filling is light and smooth.
Storage Directions
Refrigeration: Leftover whoopie pies keep covered in an airtight container in the refrigerator for 3-4 days.
Freezing: The pies can also be frozen in a freezer-safe container for up to 3 months. For best results, wrap the gobs up in parchment paper or plastic wrap before placing them in the freezer-safe container.
FAQs
Overmixing the whoopie pie batter can result in flat and spread-out whoopie pies. To make perfectly risen and fluffy whoopie pie cookies, mix the dry ingredients into the wet until the streaks of flour have just disappeared.
The pies are soft and cake-like so they are prone to sticking to the baking sheet. To prevent this, always line the baking sheet with parchment paper and let the pies cool completely before removing them from the pan.
Yes, you can definitely freeze whoopie pie filling. It can be frozen in a freezer-safe container for up to 3 months. Defrost the filling in the refrigerator until completely thawed through, or about 2-4 hours, then fill the pies as directed.
If you are wondering about the difference between Moon Pies vs. whoopie pies, Moon Pies are a brand of sandwich cookie. They consist of two vanilla cookies sandwiched around a marshmallow filling that are then dipped in a chocolate glaze. These are different from whoopie pies, which are traditionally made from two chocolate cake halves that are sandwiched around a vanilla filling that is sometimes, but not always, marshmallow-based.
More Sandwich Cookie & Cookie Recipes
- If you're feeling the heat, make these gluten-free ice cream sandwiches to cool you off! You can use your favorite store-bought ice cream or use the no-churn ice cream recipe I've included.
- These chewy oatmeal cookie sandwiches are some of my favorite cookie sandwiches, hands down! Use a gluten-free flour blend to make them gluten-free.
- Love chocolate? These double chocolate chip cookies are so fudgy and delicious! They turn out perfectly when made gluten-free, too.
- These chewy gluten-free ginger cookies are a must-make for the holidays!
Thanks so much for stopping by! I hope you loved this gluten-free whoopie pie recipe as much as I do. For more mouth-watering dairy-free, gluten-free, and/or vegan dessert inspiration, make sure to follow me on Pinterest, Facebook, and Instagram. You can also get all of my newest content delivered straight to your inbox by signing up for my email newsletter — I promise not to spam you!
Gluten-Free Whoopie Pie Recipe
Ingredients
Chocolate cake
- 1¾ cup gluten-free 1-to-1 flour
- ¼ cup cornstarch
- ¾ cup cocoa powder
- ½ teaspoon fine salt
- 1 teaspoons baking soda
- 1 teaspoon baking powder
- ½ cup unsalted butter melted
- ¼ cup oil avocado, canola, or vegetable
- 1 cup brown sugar
- 2 large eggs
- 1 cup buttermilk
- 2 teaspoons vanilla extract
- 1 teaspoon instant espresso optional
Vanilla buttercream frosting
- 1 cup unsalted butter
- ⅓ cup shortening
- 3 cups powdered sugar
- 2 teaspoons vanilla extract
- ¼ teaspoon fine salt
Instructions
Chocolate cake
- In a large bowl, mix together the melted butter, oil, brown sugar, and instant espresso, if using.
- Add one egg at a time, beating after each addition.
- Add the buttermilk and vanilla extract and beat until smooth. Set aside.
- In a separate bowl, combine the gluten-free flour, cornstarch, cocoa powder, salt, baking soda, and baking powder. Add this mixture to the wet ingredients and stir until smooth. Let this batter rest for 30 minutes.
- While the batter rests, preheat the oven to 340°F (170°C) and line a baking sheet with parchment paper.
- Scoop the batter using a cookie scoop (about 1½ tablespoons) and place them on the parchment paper leaving 2 inches between.
- Bake the cakes for 8 minutes. Let them cool on the baking sheet for 1-2 minutes before taking them off onto a wire rack to cool completely.
Vanilla buttercream frosting
- In the bowl of a stand mixer or a large bowl with a hand mixer, beat the butter and shortening until light and fluffy, about 3 minutes.
- Add the powdered sugar 1 cup at a time and continue beating. Scrape the sides and bottom of the bowl with a spatula after each addition. Taste to see if it's sweet to your liking. Add more sugar if you'd like.
- Add the salt and vanilla and beat again until combined.
- Using a piping bag, or a spatula, put some frosting onto the bottom of one cake, and top with another, making a sandwich. Repeat with the rest of the cakes.


Leave a Reply